Tag Archives: rosemary

Herby-garlicky fried chicken

Standard

image

My first time making fried chicken. In the same way that people celebrate daughter’s first dance recital, graduations, sweet sixteens, and passing your drivers license tests, I feel like celebrating for my first fried chicken attempt. I’m thinking I should get a Colonel Sanders style sticker and a hug from Paula Deen.

I mostly feel accomplished because in true Katie-cooking-style, the production of this chicken started a week in advance, with me subtly mentioning “fried chicken on Sunday” to my boyfriend Spencer. TBH it was a conversation elongator where I thought about chicken and word vomited the preposterous idea of trying fried chicken for the first time for a crowd on Memorial Day weekend. I should really know my lesson by now that if I’ve skimmed a topic relating to food, someone is going to call me out on it if I don’t actually get around to making it.

Sunday rolls around and no preparations are in order, so I’m thinking I’m putting this adventure off for another time. Both Spencer and myself have moved into different houses, don’t know where anything is, and now we’re set on making fried chicken. It’s in these circumstances you realize that if you forget about the crowd and focus on the dish, things MAY ACTUALLY come together. Well, I wouldn’t say that’s always the case, but in this situation, the results were pretty good.

Before I know it, I’m driving back to St Charles where, of course, I’ve left the most random of kitchen accessories that happen to be needed for our recipe, large marinating plastic bags. In the rush of an unpacking afternoon, Spence was able to brine the chicken for ~3-4 hours before I took over the cooking. I tell you all this because if you’re not intimidated by the behind the scenes work to a barbeque or dinner party, maybe you’ll be more inclined to try something new for friends.

I think there’s a few camps when it comes to entertaining – on the one hand, if you try something new for a crowd, you’re overwhelmed by trying to master the recipe and entertain at the same time, but oftentimes in my case, the trying-something-new is part of the fun of the night. Somehow, it-all-comes-together-at-the-last-minute is the name of the game, like the orchestra started playing a little too early and the curtain guy is reeling up the curtain while the characters are still getting positioned on stage.

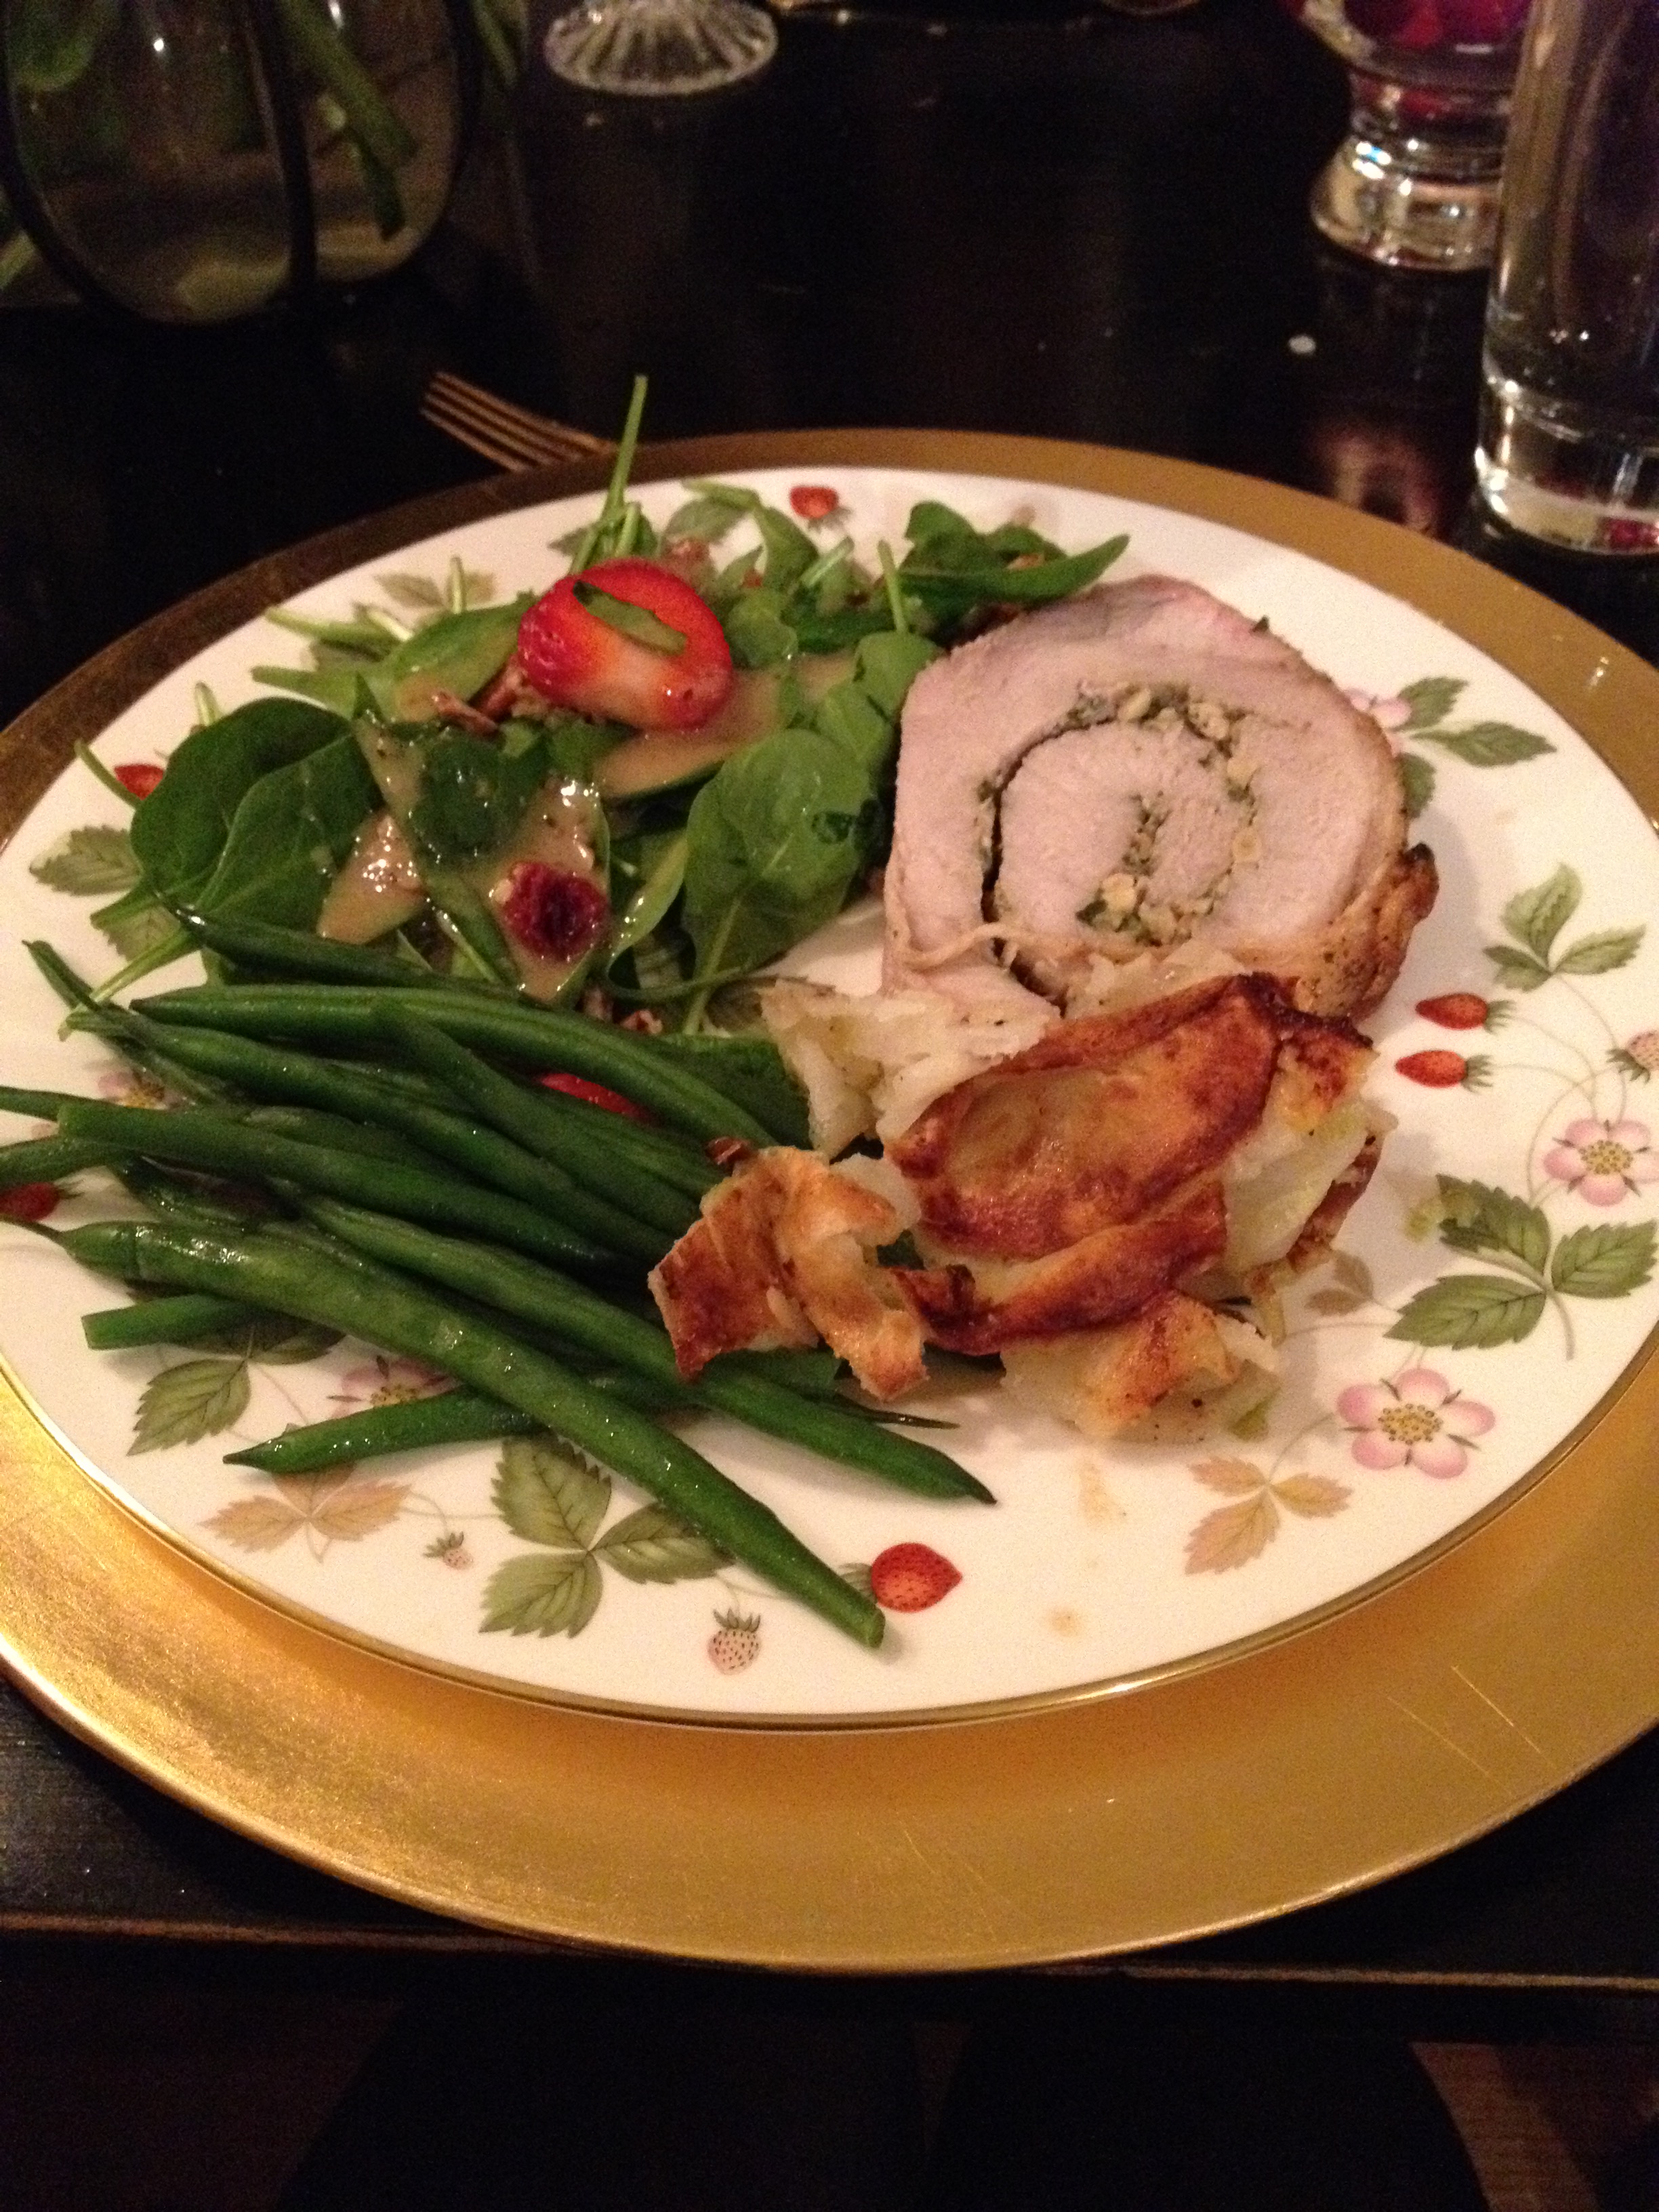
In this case, I started my part while Andrew and William were already working their magic with some delicious avocado mac ‘n’ cheese and a blackberry strawberry kale salad. With little kitchen space, the three of us managed a meal of epic proportions without any major accidents, burned food, or overcookery of sorts.

I saw this recipe on an amazing episode of the Barefoot Contessa where Ina invites Tyler Florence over. In one afternoon (yes this timeframe amazes me as well), Ina and Tyler make a wedding cake sized birthday cake, homemade fried chicken, and take a leisurely visit to the local Hamptons farm.

In the case that you watch this episode, I’ll give you a sense for what you actually might be able to accomplish based on my timeline . I’d say you may want to just focus on this fried chicken, as we had to take a bit of time brining the chicken, then prepping the chicken, then returning to the store to buy more oil for frying. I’m not sure when they made this birthday cake but luckily it came together in one afternoon! Whew, to be Ina!

Here’s a few things that differed in our rendition of this meal. 1) Lenzie and Trent brought those amazing fake-cakey cookies with the themed frosting instead of having cake, 2) We kept to their use of bone-in chicken except for the breasts which Spencer deboned , 3) there was no visit to the local farm and 4) instead of having Tyler Florence help guide the cooking process, I had 3 twenty-something guys and 2 parents all pitch in!

I’m hoping you’re not intimidated by Ina’s spotless white kitchen, always-plentiful bowl of silver spoons, and lively-never-droopy blue hydrangeas. Make this for your friends and family and watch their episode at the bottom of this post if you have 1.99 to spare 🙂

Here’s a little snap of our cooking adventure featuring the crew: Andrew, William & Robin; the last few seconds continues with our MDW braves game visit…we ate fried chicken before we went so its all relevant right??

Tyler Florence’s Fried Chicken, adapted very slightly, serves 8-9 comfortably with a few leftovers

2 3-4 lb whole chickens, breasts de-boned, all other pieces bone in (thighs + drumsticks + wings)

3 cups all purpose flour

2 TBS garlic powder

2 TBS onion powder

2 TBS sweet paprika (can use regular if you run out of sweet)

2 tsp cayenne pepper (Adjust here if you’re partial to less spicy)

4 cups (1 quart) buttermilk

2 TBS sriracha or other hot sauce you like

peanut oil or vegetable oil for frying (we used a mixture of both since I ran out of peanut oil…make sure to buy one of the big jugs at the store)

1/2 head garlic, smashed, husks still on (this is for frying dont worry about the husks)

1/4 bunch fresh sage

1/4 bunch fresh thyme

4 big sprigs of fresh rosemary

fresh black pepper and kosher salt

2 lemons, cut into wedges, for serving

  1. A few hours in advance, or the night before, set up your chicken to brine. We used a big tupperware, but you can use a large bowl. Cover the chicken with water 1-inch above chicken. Sprinkle 1 TBS kosher salt for every quart of water you’ve added. Cover with aluminum foil and refrigerate at least two hours, preferably overnight. This is what’s going to make the chicken really tender.
  2. When you’re ready to start cooking, take your chicken out of the fridge and let it come to room temperature while you prep the frying ingredients. In a shallow platter or deep tupperware in my case, mix together your flour, dry spices, and season with salt and pepper. We learned that you don’t need to add too much salt here, because your chicken already has a good bit of salt absorbed from the brining process.
  3. Pour oil into a heavy bottomed pot / Dutch oven, about 2/3 of the way full. Put your whole herbs and garlic directly into the cold oil . As these heat up, don’t worry about them burning, these whole spices are what will flavor your oil. Clip on your candy thermometer, ensuring that the bottoms of it isn’t touching the bottom of the pan. Heat stove to medium high heat, and start prepping your station as the oil heats to 350-375.
  4. Meanwhile, set your chicken to the far left, setting a plate next to the brine mixture where you want to dry the chicken before putting it into the buttermilk. Next set a shallow dish with your buttermilk and sriracha next to the chicken. Set flour mixture to the right of that, closest to the stove.
  5. Heat the oven to about 150,or whatever is its lowest setting. I wanted to do this to keep the chicken warm while other batches were still trying. **if your chicken is still a bit cold when you start frying, you may need a quick bake after frying to finish cooking your chicken. A few reviewers from Tyler’s original recipe noted this. Our chicken was at room temp so we didn’t have this issue and we only used the oven for warming.
  6. Set a sheet pan or 9×13 dish in the oven where you can set chicken after frying to keep warm
  7. As your oil heats up, start dredging process with a batch of two pieces. The first step is to dry the brined chicken off with paper towels. You need to do this to make sure the coating sticks properly. Next dip chicken pieces in buttermilk mixture, shake gently to remove any excess, and dredge in flour mixture. Press gently in flour to make sure you get all the crevices covered, then flip to the other side. You can leave chicken in this mixture before frying.
  8. Once oil is hot, gently place two pieces in the oil with tongs. Let chicken fry for 12 minutes per batch, moving around about halfway through to make sure nobody is stuck on the bottom of the pot.
  9. While you wait for one batch to fry, start prepping 2-3 more pieces. Also have at least 3 onlookers observe and ooh and aah over frying oil cauldron. Make yourself a yummy cocktail or mocktail
  10. After 12 minutes, use a meat thermometer to check for doneness if you have one. Chicken should be at 155 when it comes out, but will cook off a bit more than that after you take it off. Thank you Julie Mitchell for checking temp for me since we didn’t have a thermometer!!
  11. place done pieces in the oven covering with aluminum foil while you move on to the next batch
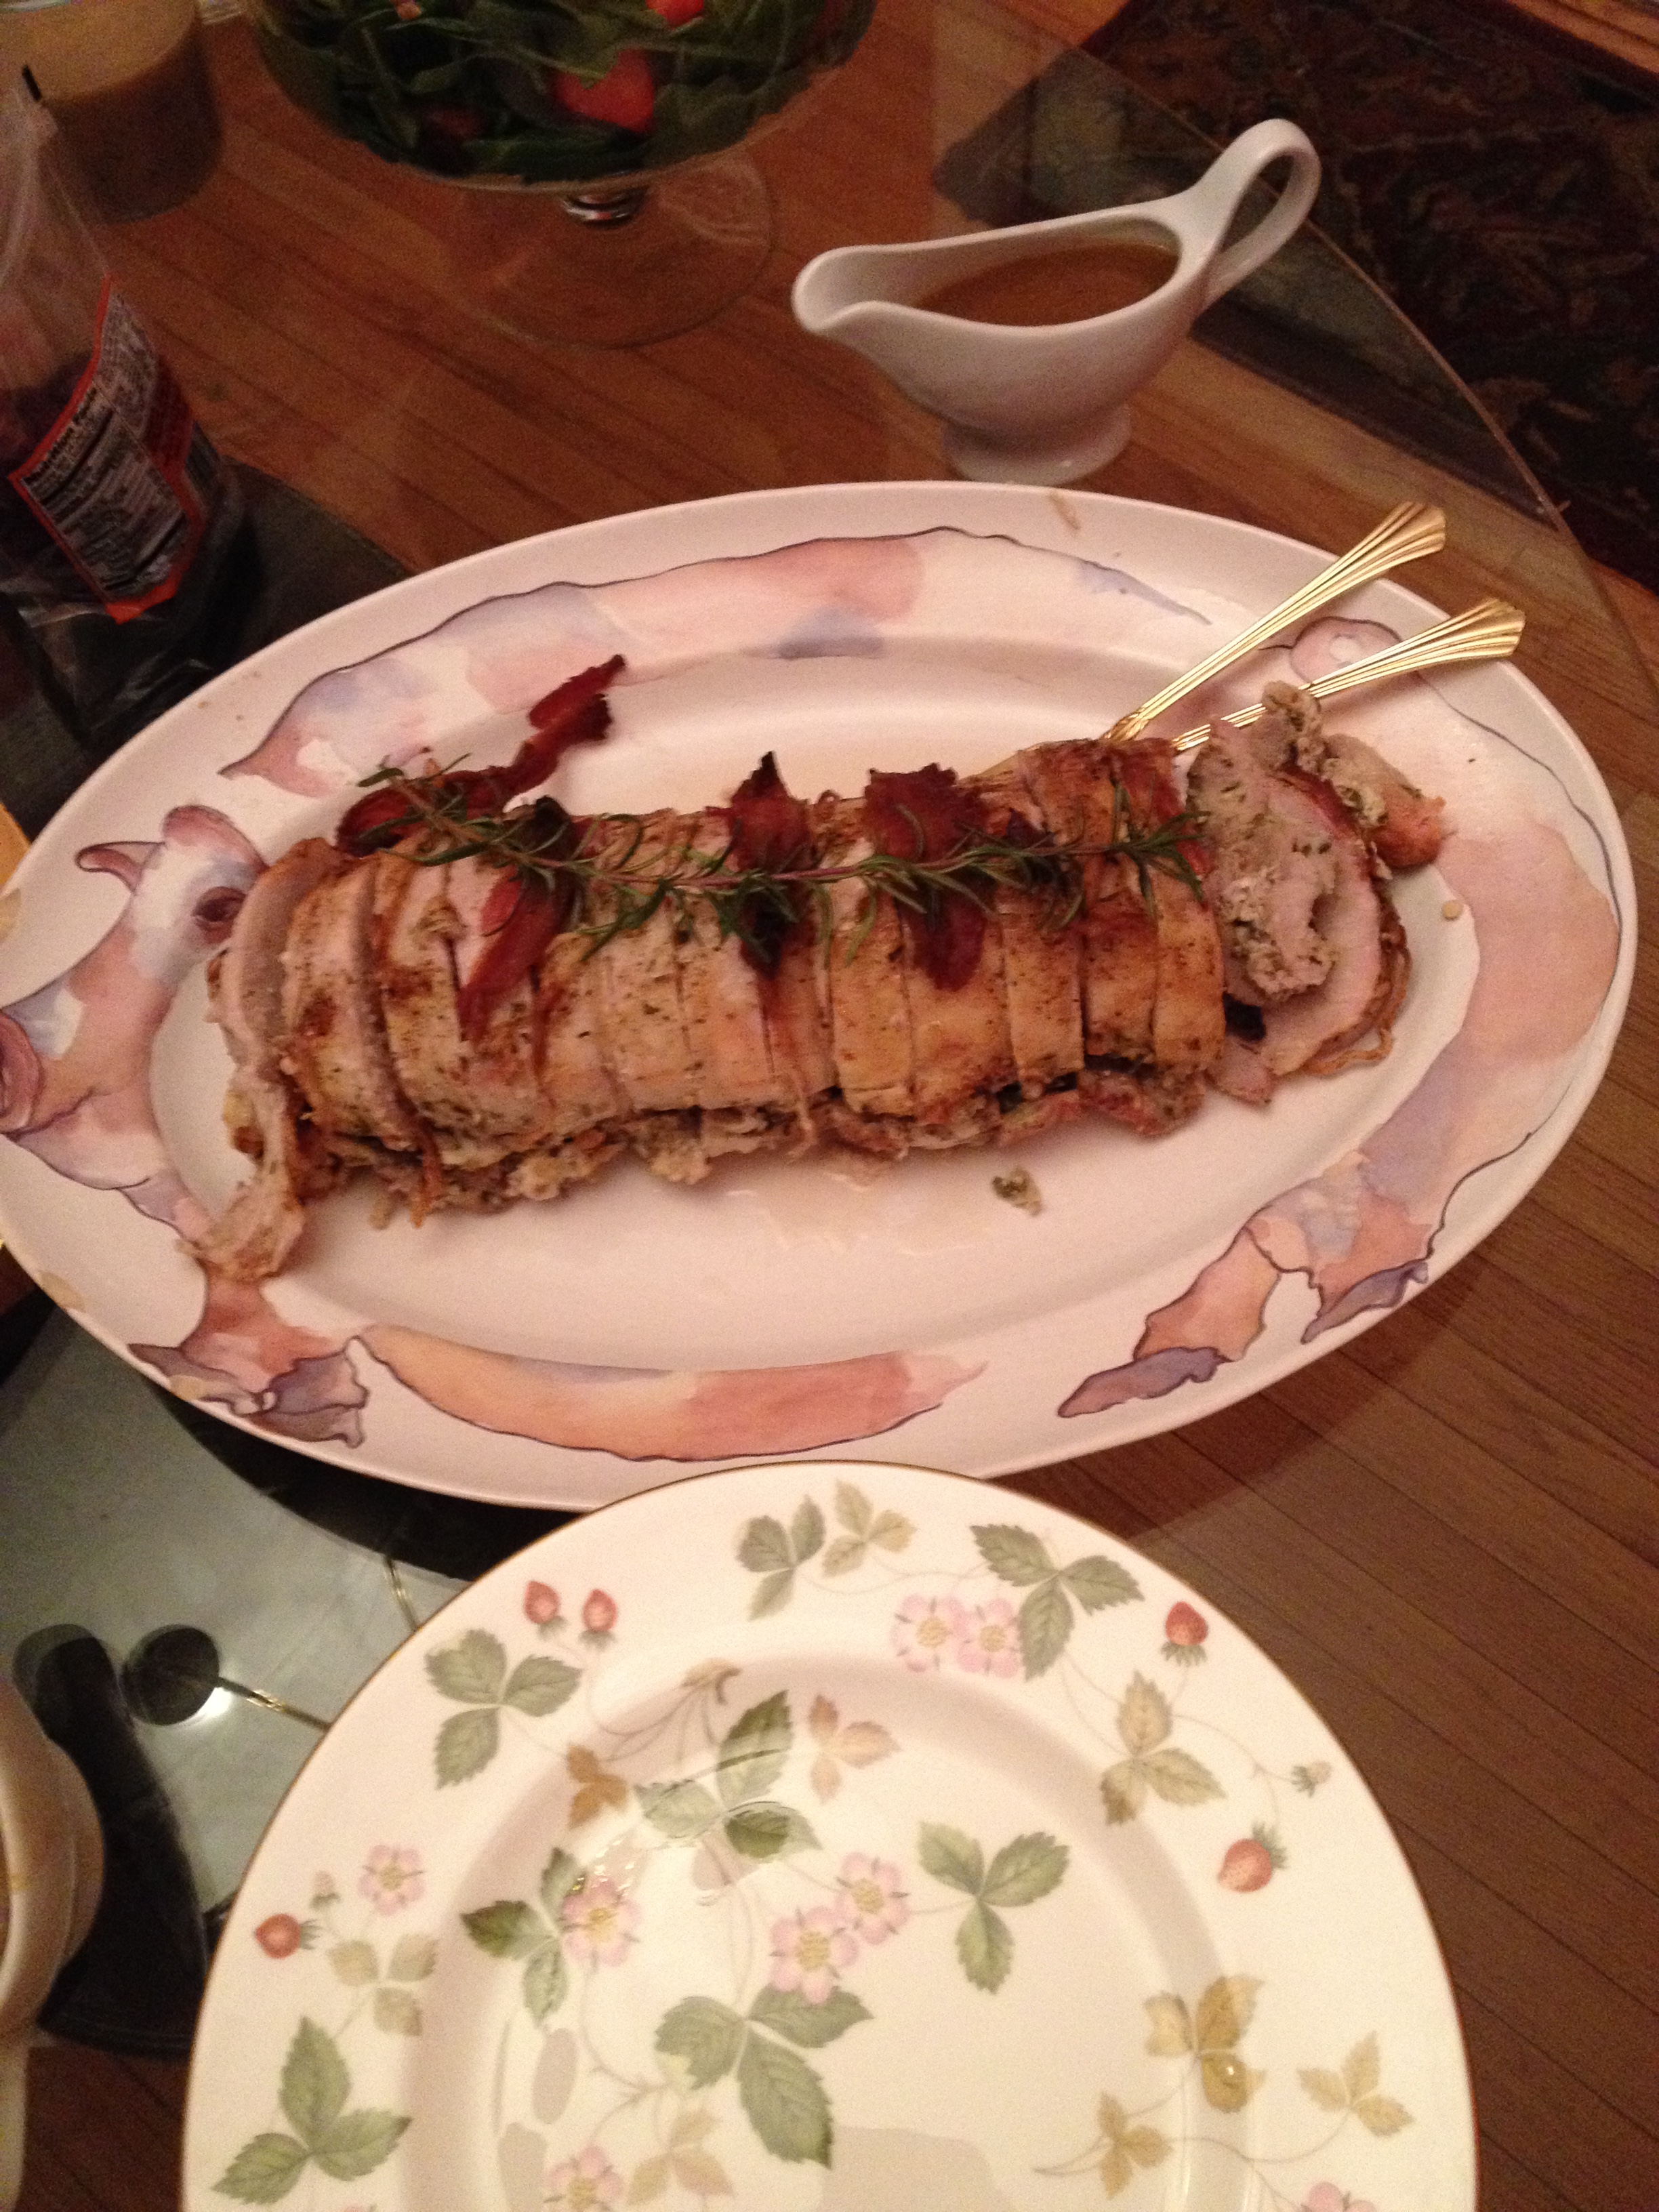
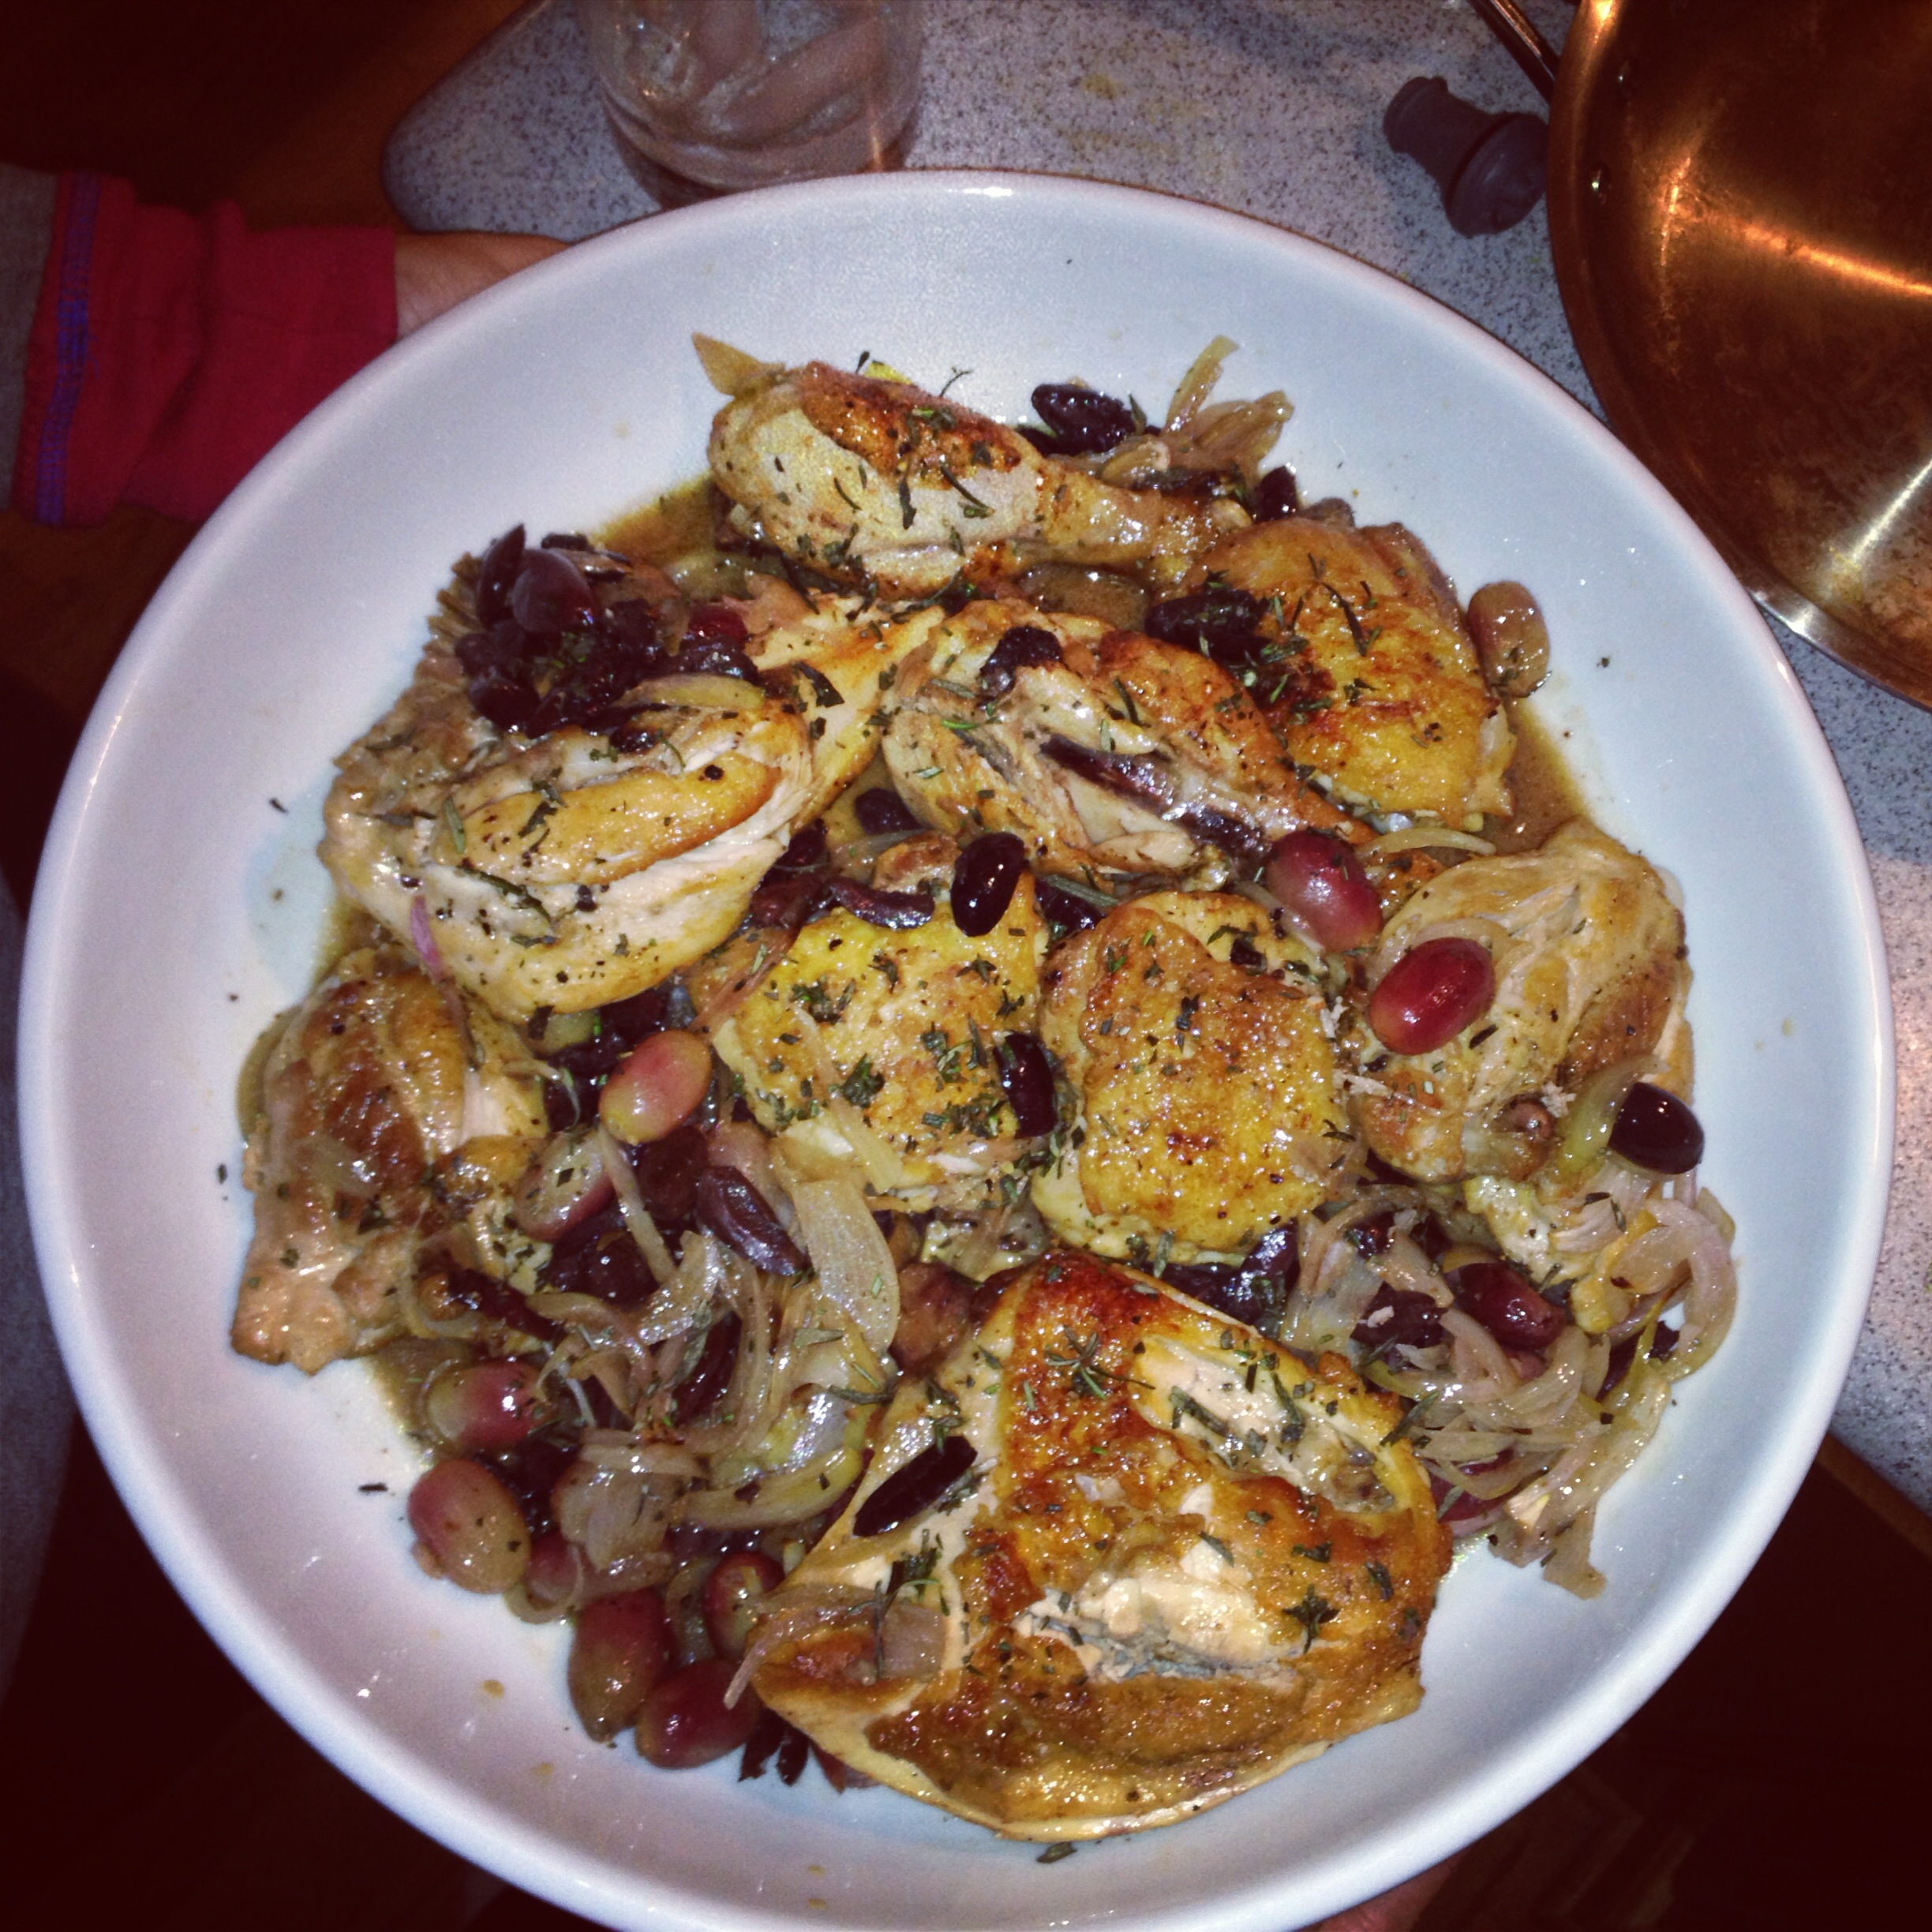
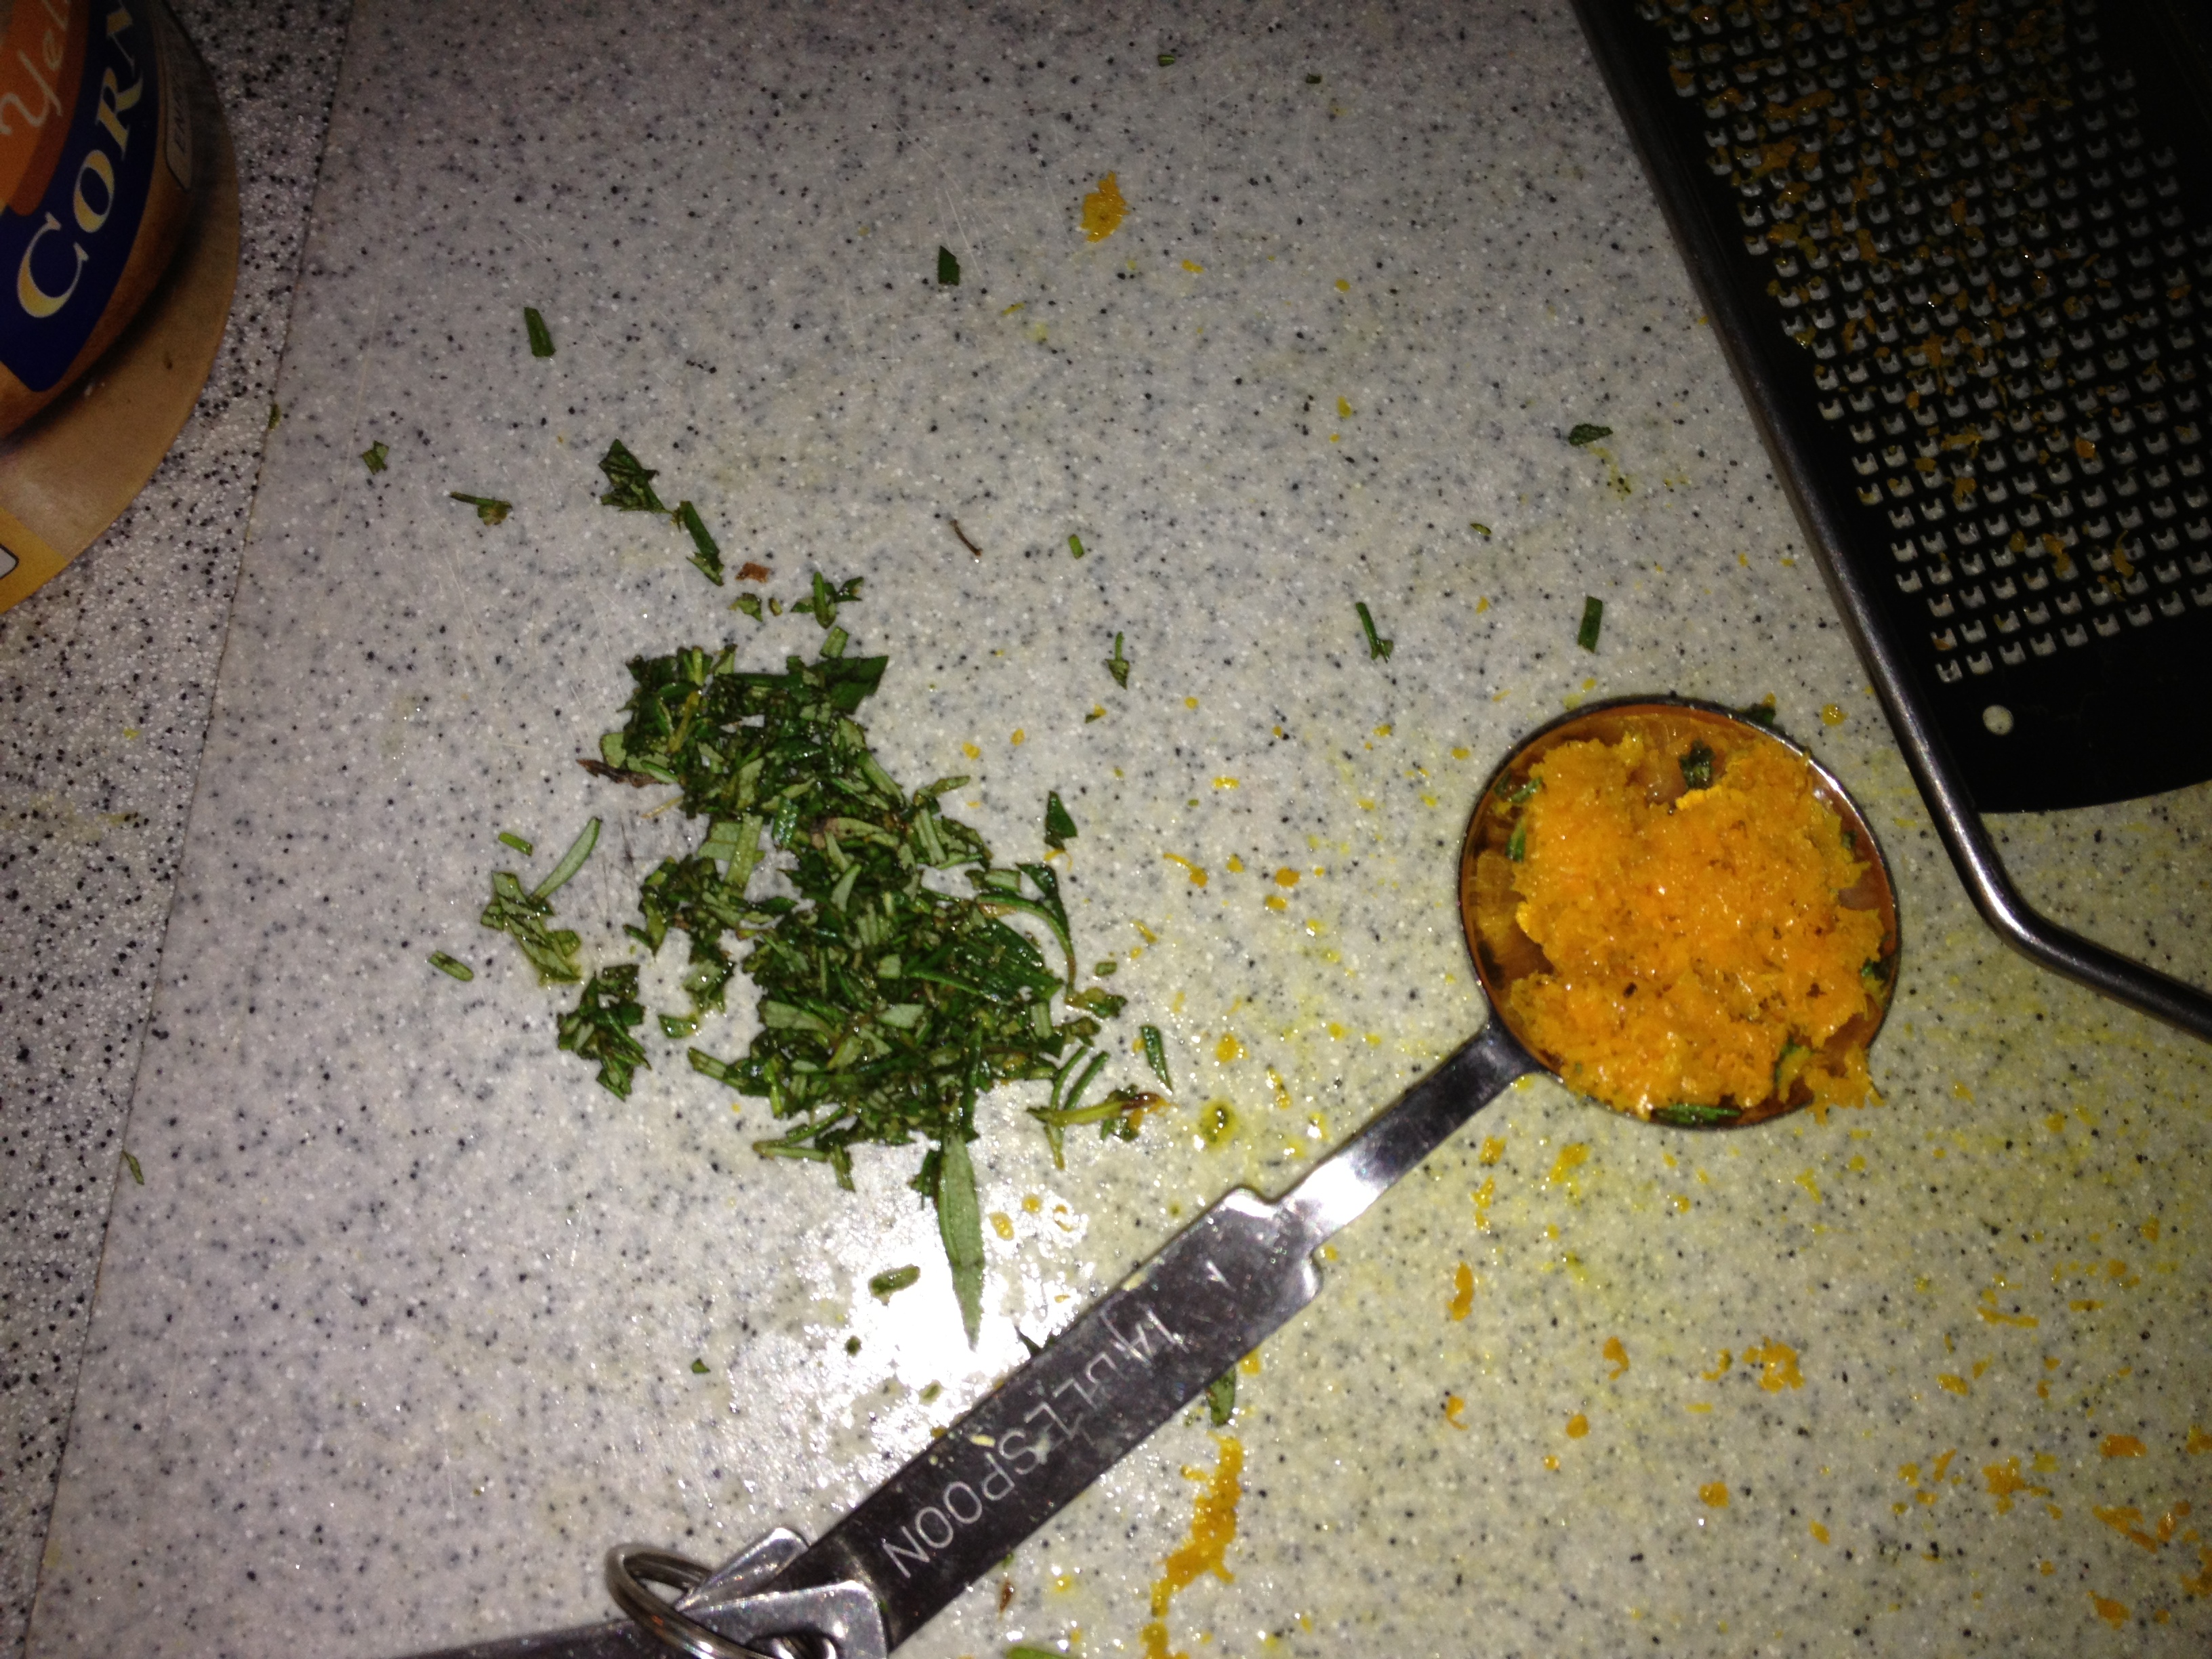
  12. After all the chicken is done, place on a plate and garnish with your fried herbs. Squeeze a few lemon wedges to taste and place a few other wedges on the side to garnish . Serve to hungry friends, and smile big after you savor each bite. 😀

image


Christmas 2014 – Rosemary Sage Garlic Stuffed Pork

Standard

2014-12-24 20.02.28

Merry Chrisma-hanna-kwanzaa, my friends! I am writing to you from sunny Florida, jittery from the delicacy that is free hotel continental breakfast “homemade” waffles. Before I go any further, if any of you celebrate Kwanzaa, can you explain to me how your holiday meals were passed down? As my roommate and I tried planning a holiday fest that welcomed all winter holidays, Pinterest suggested that the “traditional” Kwanzaa meals included southern mac ‘n’ cheese, fried chicken, Gina Neely’s collard greens, and sweet potato pie. While I realize the holiday’s origins are in the US to commemorate the African heritage of African Americans, I’m curious if there are any dishes families actually make that are traced back to their African roots. Just some questions for you all…

This year, my Christmas was more adult that ever – we didn’t even open presents until 3 pm on Christmas day and skipped the crazy Christmas Eve masses for a quieter one on Christmas morning. I had a wonderful time in the presence of my closest friends and family and wanted to serve them the best dishes possible for their holidays!

Traditionally, my family has served rosemary crusted lamb chops for Christmas Eve, yet we never seem to find chops with enough meat on them from the butcher. This year, I thought a stuffed pork loin might be comparable and fulfill all the shortcomings of the lamb chop – tender, juicy meat that goes well with the same herby, garlic crust we like on the lamb. Turns out nobody on the internet had exactly what I had in mind. I really wanted to have the pork stuffed and rolled in a spiral so you could see all the pretty herbs on the inside, and I wanted to marinate it for at least 8 hours to ensure the flavors soaked in completely.

Thanks to all of you who helped me with your recipe recommendations! Here are some of the best ones that were recommended to me that influenced this recipe!

Katie’s Rosemary Sage Garlic Stuffed Pork for the holidays

Serves 10-12

1 5 lb boneless pork loin, not too fatty

8-10 cloves of garlic, minced

1/3 cup chopped rosemary

1/4-1/3 cup chopped sage

1/3 cup toasted pine nuts

1.5 TBS dijon mustard

2 TBS olive oil

4 slices of bacon

1 1/2 TBS kosher salt

1/2 tsp red pepper flakes

1/2 tsp black pepper

1/2 cup chicken broth

kitchen twine or white sewing thread if you don’t have any twine

1. Prepping the pork loin: To ensure the maximum flavor richness and moisture, the best thing is to marinate the pork in the morning or the night before you’re going to cook it. This will also help if you’re pressed for time at night making other dishes and want to make it easier on yourself 🙂 Rinse the pork off if it’s in plastic packaging, and pat dry with some paper towels (getting it dry will help ensure the pork gets crispy). Here’s the best video I could find for butterflying a pork loin in thirds, but I can explain briefly as well. If you watch that video , skip to 1:13 for the important stuff. Also make sure to listen to T-swift jammin.

You want to make this big rectangle so that you’re able to roll up the pork and seal in the herbs. If you’re facing the short end of the pork you want to cut along the width of the pork so that it will open up like a book. We want to cut it twice so you’ll triple the width of the pork. Start cutting from the opposite short end of the pork to the bottom and the point you’ll pick is where you’ve cut about a third of the height of the pork. So, 2/3 of the pork is still together and we’ll cut that part in half in a minute. Cut the pork from the right into the center until it looks like a book and you’ve cut almost all the way through the spine. At this point, start from the “spine” and cut the 2/3 portion of the pork that’s still together in half so you’ve formed like a tri-fold poster board (for all you science fair experts). Here you are! If I’ve confused you thoroughly, watch the video above a few times.

Cover the pork with plastic wrap while prepping the herbs.

2. Chop up your herbs and garlic. The herbs dont have to be perfectly minced or anything, just not so big that you’d take a huge bite out of a rosemary stem. For the garlic, I minced it and then used the side of my knife to crush the garlic into a sort of paste. this can help get more of the flavors out of the garlic. For the pine nuts, I toasted them briefly then chopped them lightly.

2014-12-24 09.14.32

3. Mix your herbs, garlic, salt, pepper flakes and black pepper, olive oil, mustard, and pine nuts in a small bowl and drizzle with olive oil. Try to press them together with the back of your spoon to make the whole mixture meld together.

2014-12-24 09.18.35

4. Take the plastic wrap off of the pork and start massaging the herby mixture onto the pork (yea we’re getting graphic here). If you think it looks a bit dry, drizzle some olive oil over the pork and press it all into the pork.

2014-12-24 09.41.35

5. If you have somebody around, this is the part where it’s helpful to have help!! The same way that you cut the pork is the way to roll it up. Starting from left to right, roll the pork into a log, making sure your stuffing stays inside. Once you’ve rolled the log tightly, use twine or thread to tie the roll together. I used about 5 pieces of twine and knotted at the top after rolling the log up.

6. Drizzle some olive oil on the outside of the pork and coat with any leftover filling, salt , and pepper. Cover with foil or plastic wrap and put in the refrigerator either overnight or at least 8 hours before ready to cook.

2014-12-24 09.51.19

2014-12-24 09.51.23

7. One to two hours before cooking the pork, take it out of the refrigerator to let the meat come to room temperature. Get your bacon out and drape over the top of the pork (this was a game time decision for me and such a good call). I cut the pieces of bacon in half.

2014-12-24 17.19.01

8. Heat the oven to 450. Place pork in a roasting pan and place in the oven. We’re getting a crust on the pork before dropping the temp to cook the inside. Roast at 450 for about 10 minutes then drop the temperature down to 350. Make sure not to cook too long at 450 or the bacon will burn. Add the chicken broth to the pan to keep the pork moist. Bake at 350 for 60-75 minutes, or until a meat thermometer stuck in the middle of the pork registers 145 degrees.

9. Take pork out of the oven and cover lightly with aluminum foil for 20 minutes. This will seal in all the juices. Slice into coins/rounds and serve!!!

2014-12-24 19.35.59-1

2014-12-24 19.40.15

2014-12-24 19.54.55

2014-12-24 20.02.07

Joyeux Noel!

our delicious potato galette sides…

2014-12-24 19.35.47

Roast Chicken Strikes Again – with Grapes, Olives & Rosemary

Standard

2014-01-06 19.35.29-1

Roast chicken is on my “perfect it” list. I can’t get over all of these wintry roasted, braised, wine-y, juicey, flavorful roast chicken recipes. This one is no exception! After making the stove-top Mediterrean chicken and rice, I wanted to try out the pan-searing then roasting in the oven technique. I thought this was called braising but apparently that’s for like one-pot meal kind of things.

I adjusted the recipe by 1.5 to make it suitable for 6 people and thus had to shift from baking in a skillet to a roasting pan. It worked out fine though because I still made the gravy/sauce in the skillet since it had the seared chicken juices in the pan. Both serious eats and amateurgourmet have tried the recipe for this chicken.

So, like JoytheBaker suggests, still working on “mise en place” this year aka PREPARE BEFOREHAND! Aka our trusty 3×5 cards to prep us for a seamless transition from pan to oven. Bone-in skin-on chicken, you are in fact somewhat difficult to work with.  Deb suggests you use any mix of bone-in skin-on cuts, but I have to say it’s hard to get breasts to cook at the same tenderness as thighs and drumsticks. The breasts cooked up faster and I was still waiting on the dark meat. I know that if you’re having guests (which I was) you really need to have both white and dark meat, but please, if you are going to make this and like dark meat, I’d stick to drumsticks and thighs. Much juicier!

To start, I focus on the bird. Cutting off excess fat and drying the chicken, then sprinkling each piece with kosher salt and pepper. Since the chicken will take a little bit of time in the pan, it was okay to worry about the accoutrements after I got the chicken in the pan. Then, go ahead and heat up your pan, add a very tiny bit of oil and sear away on the skin-side first!

2014-01-06 18.25.55After washing my hands and being chicken free, I sliced shallots very thinly and measured out 1.5 cups each of grapes and olives. I decided to serve with a side of lemony garlic asparagus, so I also washed and prepped those. Set out your white wine and chicken broth for later.

2014-01-06 18.25.49

2014-01-06 18.25.47


After searing my two batches of chicken and gaining a thin film of chicken fat on my shirt, I nestled the chicken into a roasting pan and mixed these guys over top. I thought it would need some salt or flavoring or something, but turns out the blend of sweet grapes and really salty olives kept it flavorful.

2014-01-06 18.39.17When the chicken emerged from the oven after around 23 minutes, I scraped the juices back into the skillet to make the white wine and chicken broth sauce. Pour over top and garnish with fresh rosemary. I served this with crusty french bread and steamed asparagus yummmm.

2014-01-06 19.35.29


Cornbread Testing – Joy’s Brown Butter Rosemary Orange Cornbread

Standard

photo (77)

I was a bit timid bringing the rest of this batch into work the next day, because it’s definitely not what you’d expect when biting into a cornbread square! But I think the intense moisture gives you a bit of open-mindedness going into the rich orange and rosemary flavors. If there’s one thing I require in my cornbread, it’s density!! They liked it, so you should bring it to work too 🙂

Mind you, this was like numero 10 on the midnight  toaster-oven bake series, for no other reason except I had to finally test this. And I FINALLY had an orange lying around. Maybe even if you want some natural potpourri this would be a good thing to make. My favorite part of these kinds of recipes is when you make the flavored sugar. You press the orange zest and rosemary into the sugar and it brings out the natural oils/essence in the fruit and herbs. A simple mix of wet and dry, this cornbread is simple yet seems pretty sophisticated right? Maybe this is meant alongside chili, but I liked it with a cup of milk or just as a regular piece of bread with my lunch.

What recipes do you like to vary? My friends Collin and Mike came over on Monday and Mike brought an AMAZZINNGG mouthwatering, sweet, dense cornbread (see meal pics at the bottom). Chili and cornbread can’t be beat. This weekend I’m making white chicken chili…got any recipe suggestions?

photo (65)

photo (66)

photo (64)

photo (63)

photo (75)

chili and a different cornbread that’s classic and amazing…thanks Mike!

photo (76)