Category Archives: Mains

Korean Steak Tacos with Pear Mango Cilantro Slaw

Standard

2014-06-20 22.15.33

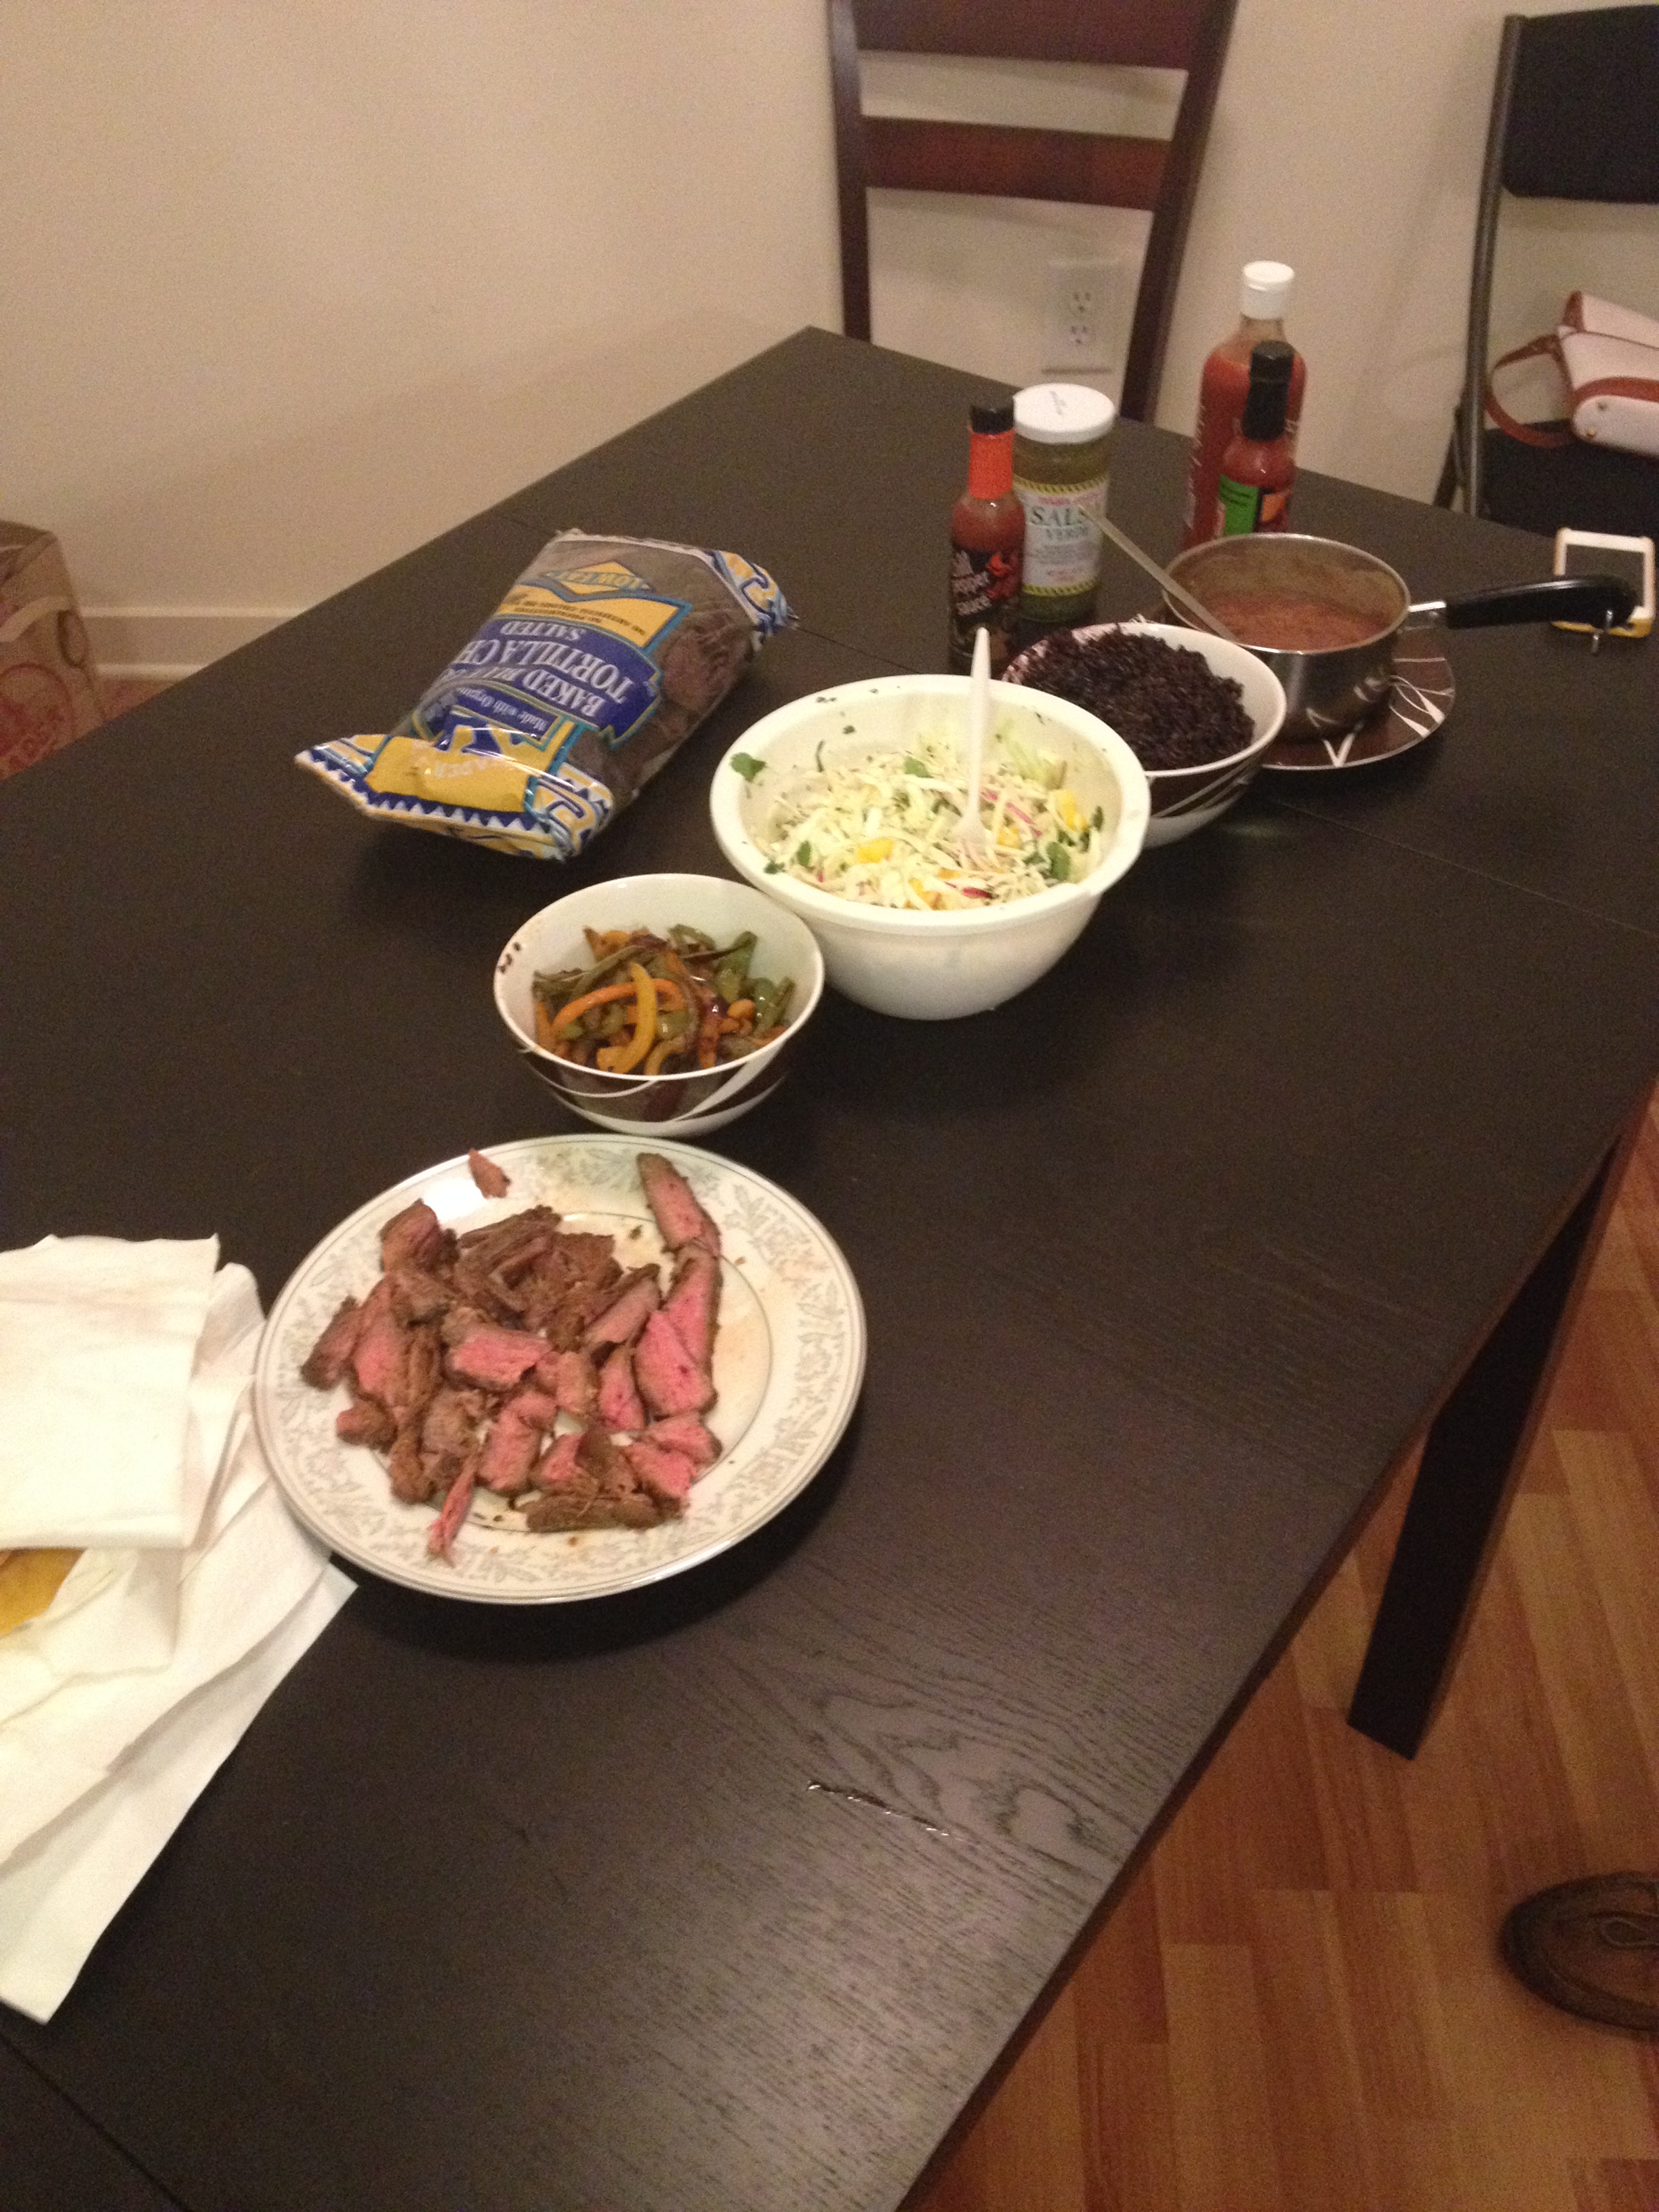
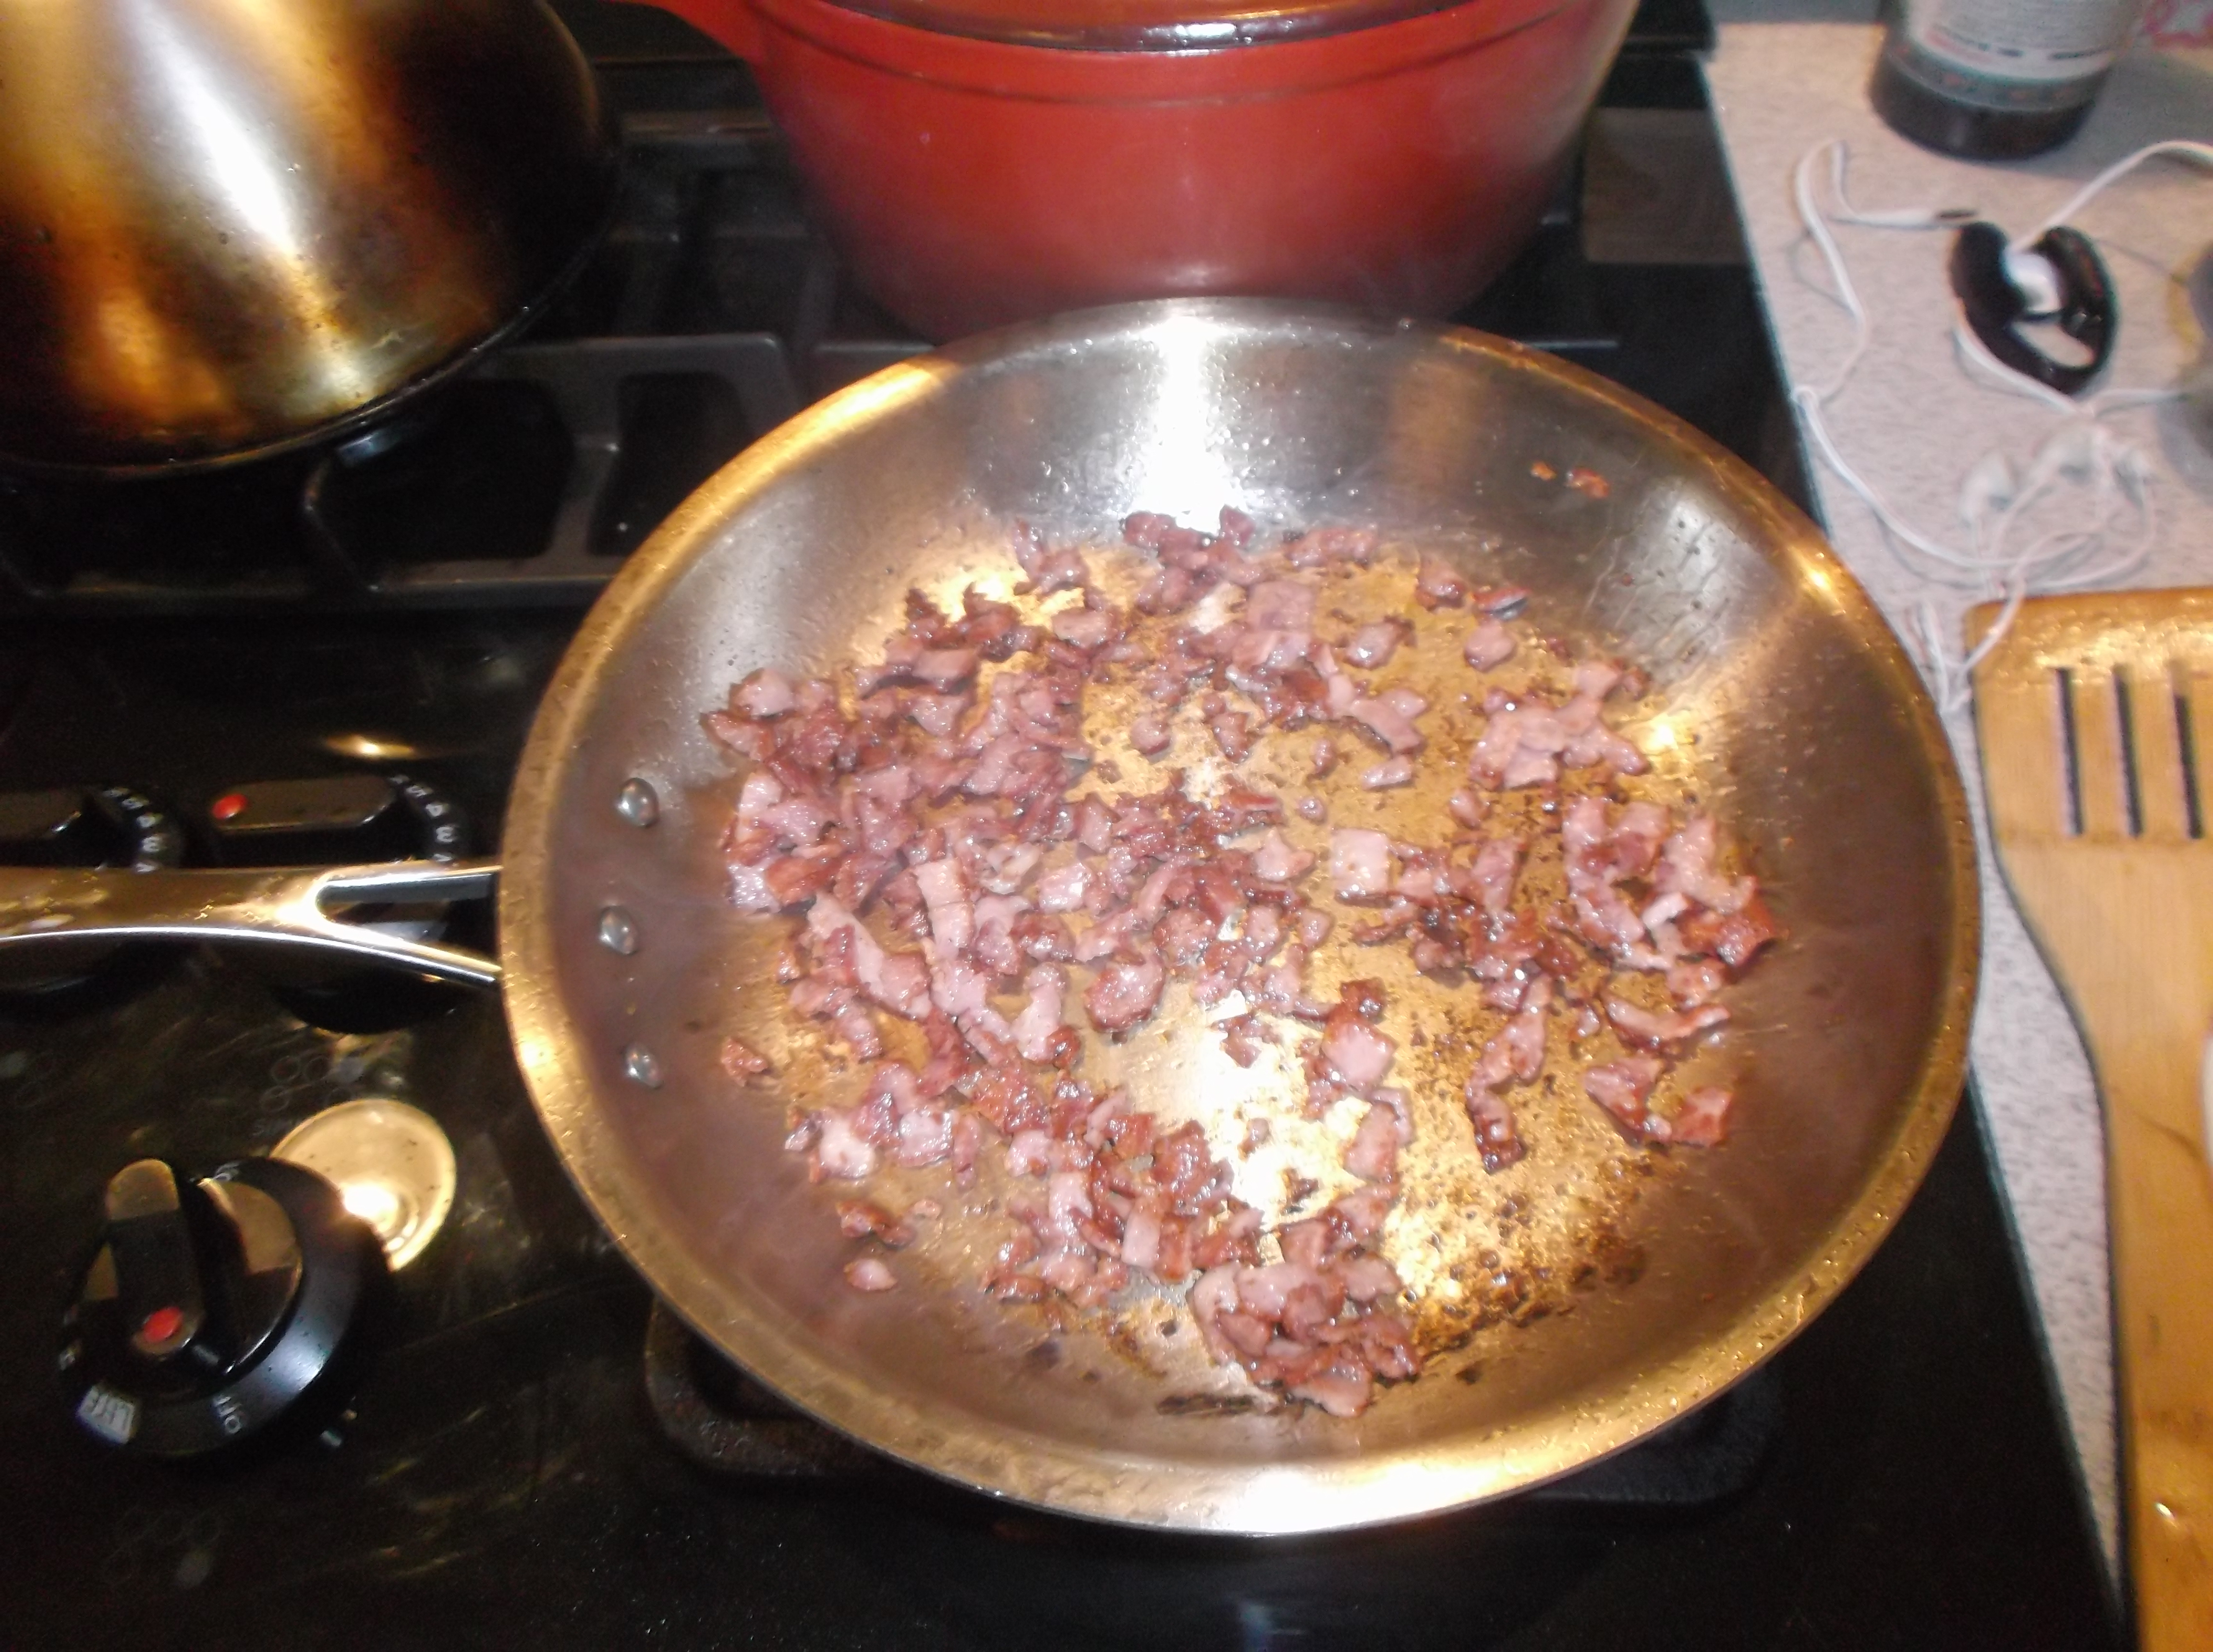
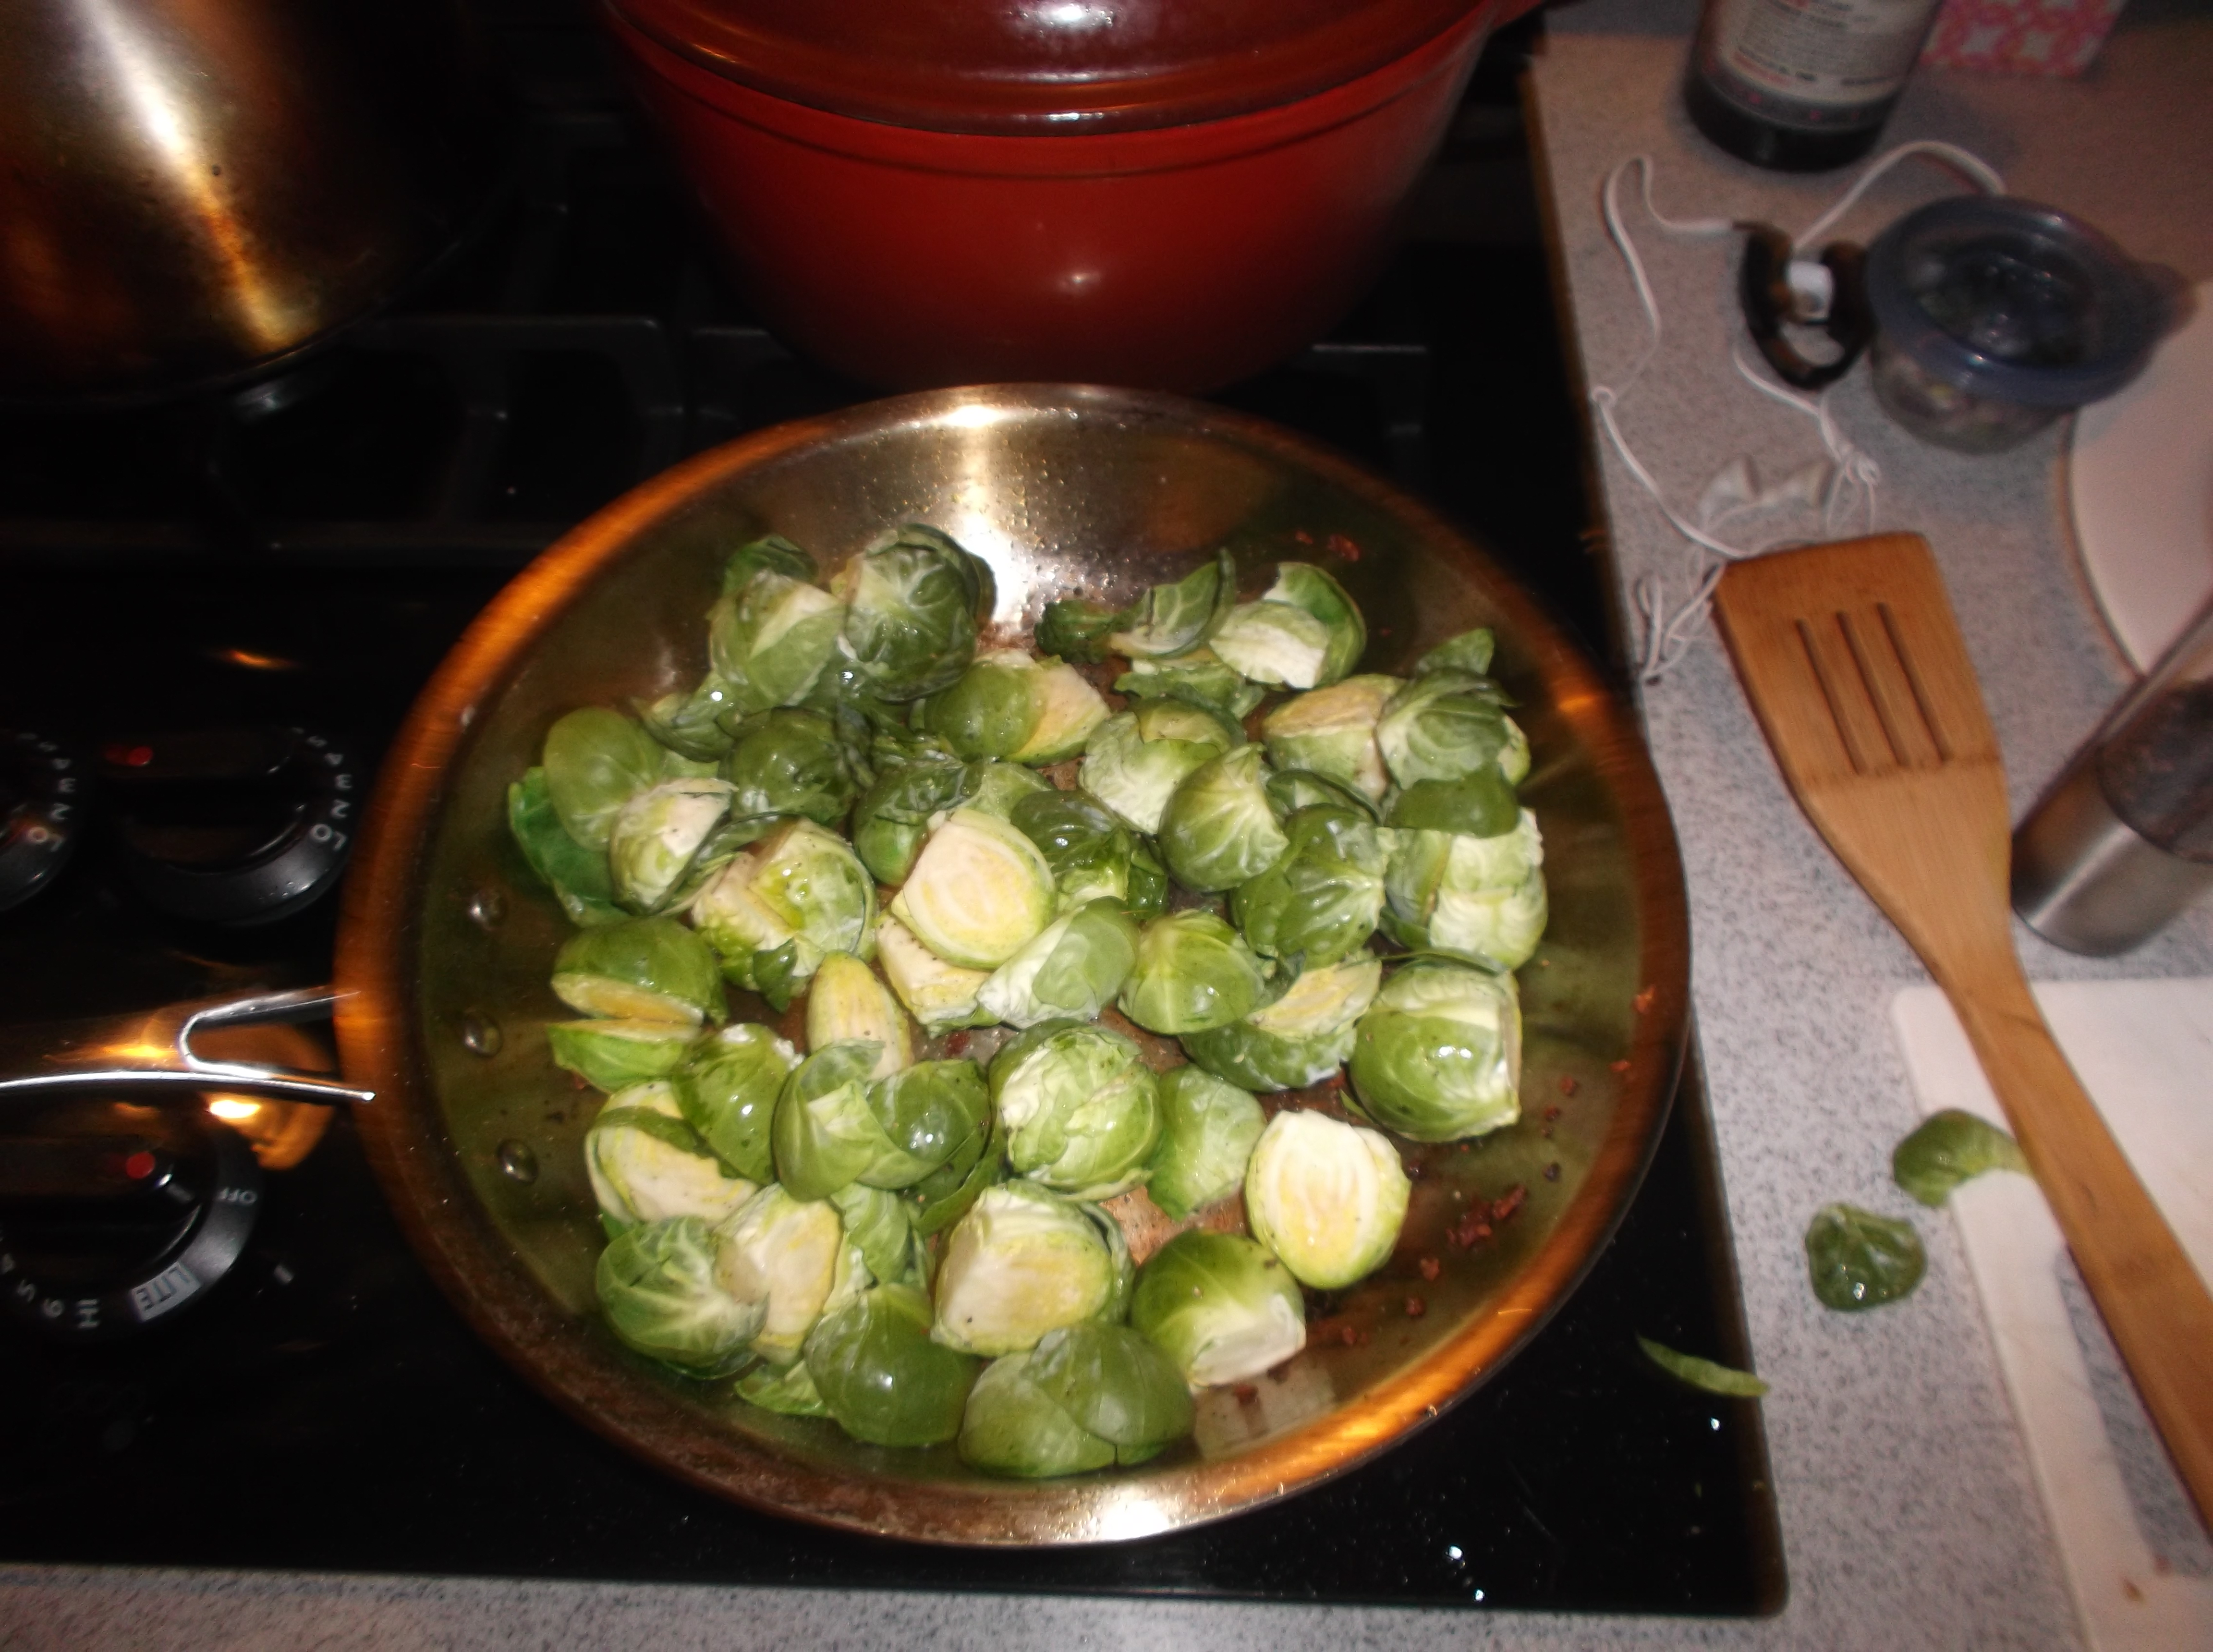
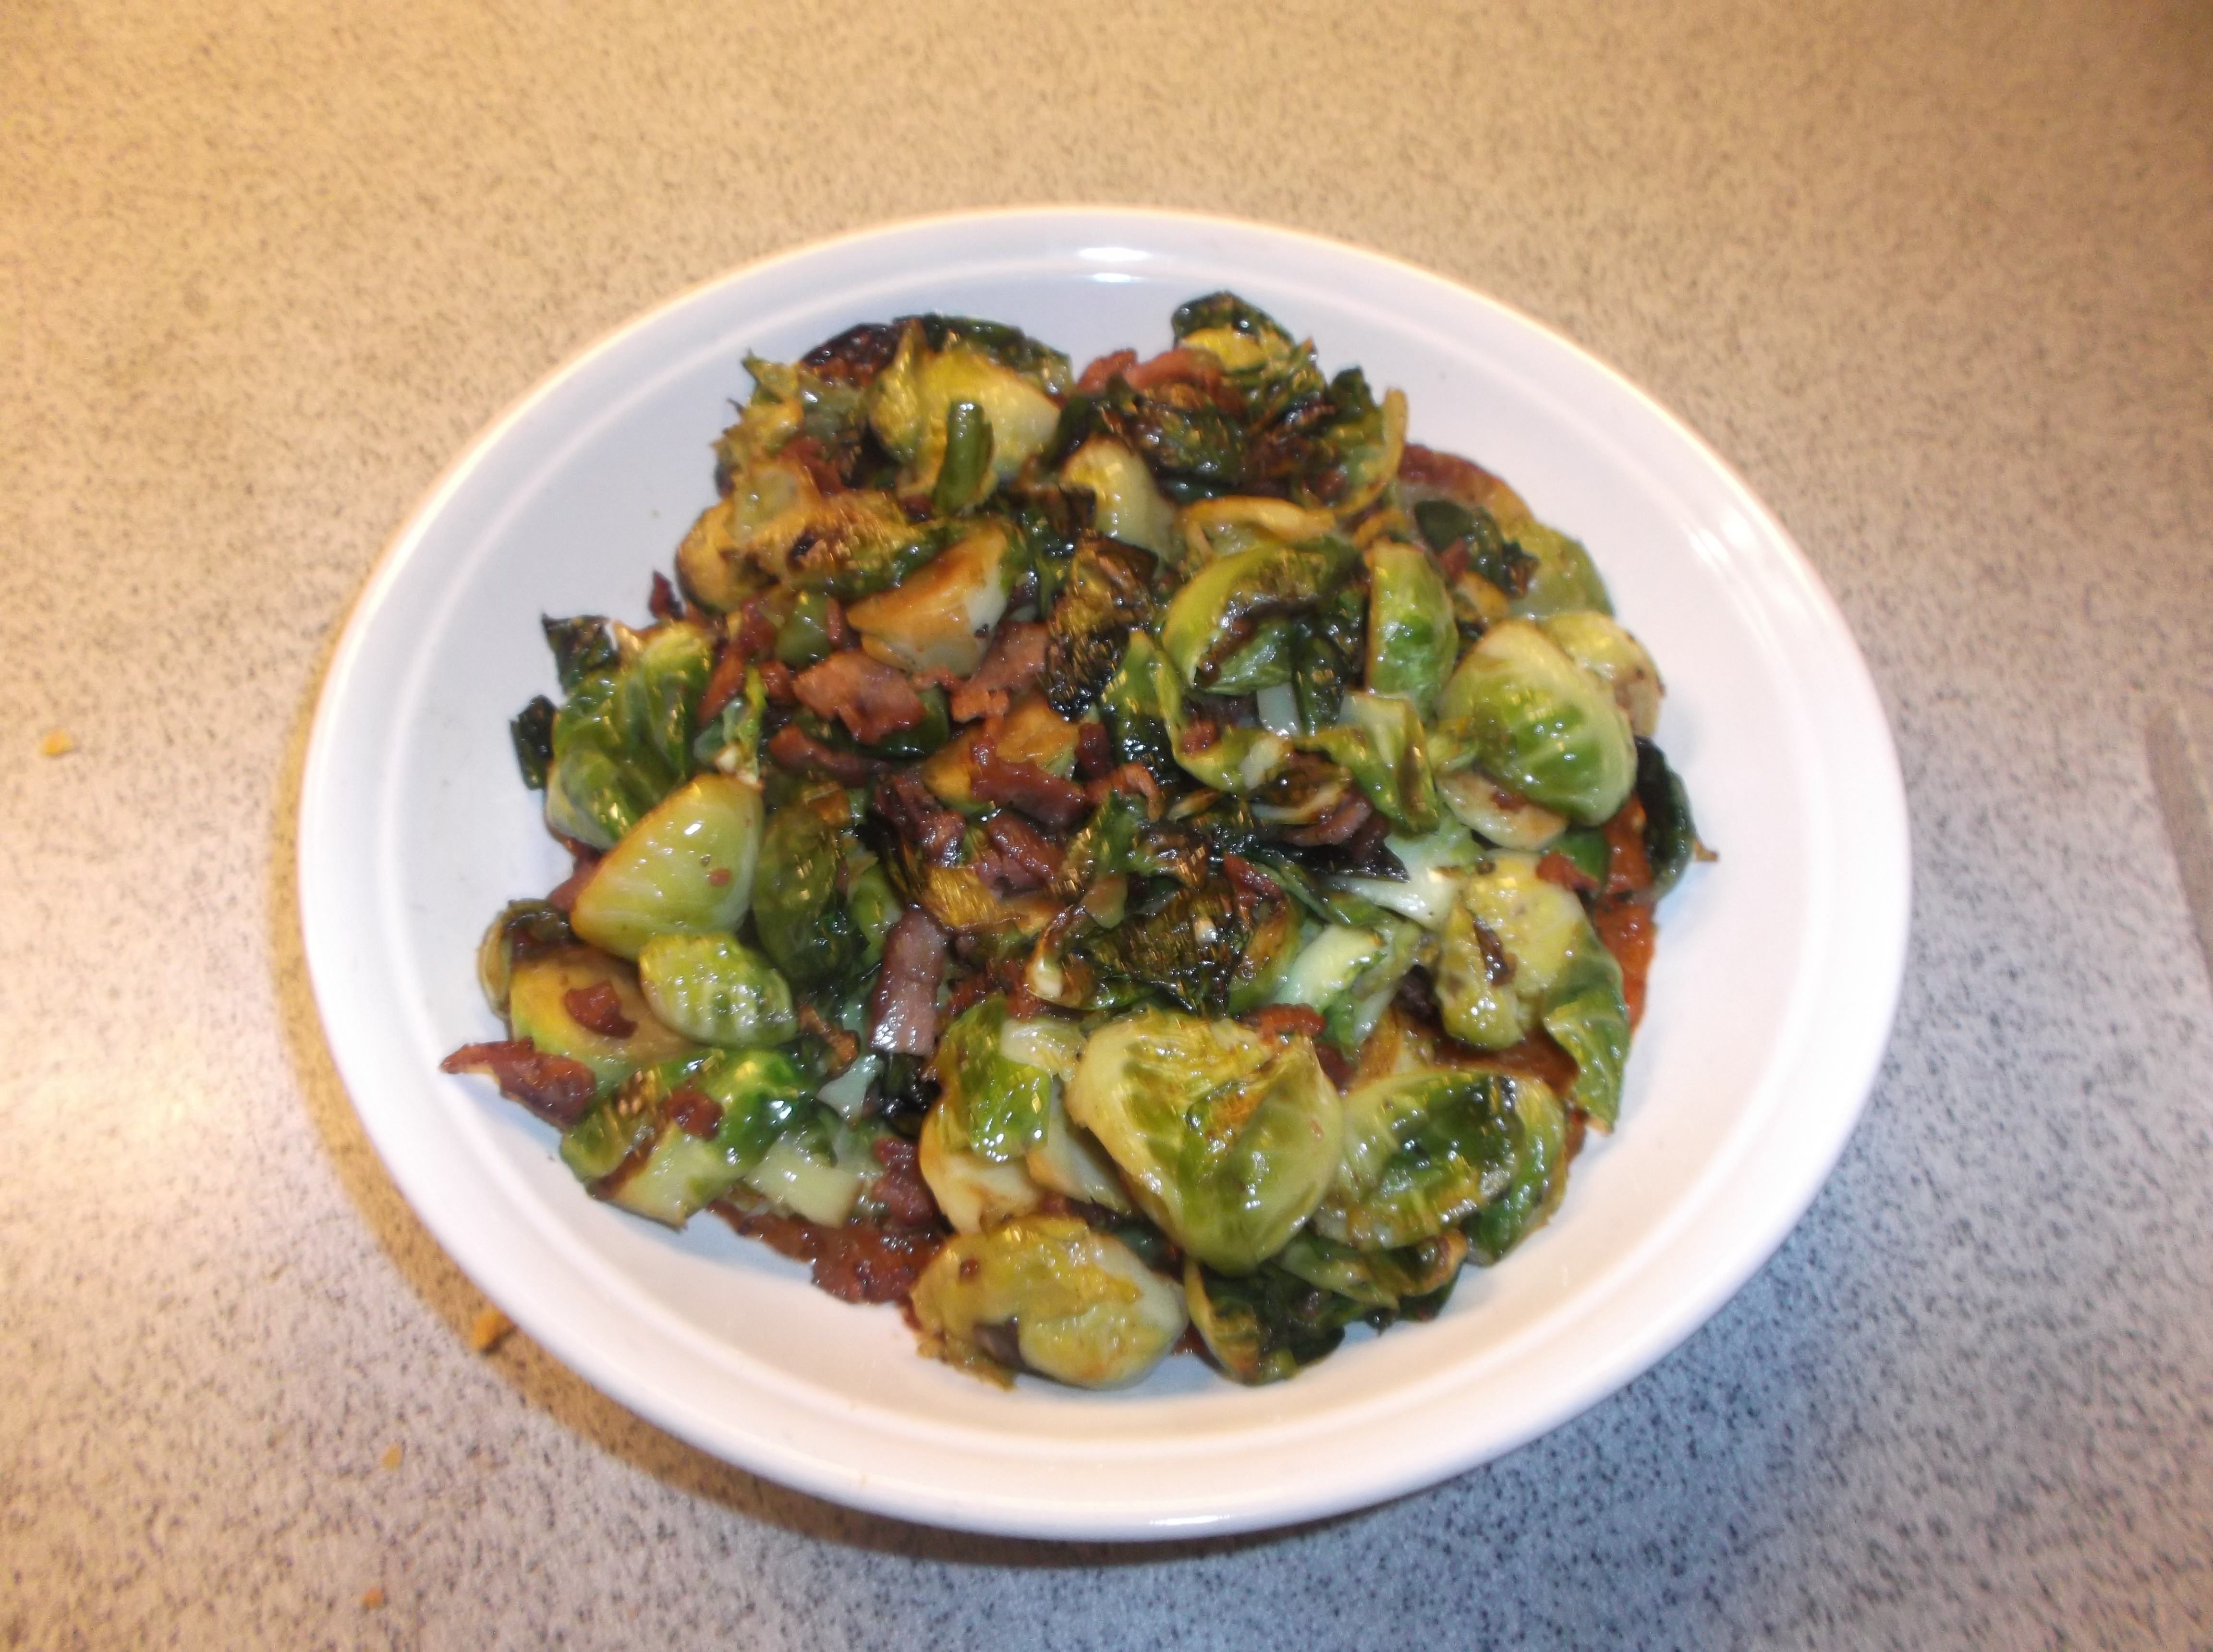
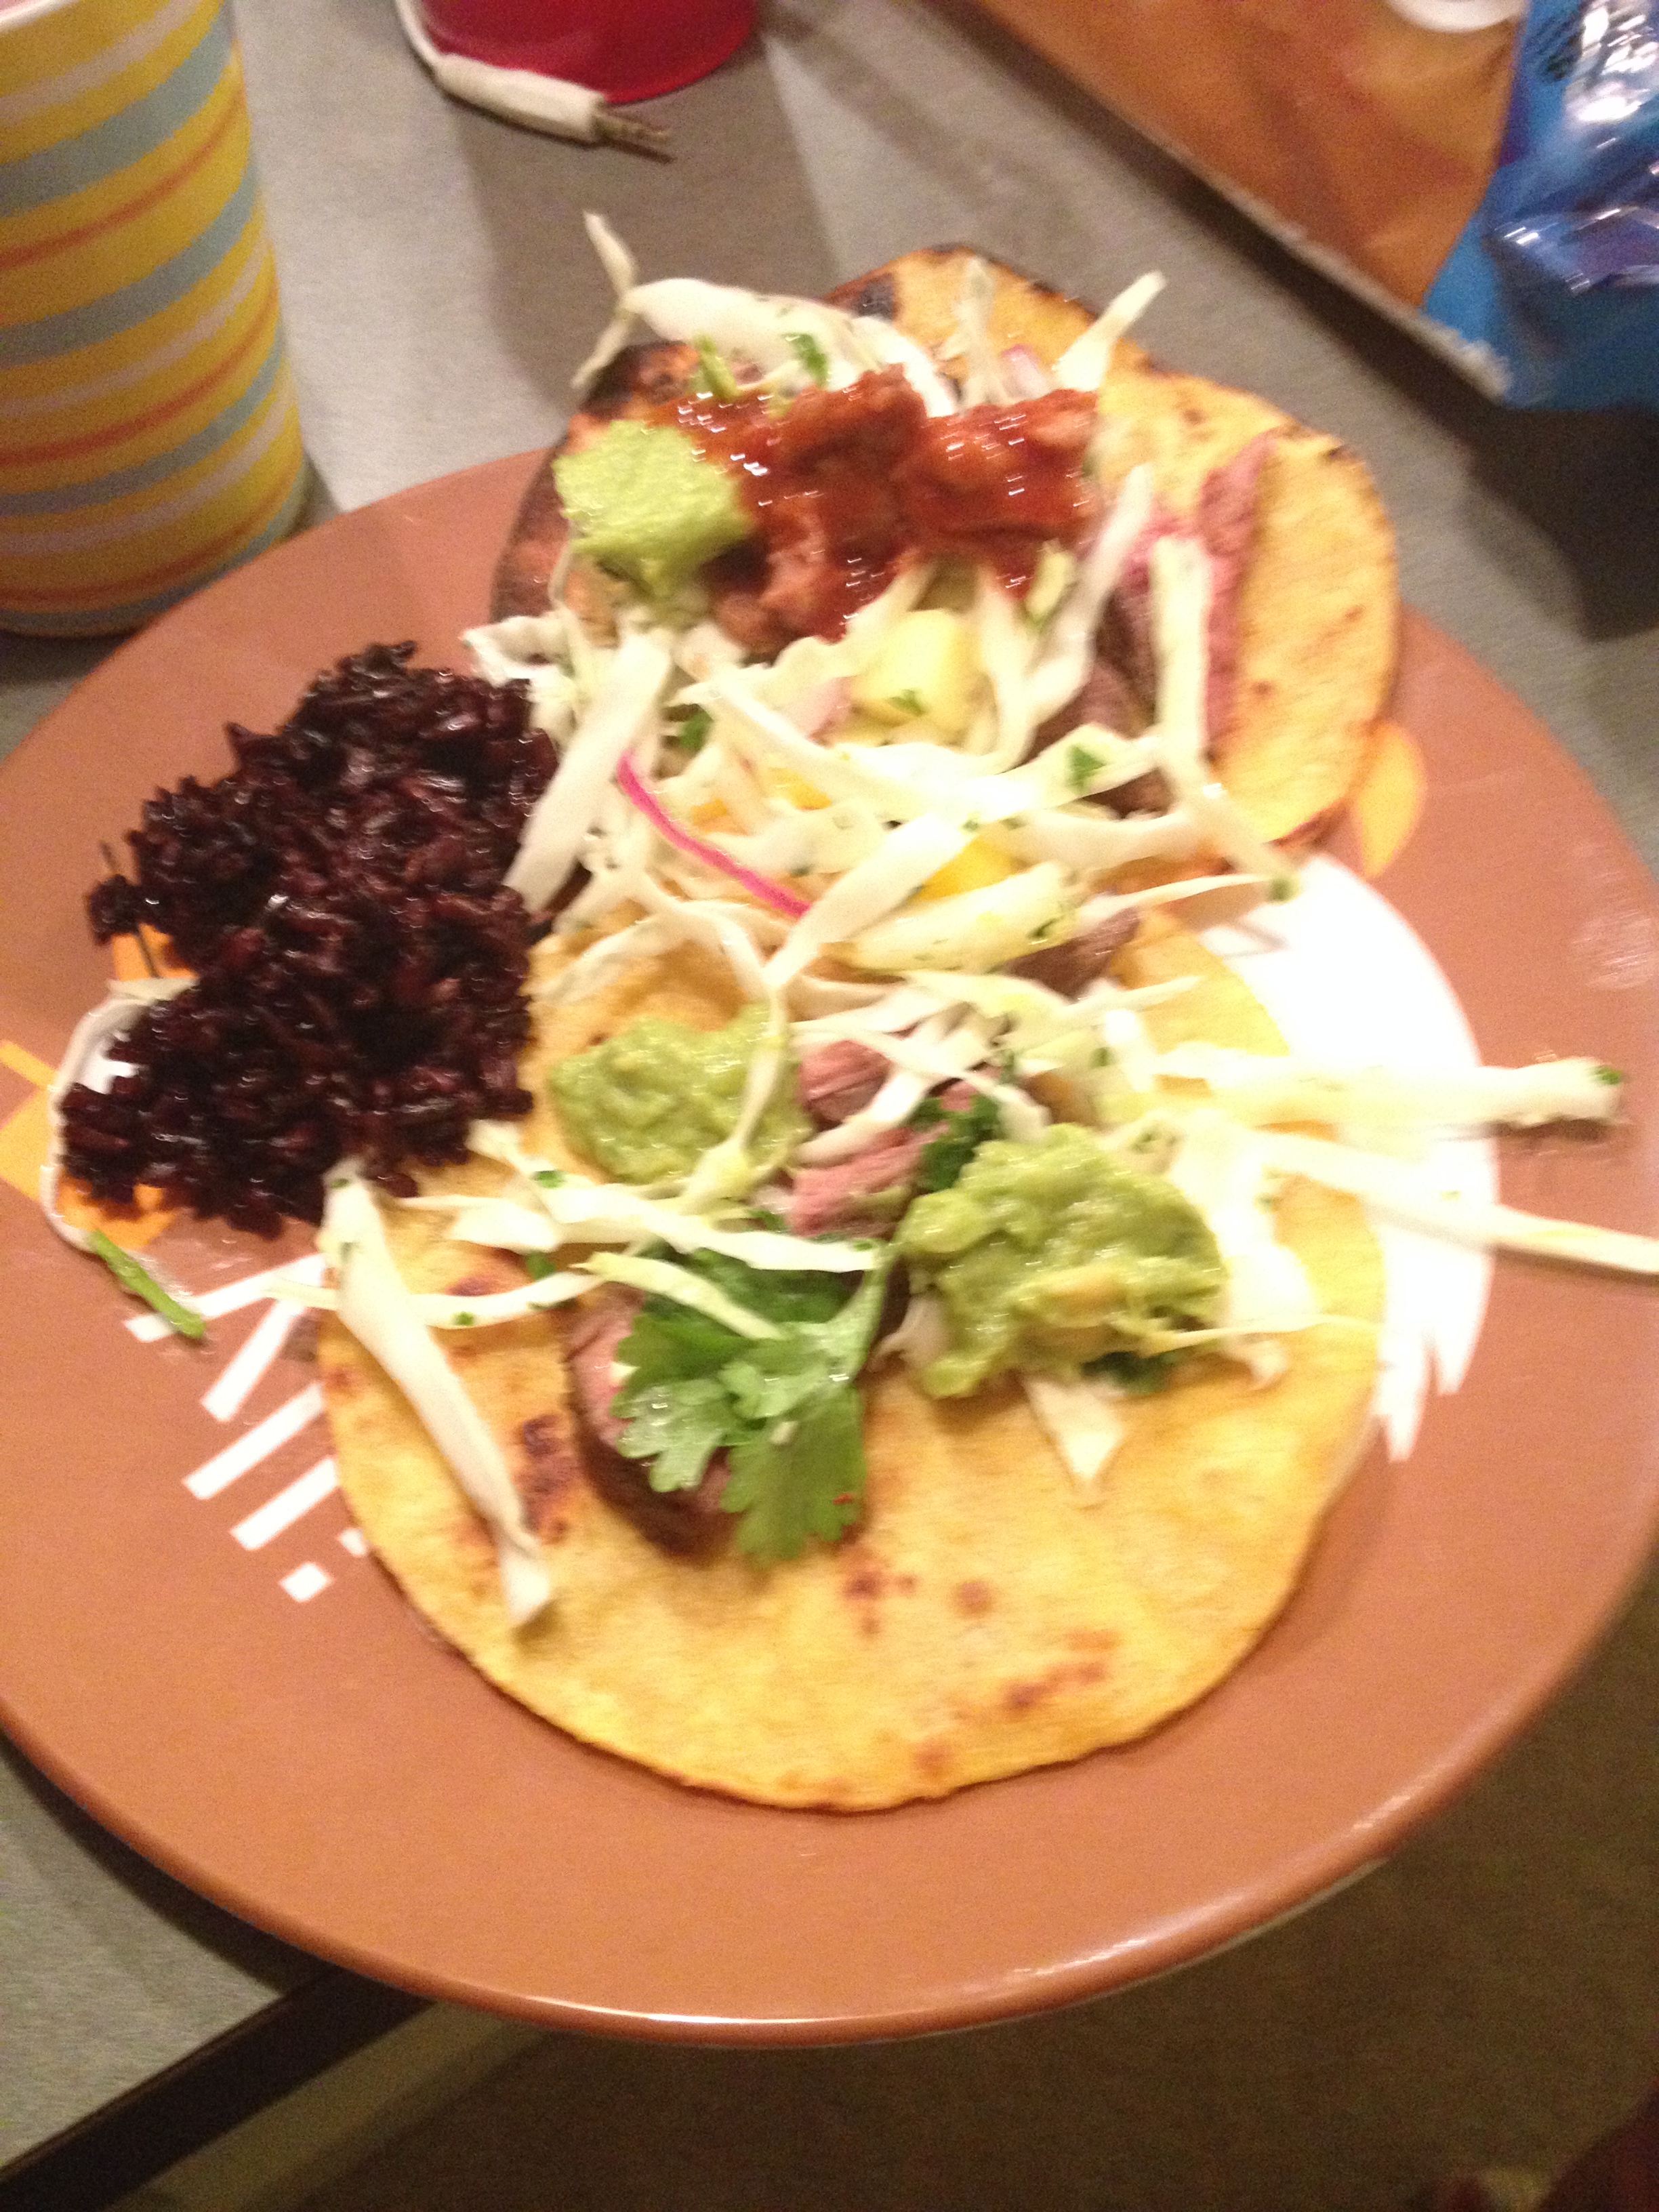
I am back friends! Sorry for the extensive delay, I have no excuses! I have to tell you something – these are the best steak tacos I’ve ever made. Coincidentally the ONLY ones I’ve ever made as well. I haven’t entertained in a while and had it easy this time because I cooked with my friend Caelan Β – a gem of a host. The fact that it took us 30 minutes to cook a steak didn’t phase him a bit and I’m also very grateful he didn’t get mad at me for literally incinerating his pans while frying tortillas! Thanks Caelan!

If you are going to make this recipe, please use your grill! It’s quite a simple recipe taken from mountainmamacooks, however we tried to cook the steak in the broiler and haven’t mastered that quite yet….SO, here we go.

Are you loving loving loving summer? Or just one loving? It’s a triple loving summer for me. I just moved into an apartment with about 1 foot of counter space, have a porch swing, my roommate’s moving here in a week, and it’s the season for endless frozen yogurt.

Let me tell you very briefly about a few things I’m triple-loving this June. My mom brought me three herb plants for my front porch which was the highlight of my week. Let’s all cross our fingers that they don’t get knocked over or stolen (yes, that’s happened). I’ve had some solid popsicles in the past month including a blackberry ginger one and a pomegranate margarita. There’s beer ice cream out there also. I ate a jalapeno corndog at a festival and discovered the sensation that is Trombone Shorty. Annnndddd I made these tacos.

I’ve had this recipe on my pinterest for some time now, but I wanted to save it for a time when someone familiar with steak could help me out! Cue damsel in distress music. Honestly, this meal – while served about 1.5 hours later than expected, was fantastic. When I told my mom about how there happened to be enough for everyone, she said “like the loaves and fishes!” And I thought, exactly.

It’s funny how there’s always enough, isn’t there? The more people that you are surrounded with, it seems that we’d all need more food to keep us going – but really the more good company there is, the less the food matters. Shoot, is this post becoming pointless?! I’ll post pics soon, then you’ll listen.

Korean Steak Tacos with Pear Mango Cilantro Slaw, adapted from mountain mama cooks

1 2.5 lb flank steak

1/2 cup fresh cilantro (stems are ok)

2.5 TBS brown sugar

3 TBS soy sauce

3 TBS veg oil

2 cloves garlic

1 -2 tsb chili garlic sauce

1/2 tsp coriander

juice of half a lime
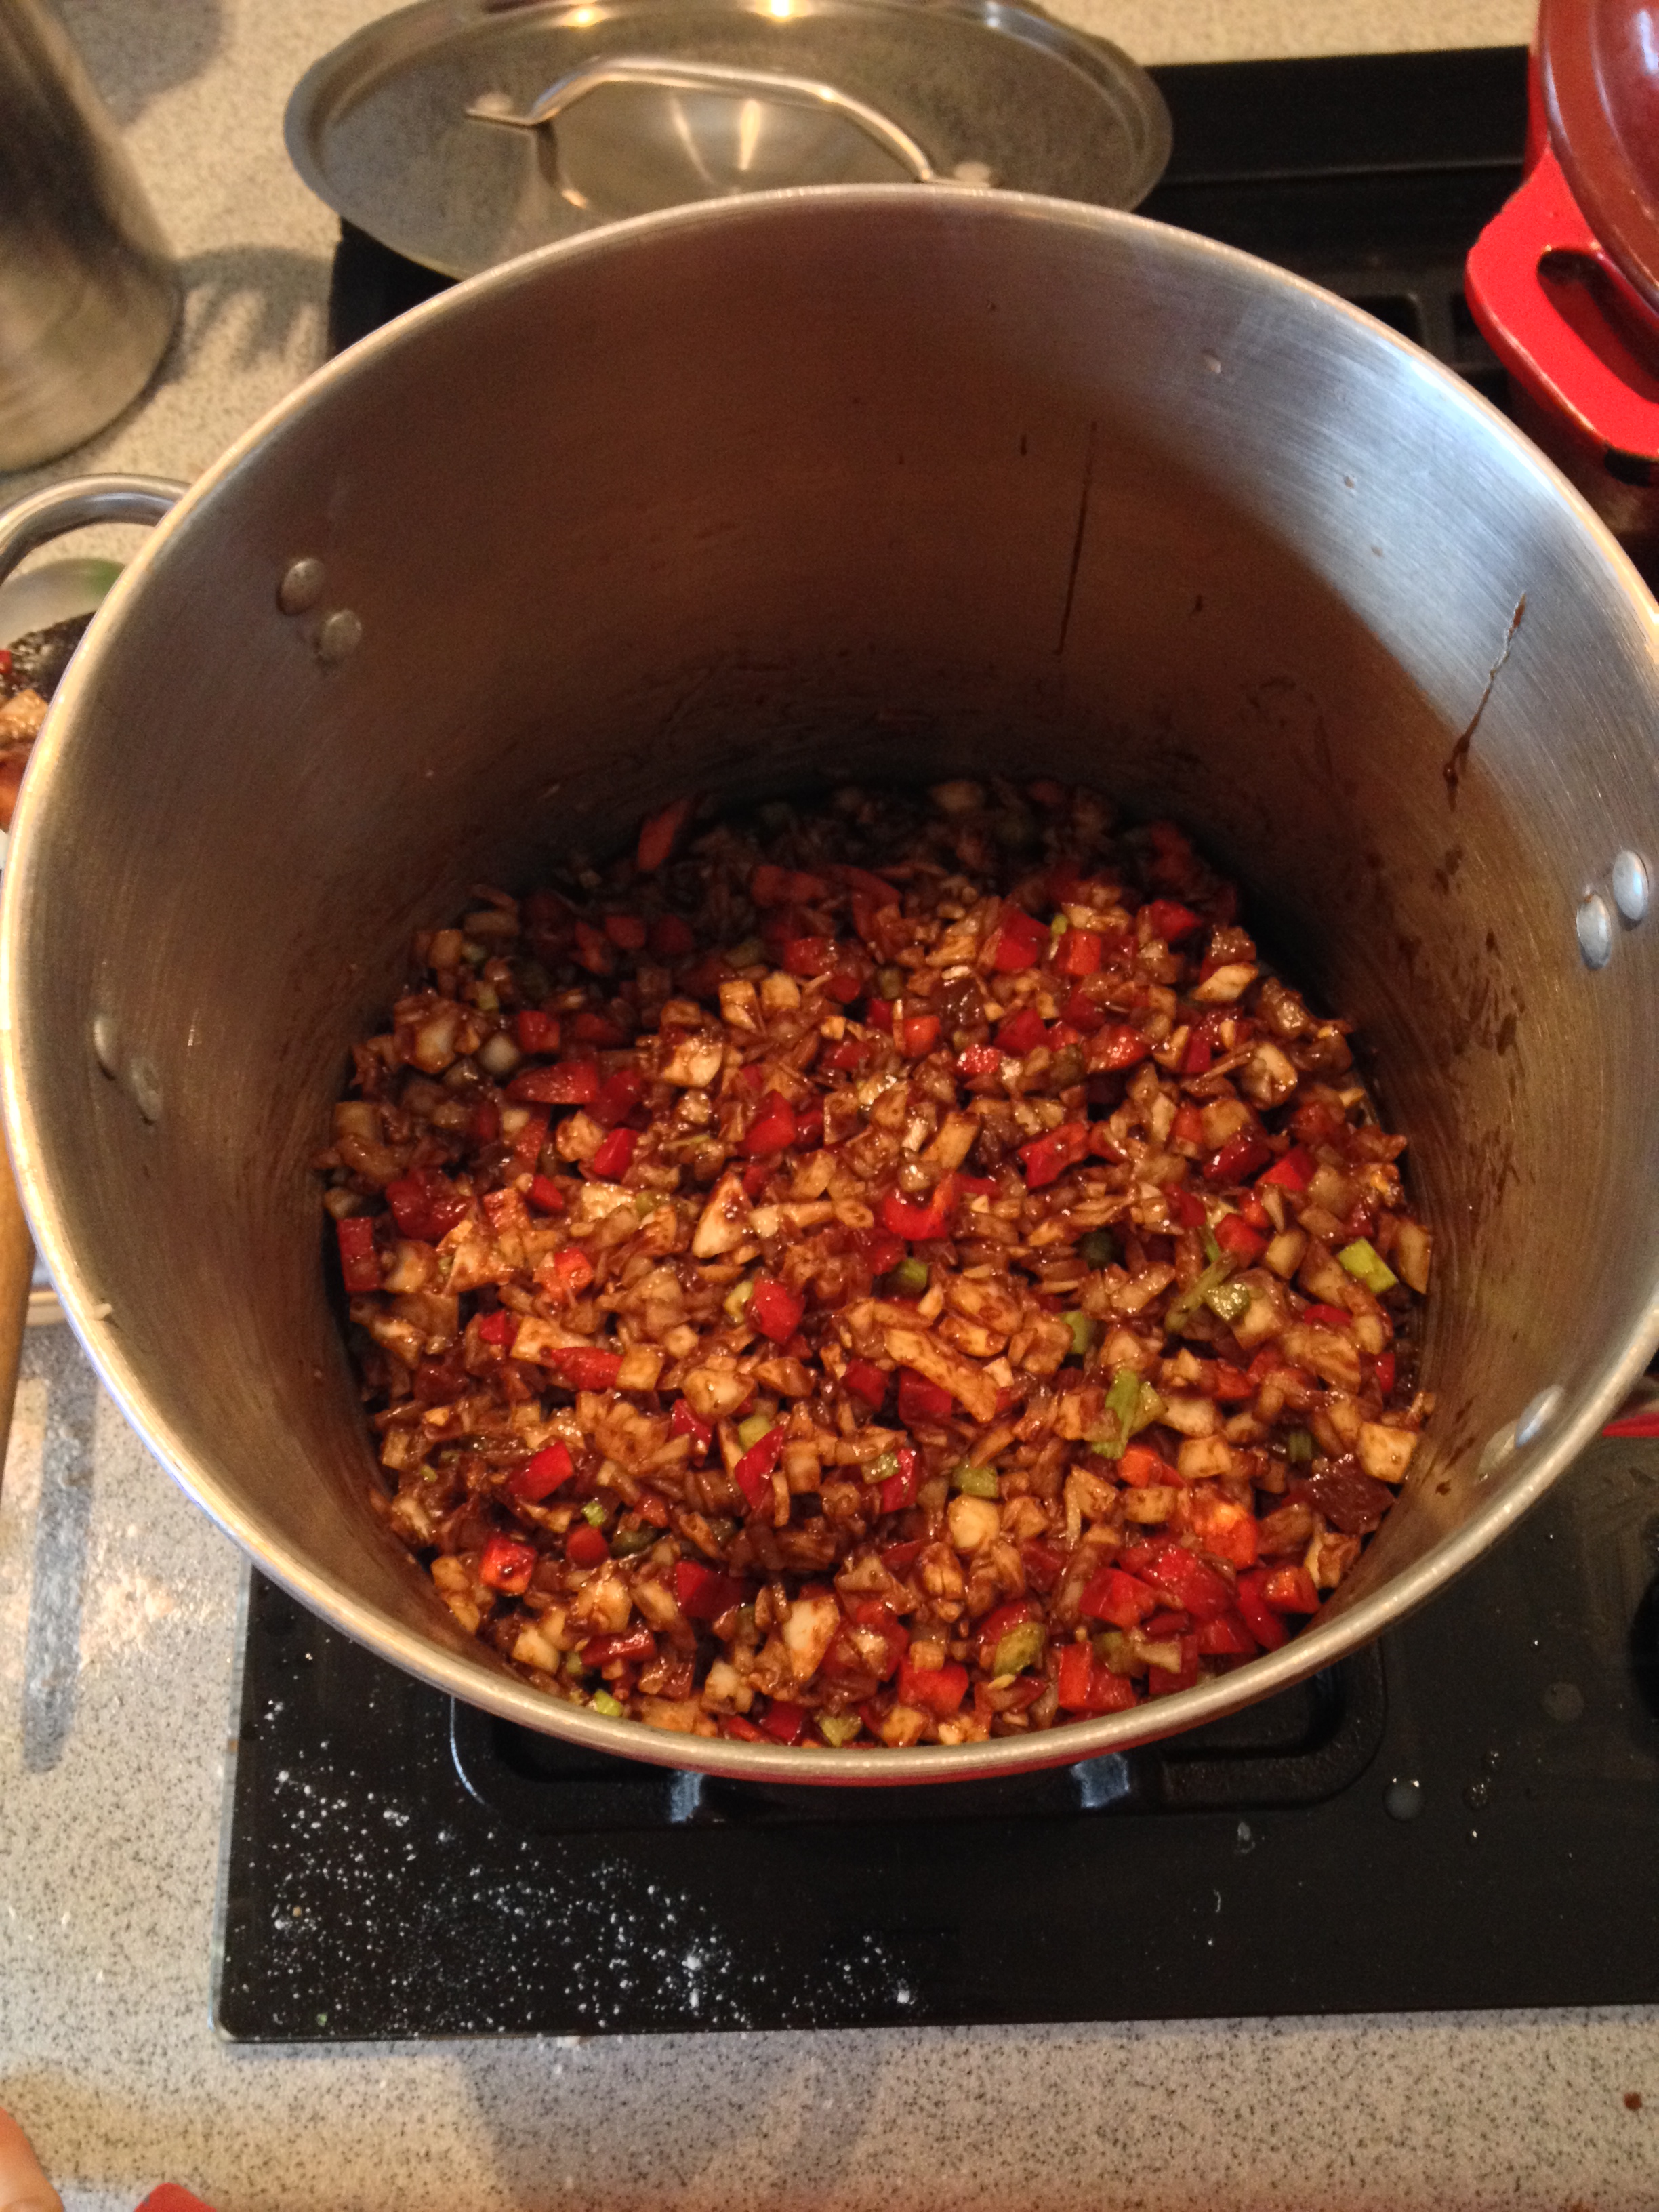
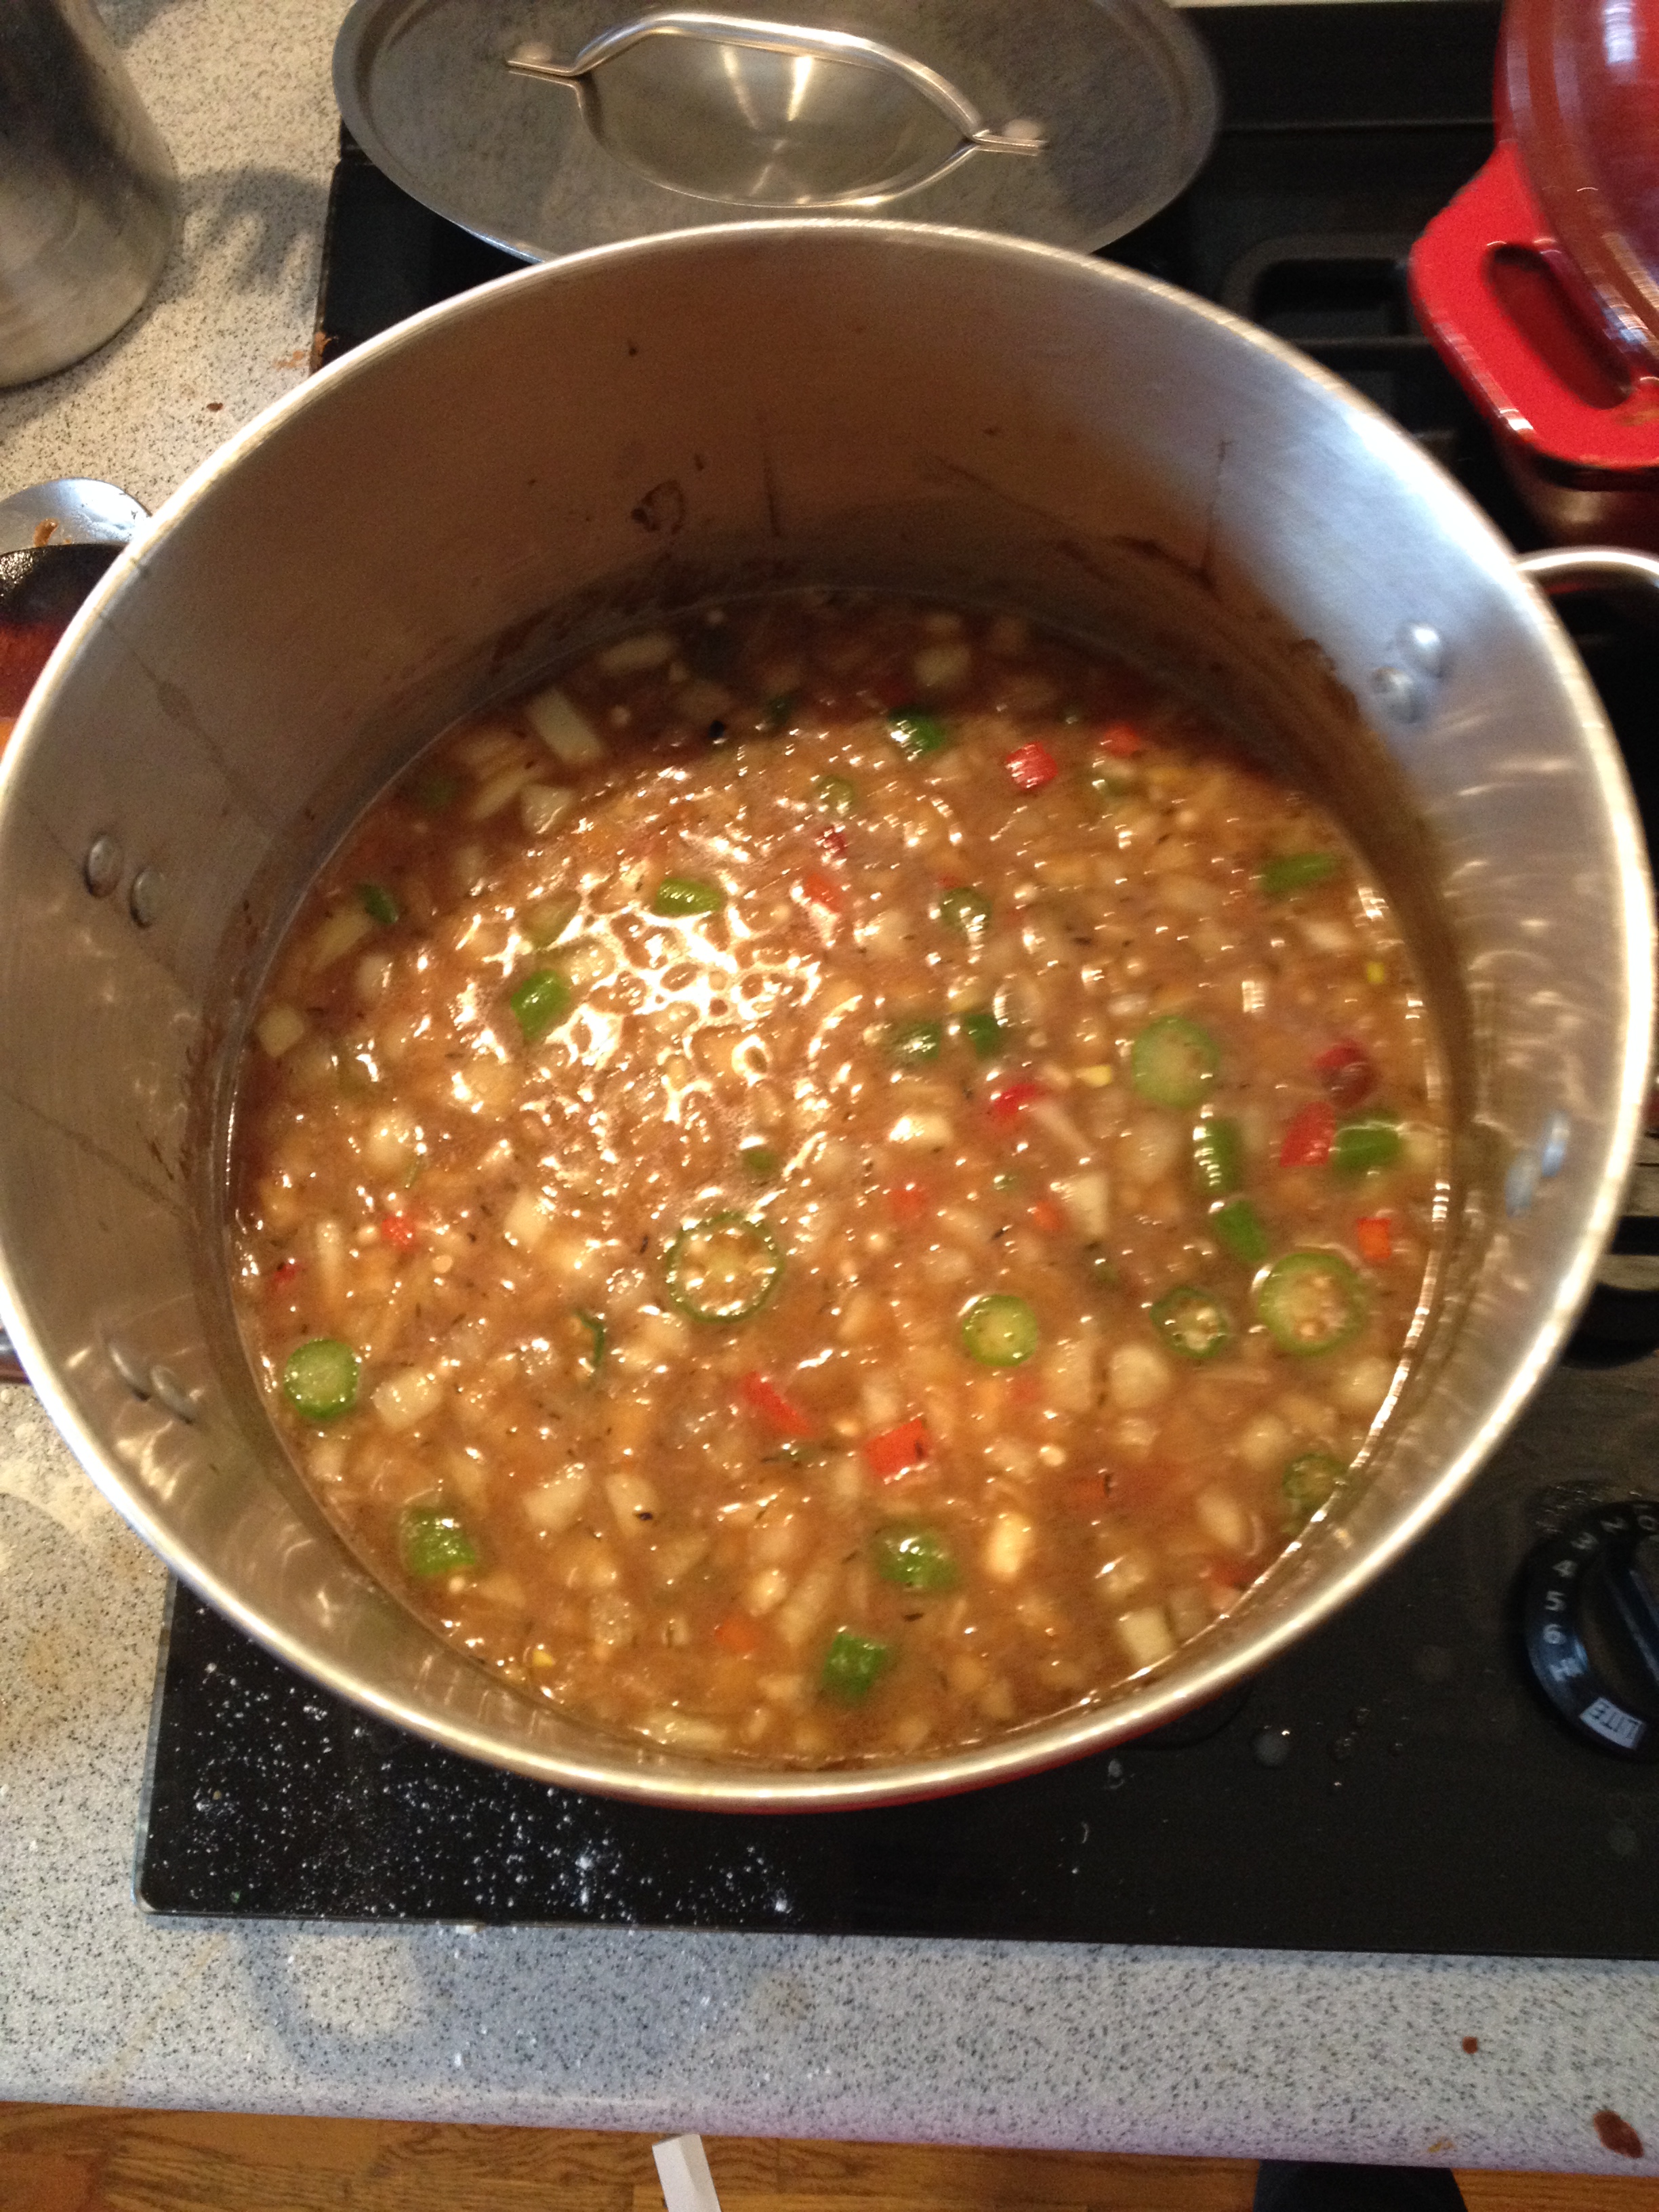
for the slaw:

1/2 a head of green cabbage

1 pear, in thin strips

juice of 2 limes

3-4 TBS rice wine vinegar

1/4 bunch of cilantro, minced

1/2-1 mango, diced

kosher salt, red pepper flakes

For serving:

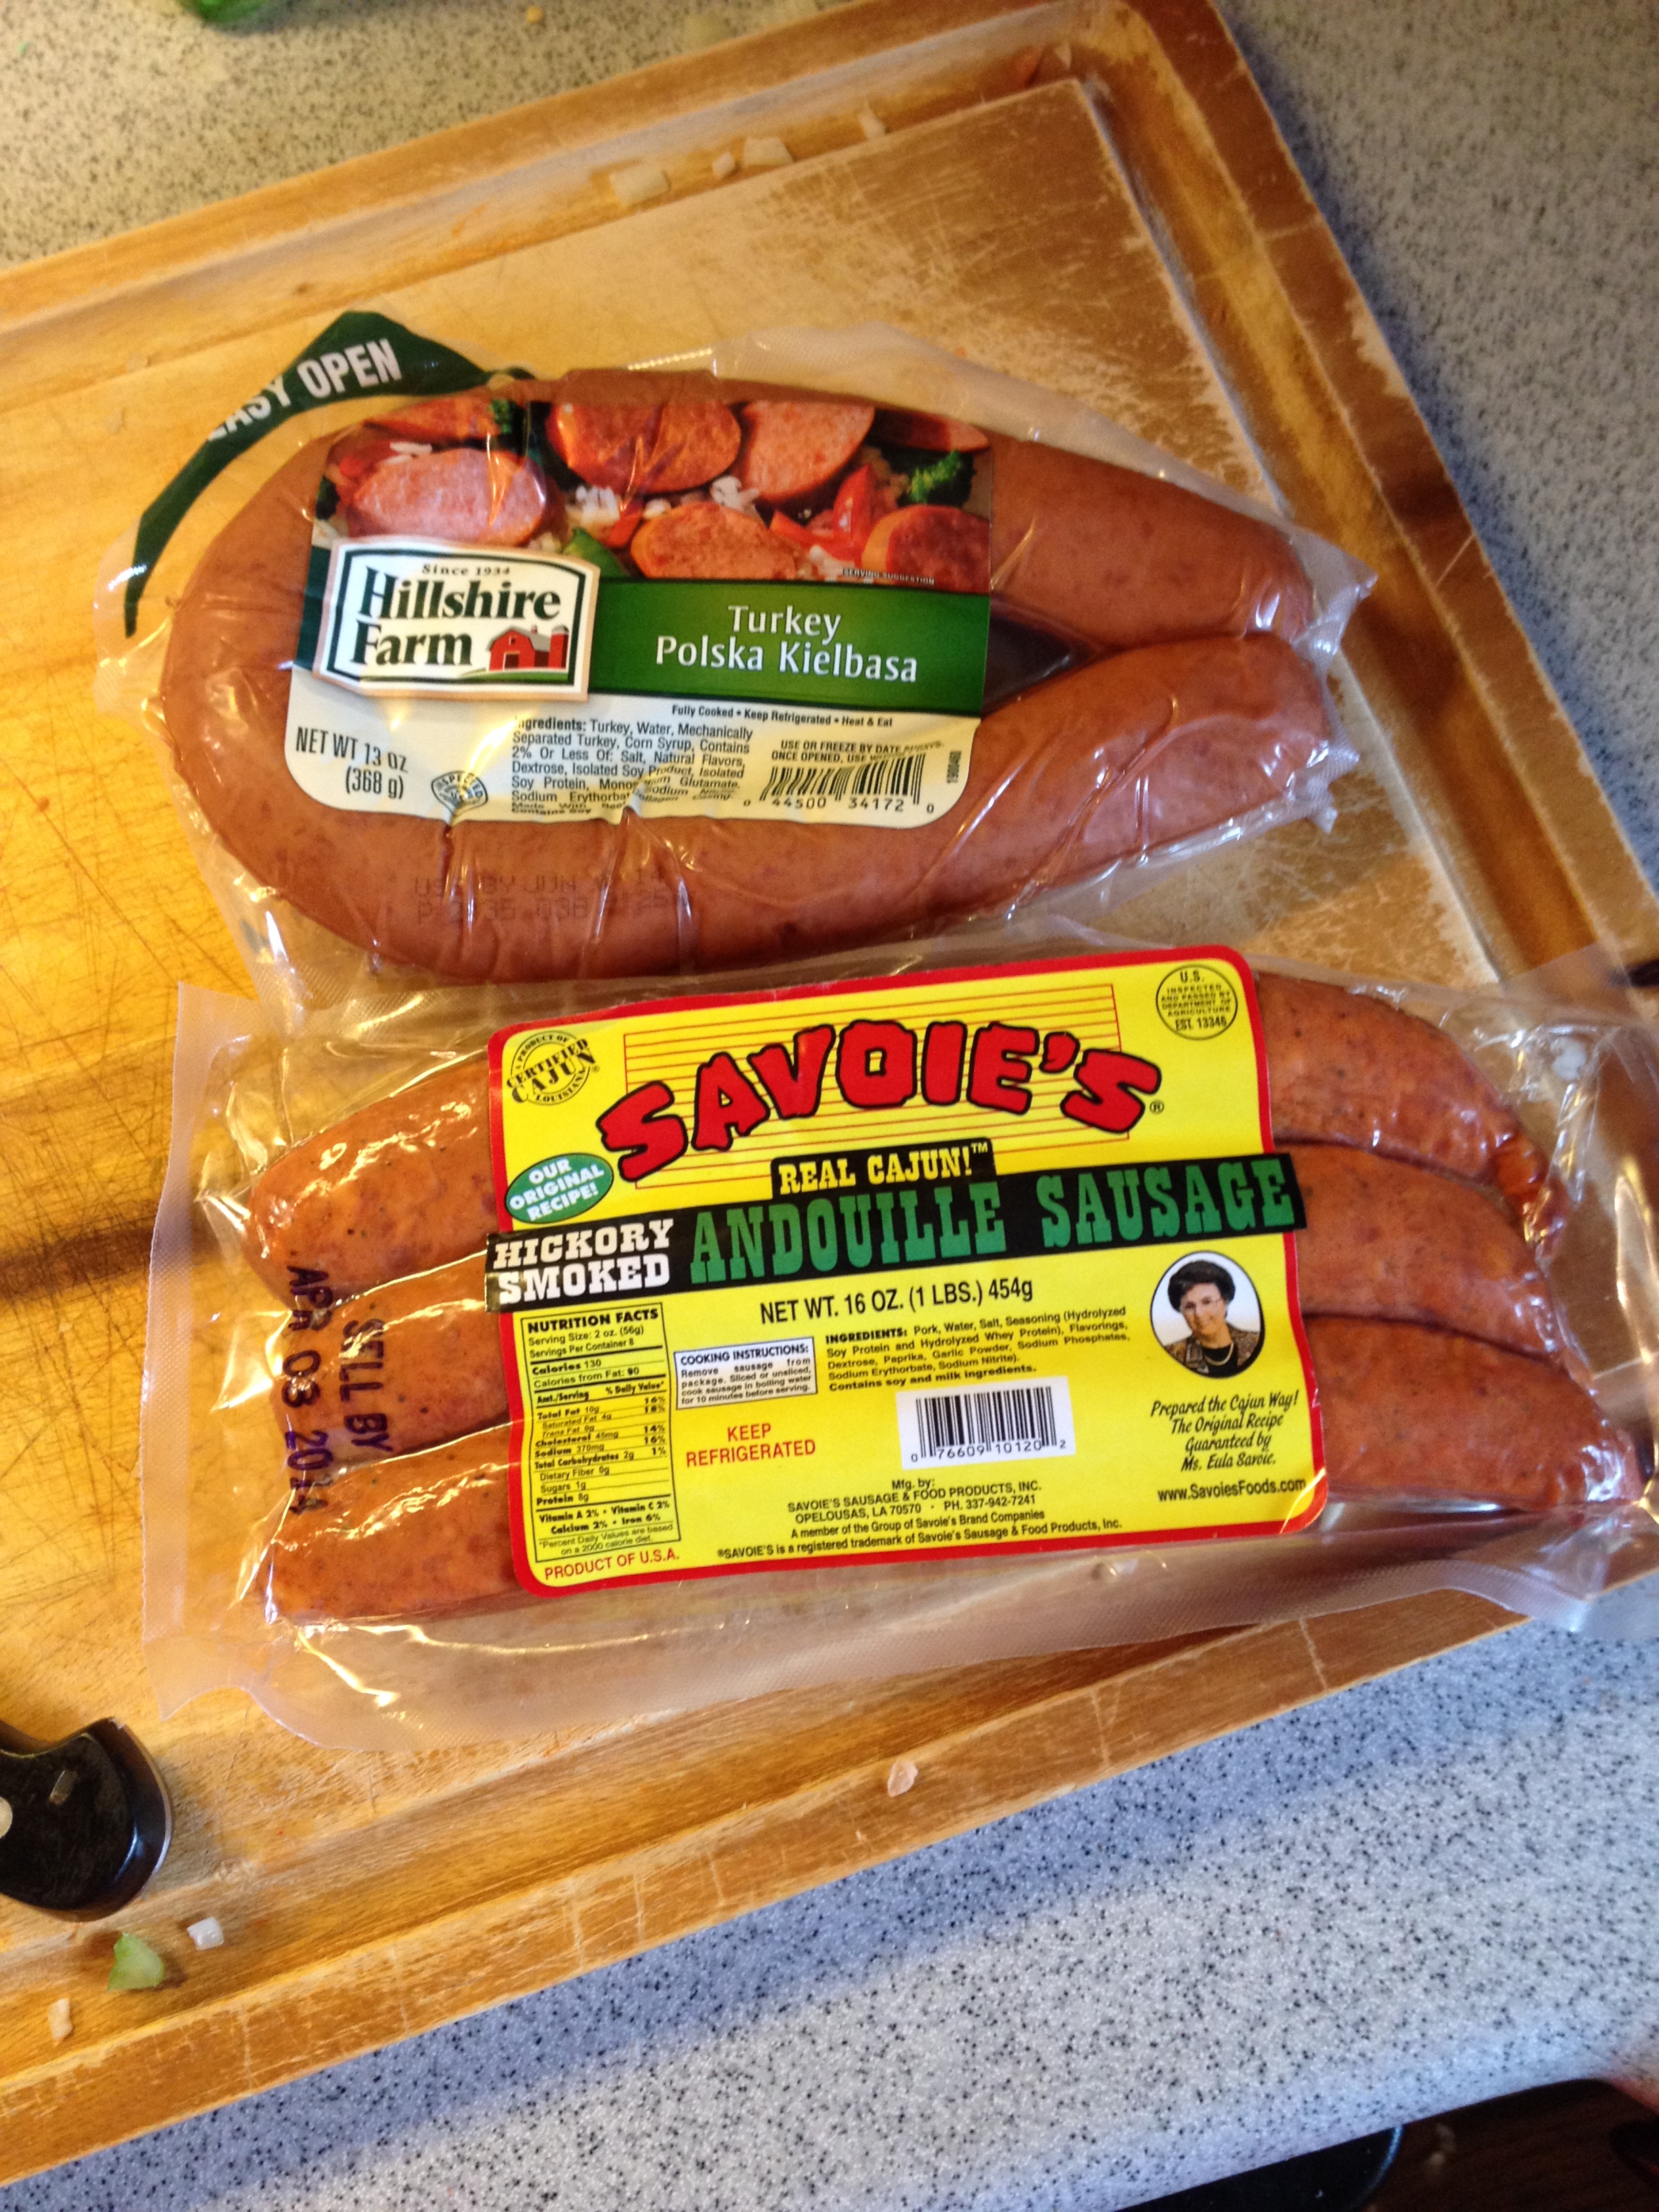
Corn tortillas, sauteed peppers, rice, guac, refried beans

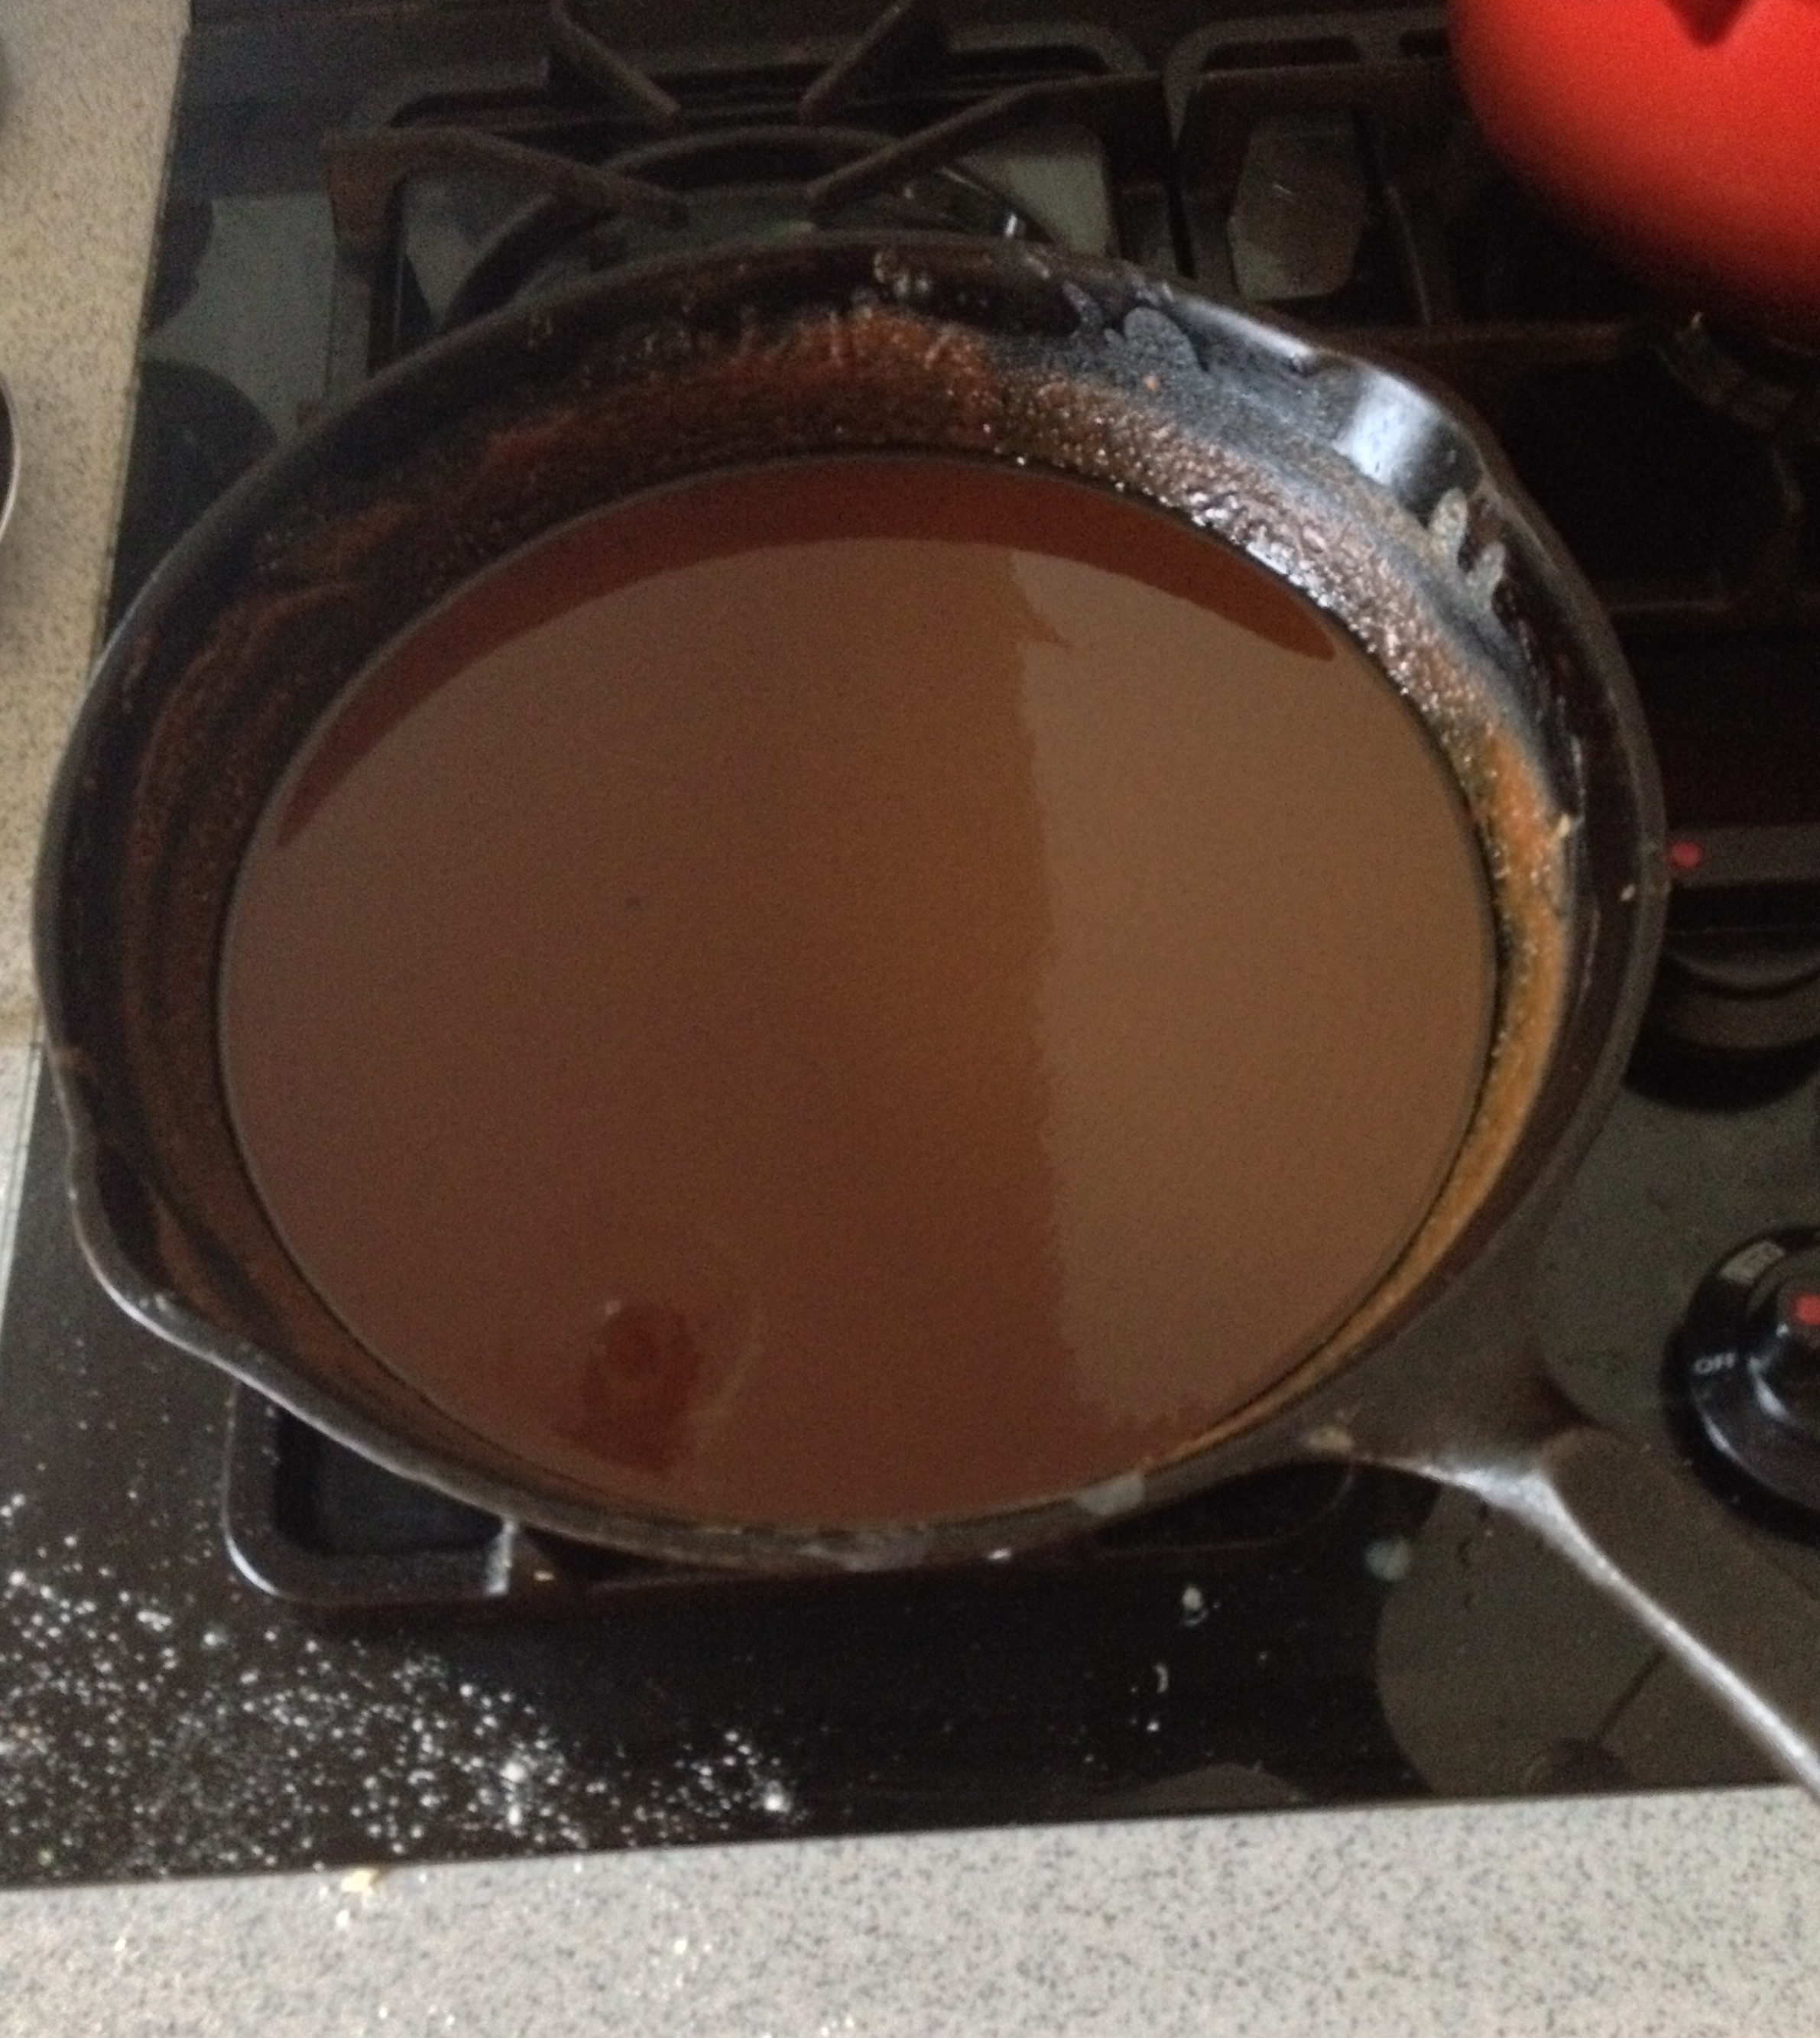
Marinate this steak in the morning or the night before you are going to cook it. I couldn’t tell if the recipe specified to actually blend (as in blend in the blender) the marinade or if it just meant mix the ingredients together. I decided to puree the marinade in the food processor which worked well as a sauce for the steak. Place the steak in a non-reactive dish or plastic bag with the marinade and place in the refrigerator (I did this in the morning of the day we cooked)

When it is time for the partay, assemble the slaw while you’re preheating the grill/broiler. Try to slice the cabbage as thin as possible. Toss together all the slaw ingredients to let the flavors meld before cooking the steak. Grill the steak for 10-12 minutes (says the recipe it took us like 30 minutes including stoppage time to broil it) total and let sit for 5-10 minutes before slicing.

To fry tortillas I used two methods. One was to fill a saute pan with half an inch of oil and fully fry the tortillas. The other was to fry them in just a thin layer of oil to make them thick. Either way I pretty much burned down my friend’s kitchen :/ so maybe use flour tortillas if you don’t want to worry about this!!

Serve family style and NOM! If you make these please let me know I’d love to hear how they turn out for you!

2014-06-20 22.08.31


Sesame spiced Turkey Meatballs with Bean and Quinoa Salad

Standard

2014-03-11 20.57.11

This summer, I visited my friend in New York and made it very clear that I HAD to find the best falafel truck in the city. It was really the most unique food I had ever tried at age 8 when I went to visit my cousins one year for Thanksgiving. Ever since then, I’ve had a special place in my heart for gyros, lamb shwarma, and yummy meatballs like these that would fit snugly in a those aluminum-wrapped pita pockets. No, they’re not fancy, but seriously I find turkey meatballs to be some of the most flavorful, moist, and easy meats to cook. While I was making these, I started to dream of a falafel-esque sesame spiced meatball sub with a tahini sauce instead of marinara. Plans to come…

So these are adapted from the Smitten Kitchen Cookbook and I’ve made them a bit less spicy than the recipe calls for. Deb suggests serving these over a smashed chickpea salad, but I really love white beans, so I made a quinoa bean salad. Somehow most of the food I make makes you want to curl up on the couch and snuggle. I think that’s why I’m trying to eat more quinoa. It screams pop culture, civilization, getting on with my healthy self. Basically it helps me get off the couch πŸ™‚ Last week I made another version that came out of Mardi Gras angst: black eyed pea, okra, cajun seasoning quinoa salad. Try it!

With this meatball recipe comes a chance to use the cast iron skillet! Which just happens to be another chance for me to build some arm muscle (transporting a skillet from stove to oven takes MUCH more effort than I thought). I’ve been thinking a lot lately about why people love pie so much and it kind of makes me think of meatballs too. Go with me for a second. I really think that part of the obsession with pie is its perfect circle shape. Putting something in the oven and it coming out the exact same shape as when it goes in is weirdly comforting. Maybe it’s the blanket of dough on the top that snuggles in the filling that’s so comforting? Anyways I think the same is for meatballs. Some people are kind of weirded out by ground meat, but then others of us love the rich, moist, decadence of a good meatball. Maybe it’s breaking into a perfectly round piece of goodness. Well, now that my understanding of basic shapes is out there, on to the recipe!!!

2014-03-11 20.11.45

Sesame-spiced Meatballs – adapted from the Smitten Kitchen Cookbook

1 lb ground turkey – I like to use 93% lean, but you can use 99% if you like

2/3 cup French breadcrumbs (Take some leftover crusty French bread and turn it into crumbs in your food processor)

1/4 cup water

1 tsp table salt

2 garlic cloves, minced

1/2 tsp ground cumin

1/2 tsp ground coriander

1/2 tsp paprika

pinch of cayenne (or more depending on your taste)

2 TBS sesame seeds, toasted


Quinoa- Bean Salad ingredients – measurements up to your taste buds, cheffy-friends

White quinoa (I used 1/2 cup)

Half a can of white great northern beans, drained and rinsed

diced celery and carrot, sliced red onion

fresh parsley

chopped tomatoes

green olives,

dressing of : dijon + red wine vinegar + olive oil + lemon + honey

1. Preheat your oven to 400 degrees and stretch your arms. After stretching, dig out your cast iron skillet and heave it up to the stove. (Yes I do find the stretching important here, lol). In a large bowl, add all of the meatball ingredients and mix together lightly with a fork, your hands, or a spoon. I say lightly here because you want the meatball ingredients to be evenly spread through out, but with turkey I never like to overmix.


2. Once the mix looks evenly incorporated, get a plate ready for your meatballs. Take a clump of the mix and start to cup your hands into the shape of a meatball. That’s how I like to start to form the ball, then roll it gently between your hands to make the ball compacy. These should be about the size of golfballs. Place them on the plate, waiting to jump into the skillet!

2014-03-11 20.28.33

3. After prepping the meatballs, heat the skillet to about medium-high and pour a thin layer of olive oil on the pan. Add the meatballs carefully (don’t break them!) and give each enough space to brown. I have a 12 inch skillet and managed to fill all of them in one batch, but if they need more room in your skillet, make a few batches.

2014-03-11 20.31.36

4. While you’re testing your patience waiting for these to brown, mix up your salad. In your bowl, start with some spoonfuls of quinoa, then add your toppings, I like equal parts of everything, but I get it if you wanna skip the veggies and just have a simple quinoa bed for the meatballs. In a small glass, mix together dijon, honey, vinegar, and lemon juice. Slowly whisk in olive oil to form a dressing. Season with salt and pepper. Dress your salad and toss with some fresh sprigs of parsley!

5. After about 3-4 minutes of browning, start to rotate your meatballs to get them browning on all sides. Give the other side another 3 minutes or so to brown. Once the outsides are browned and a lil crispy, turn off the heat and transfer the skillet to the oven using a thick potholder. Muscle-building, here.

2014-03-11 20.56.40

6. Cook the meatballs in the oven for between 10-15 minutes, until they reach 160 degrees F. You can test this by sticking a meat thermometer in one of the meatballs. Mine took about 11 minutes. Take out of the oven and serve over your yummy quinoa salad!

2014-03-11 20.57.31 HDR (1)

2014-03-11 20.57.27 HDR


Shrimp and Andouille Gumbo – Mardi Gras Feasting

Standard

2014-03-04 19.51.12 HDR

Remember the king cakeΒ from last Mardi Gras? Due to a bit of laziness and a lack of cream cheese, I decided to go a different way with Mardi Gras this year. I decided to try my hand at a traditional gumbo recipe and impose a significant amount of frostbite on my hands trying to peel 2 pounds of semi-frozen shrimp. Note to self: thaw for a few HOURS, not a few MINUTES!

I LOVE having people over for dinner. This is so early-20s of me, but I was getting really excited the other day for beginning to form a collection of my own go-to entertaining recipes that I can trust on for each season. I’ve starting writing down my versions of recipes on notepads that I’ve stored on a cloud of dreams for my future cookbook. Here’s a GREAT one if you’ve got some time.

There’s a lot of talk about the essential roux for gumbo on the internet. If you’re like me, and you’re absolutely not going to buy another one-time-use spice for one darn recipe, you’re not going to make a gumbo requiring file powder. Although now that I’m reading its description, I’m sad I didn’t get to use the word “sassafras” in a sentence :(. Β After throwing out the recipes with file powder. I used one from America’s Test Kitchen The New Best Recipe book. Β And I paid a LOT of attention to roux-making.

You cook the flour and oil until you absolutely can’t stand to think anyone would want to eat something so brown that isn’t chocolate. Some people suggest baking the flour and oil for 2 hours to let it form a roux on its own. I followed the Cook’s Illustrated example and heated the oil first so the flour doesn’t burn as if you were to start heating them at the same time. I gently stirred them together for about 20 minutes and really had no smoking, burned bits, or clumps. As long as you are conscious of this fragile mixture, I honestly believe you can do it too. Stir constantly, heat gently, and watch carefully.

And then, you cook a whole bunch of yummy veggies, stock, shrimp, and sausage and everything comes together QUITE smoothly.

Make your seafood stock in advance, please. It’s a mess. I was going to show you a picture, but I’m positive you’re not interested in my picture of shrimp shells.

Shrimp and Andouille Gumbo, adapted from The New Best Recipe ( I doubled it for a dinner party)

1 1/2 lbs frozen shrimp with shell on

4 1/2 cups water

1 cup bottled clam juice

3 1/2 cups ice water

1/2 cup vegetable oil

1/2 cup all-purpose flour

2 medium onions, chopped fine

1 medium red bell pepper, chopped fine with all the seeds and ribs removed

1 medium celery rib, chopped fine

6 garlic cloves, minced

1 teaspoon dried thyme

1 teaspoon salt

1/4 teaspoon cayenne pepper

2 large bay leaves

1/2 lb andouille sausage, sliced into 1/2 inch rounds on a bias

1/2 lb turkey kielbasa, sliced into 1/2 inch rounds on a bias

1 big ole handful of fresh parsley leaves chopped fine

4 scallions, both white and green parts, sliced thin

8 oz. frozen okra

White rice to serve

1. Thaw your shrimp in a large colander. You can speed up this process by rinsing the shrimp with colder water. I say colder because if its too cold it might just make more ice on the shrimp but if it’s too warm it will cook them. Peel the shrimp over a large pot with a top with the 4 1/2 cups water in it and drop the shells into the pot. Boil the water and watch for the bubbles that will run up over the top! Once boiling, reduce heat so that only little bubbles are forming (a simmer) and simmer for 20 minutes. Strain the liquid through a sieve/colander into a bowl with the ice water and claim juice and stir mixture (throw the shells away). If you’re making this in advance, let cool and store in the refrigerator in a tupperware. Then store the raw shrimp in a plastic gallon bag in the refrigerator as well until the next day.

2. In a cast iron skillet, Dutch oven or wide pan with a thick bottom, heat your oil for 2 minutes. Gradually stir in the flour at a medium heat with a wooden spoon. Like I said, watch carefully and continue to stir until the roux turns a deep coffee ish color but redder (see picture). This takes about 20 minutes.

2014-03-04 09.55.14 HDR


getting darker

2014-03-04 10.01.05

2014-03-04 10.11.07

2014-03-04 10.11.18 HDR

3. In a stockpot or large pot, transfer the roux and add in the onion, okra, bell pepper, celery, garlic, thyme salt and cayenne. Saute until fragrant and all the veggies are soft, about 10 minutes.

2014-03-04 09.40.33

2014-03-04 10.19.05 HDR

4. If you made the stock the day before, warm it up to room temperature before you add to the mixture. Once at room temp, slowly add in about half the stock, stirring the mixture constantly. Then add in the rest of the stock and bring to a boil. Once boiling, reduce heat to low and skim foam from the surface (a lot of this is fat). Add in the bay leaves and simmer for about 30 minutes.

2014-03-04 10.35.46

5. In the meantime, make your rice to have ready when the gumbo is done.

6. After the 30 minutes, add in your sausage (I used two kinds just bc I couldn’t decide at the store). Cook for another 30 minutes at a simmer. After that, place the top on top of your pot, turn off the heat and wait for guests to arrive. Take out your raw shrimp from the refrigerator if you made the stock yesterday.

2014-03-04 11.03.13

2014-03-04 11.03.26 HDR

7. Once you’re almost ready to serve, have a friend slice up the scallions and parsley, and heat back up the soup. Once hot, drop in your thawed shrimp and cook for just a few minutes until just pink. Drop in the scallions and parsley and serve over rice!

2014-03-04 19.47.12 HDR

Laissez les bon temps rouler!

Kimchi and Bacon Brussels Sprouts

Standard

Ok so for Valentine’s Day I wanted to make heart-shaped brownies and sugary sugary cookies and drink wine and gab for hours. Well I did gab for hours on GALENTINE’S DAY! But for the amount that I’ve been baking lately, these brussels sprouts are a savory that really stands out. And it’s a secretly easy dish. Do you ever have those moments in your life where you stop breathing because you almost wonder if life could be that sweet…and you look over your shoulder to see if anyone else is going to burst your bubble? These brussels sprouts will make you look over your shoulder to see if anyone else is seeing just how simple the recipe is when it seems so exotic.

Usually I really like brussels sprouts with a sweet and salty hint, but these are more of a salty and tart combo, it’s complex! Sophisticated right?


Also, two things I realized this week that I hadn’t remembered: Joey Fatone is in My Big Fat Greek Wedding and that Butter Pecan is a way underrated ice cream flavor. Random side note aside, let’s explore these greenies.

Brussels Sprouts with Kimchi and Bacon, adapted from the New York Times

Ingredients:

3 slices turkey bacon

1 lb brussels sprouts

1-2 TBS butter

olive oil

salt and pepper

1 cup kimchi (they sell it at the grocery store it’s all pickle-y if you’re not familiar)

Turn on the oven to 400 degrees. I sliced up about 3 pieces of turkey bacon and fried them in a little bit of oil (due to their lack of a lot of fat they have been burning in the saute pan).

DSCF4586While chopping up the bacon, I sliced off the brussels sprouts’ “butts” and sliced them in half. The timing works out peeps, don’t be in a rush.

DSCF4587Ok, bacon’s cooked! Take it out with a slotted spoon and then add in your brussels sprouts. Add some oil to the pan if these guys are a little bit dry and sprinkle with salt and pepper. Let them get a little golden browny in the pan then transfer to the oven. Here’s where I differ from the New York Times. I let them turn green and roast for around 15 minutes but I wanted them a little crispier, so I set the oven rack on the top rung and turned up the heat to broil for a minute or two. But if you don’t want them super crispy, I think 12-15 minutes is enough time.

While these are cooking, go ahead and puree your kimchi. Put it in a bowl and set aside for when the brussels sprouts are ready.

DSCF4591DSCF4589Bacon is added back in with some butter, mmmmm. Then off to the kimchi, hello Korean goodness!

DSCF4592

DSCF4593Serve aside this delicious slow-roasted salmon!


Thomas Keller’s WHOLE Roasted Chicken with Root Veggies

Standard

DSCF4606

To some, a pantsuit means growing up. And by some, I am definitely including myself in that category. But I’d also like to add whole roast chicken to that category. Pantsuits and whole roast chicken. We made roast chicken a few weeks ago, and to be honest this was easier. So why do I feel way more accomplished? I think it’s the feeling of being able to put together one shining masterpiece as opposed to integrating a few small dishes into a cohesive meal.

That time you first tied your shoes all. by. yourself. Going completely across the monkey bars in one full swoop without having to stop. That time when your secured place to crash on the drive from Charlottesville to Miami falls through and you figure out how to desperately book a hotel at 11PM on your own in college. We can discuss later the relevance of each of these in the context of roast chicken.

But seriously, I’m proud of this accomplishment!!! As I have been watching the Olympics lately, it seems appropriate to feature something that requires precision and focus. If you can keep the few key important tips in mind, this comes together quite easily and with little mess. These are the ways to win the Gold medal if you ask me. Think: SALT, meat thermometer, patience. Too simple? Ok you can go study molecular gastronomy.

Salt: You need to be uncomfortable here. Roasting chicken requires a LOT of salt, and to make yourself more comfortable here, just keep massaging it into the skin and into the cavity. It’s really the main way to flavor here, don’t be shy.

DSCF4604

Meat thermometer: You don’t want overcooked chicken here, so if you follow the temperature suggested (160 F in the meatiest part of the bird), be WATCHING your chicken towards the end once you’ve stuck in the meat thermometer to check

Patience: One, because it takes about 1 hour and 10 minutes to cook all the way through. Two, because after the chicken comes out of the oven, you need to wait for it to cool before slicing. Slicing too early will let out the juices and thus let out flavor (or so I’ve been told).

No, I am not going all It’s Complicated on you and cooking Alec Baldwin’s favorite feast with mouth-watering cake involved. This is literally the whole dinner in one pan. So great. Especially if you’re into putting rich chicken on your salads, soups, and making leftover chicken sandwiches!

I followed the Amateur Gourmet’s directions for cooking Thomas Keller’s chickenΒ and watched this video to learn how to truss a chicken. It’s worth watching, friends. I was a bit wary of rutabagas, so I replaced them with more red potatoes. I don’t have any kitchen twine so instead used regular white sewing thread that I doubled up around two or three times to make it thick enough.

One thing I did differently was to drain the pain juices after the chicken was done and return the veggies to the oven to get crispier. For me, it took desperate measures of the broiler but for you, it might only take a few extra minutes at 400 ish. Pan juices = yummy gravy.

New fave: CRISPY LEEKS. I can’t tell you how delicious the leeks were after coming out of the oven.

Veggie heaven: Very rough chop of carrots, red potatoes, a large onion, two leeks, and two turnips.

DSCF4607

Hi caramelizy roasty thyme garlic veggies
DSCF4614

DSCF4618Make a gravy at the end with the leftover pan juices, some BUTTAH, and flour