Tag Archives: summer

Lemongrass Chicken with Fresh Veggies, Mint, and Basil

Standard

2015-06-28 20.16.23-1

You know what feels so great? Being able to fully recreate something you’ve had at a restaurant. You know what also feels so great? Knowing that you have late night in the fridge waiting for you when you’re out at a bar. While the latter is irrelevant to this post, I can’t help but think back to this one time when my second year of college, my roommate Kate and I made nachos for dinner and saved ourselves a perfect late night portion for after we went out. It may have made that month of my life that much better.

Or, for those of you recently out of college, how awesome was it to come home on break and have your favorite snacks awaiting your arrival at home? I’d often come home to the Costco melon-sized muffins and boxes of Ghiradelli brownie mix just ready for my friend Cessie and I to dig into. I can imagine, well, actually I know this because my parents have been very upfront with me about it, that when you’re a parent you’re trying to keep your kids around as long as possible when they come home from college. My mom would always have the snacks at our house, hoping that it would secure our house as the preferred location for friends reunions. In fact, it was and is still fairly successful, and I think I may have taken on this activity as I try to make my house welcoming.

I’ve got a two word recommendation for you: candy. bowl.

There’s an art to the candy bowl and it goes along with the motive behind this dish. There’s a move to get people to come over (the main dish) and then there’s the move to get them to stay (the candy). In this case, I’d say I was cooking with close enough friends where I didn’t really need the candy bowl but it’s seriously so funny to me to see people who visit for the first time light up at the candy bowl. Especially when I have candy in there that I wouldn’t have expected some people to like.

Have nothing to talk about to a friend of a friend who is visiting your party? “um so, can I offer you a reeses egg?”

Trying to console a friend and can’t find the next thing to say? “Ugh, I know, boys right? Let’s discuss over dark chocolate caramel-filled Ghiradelli squares”

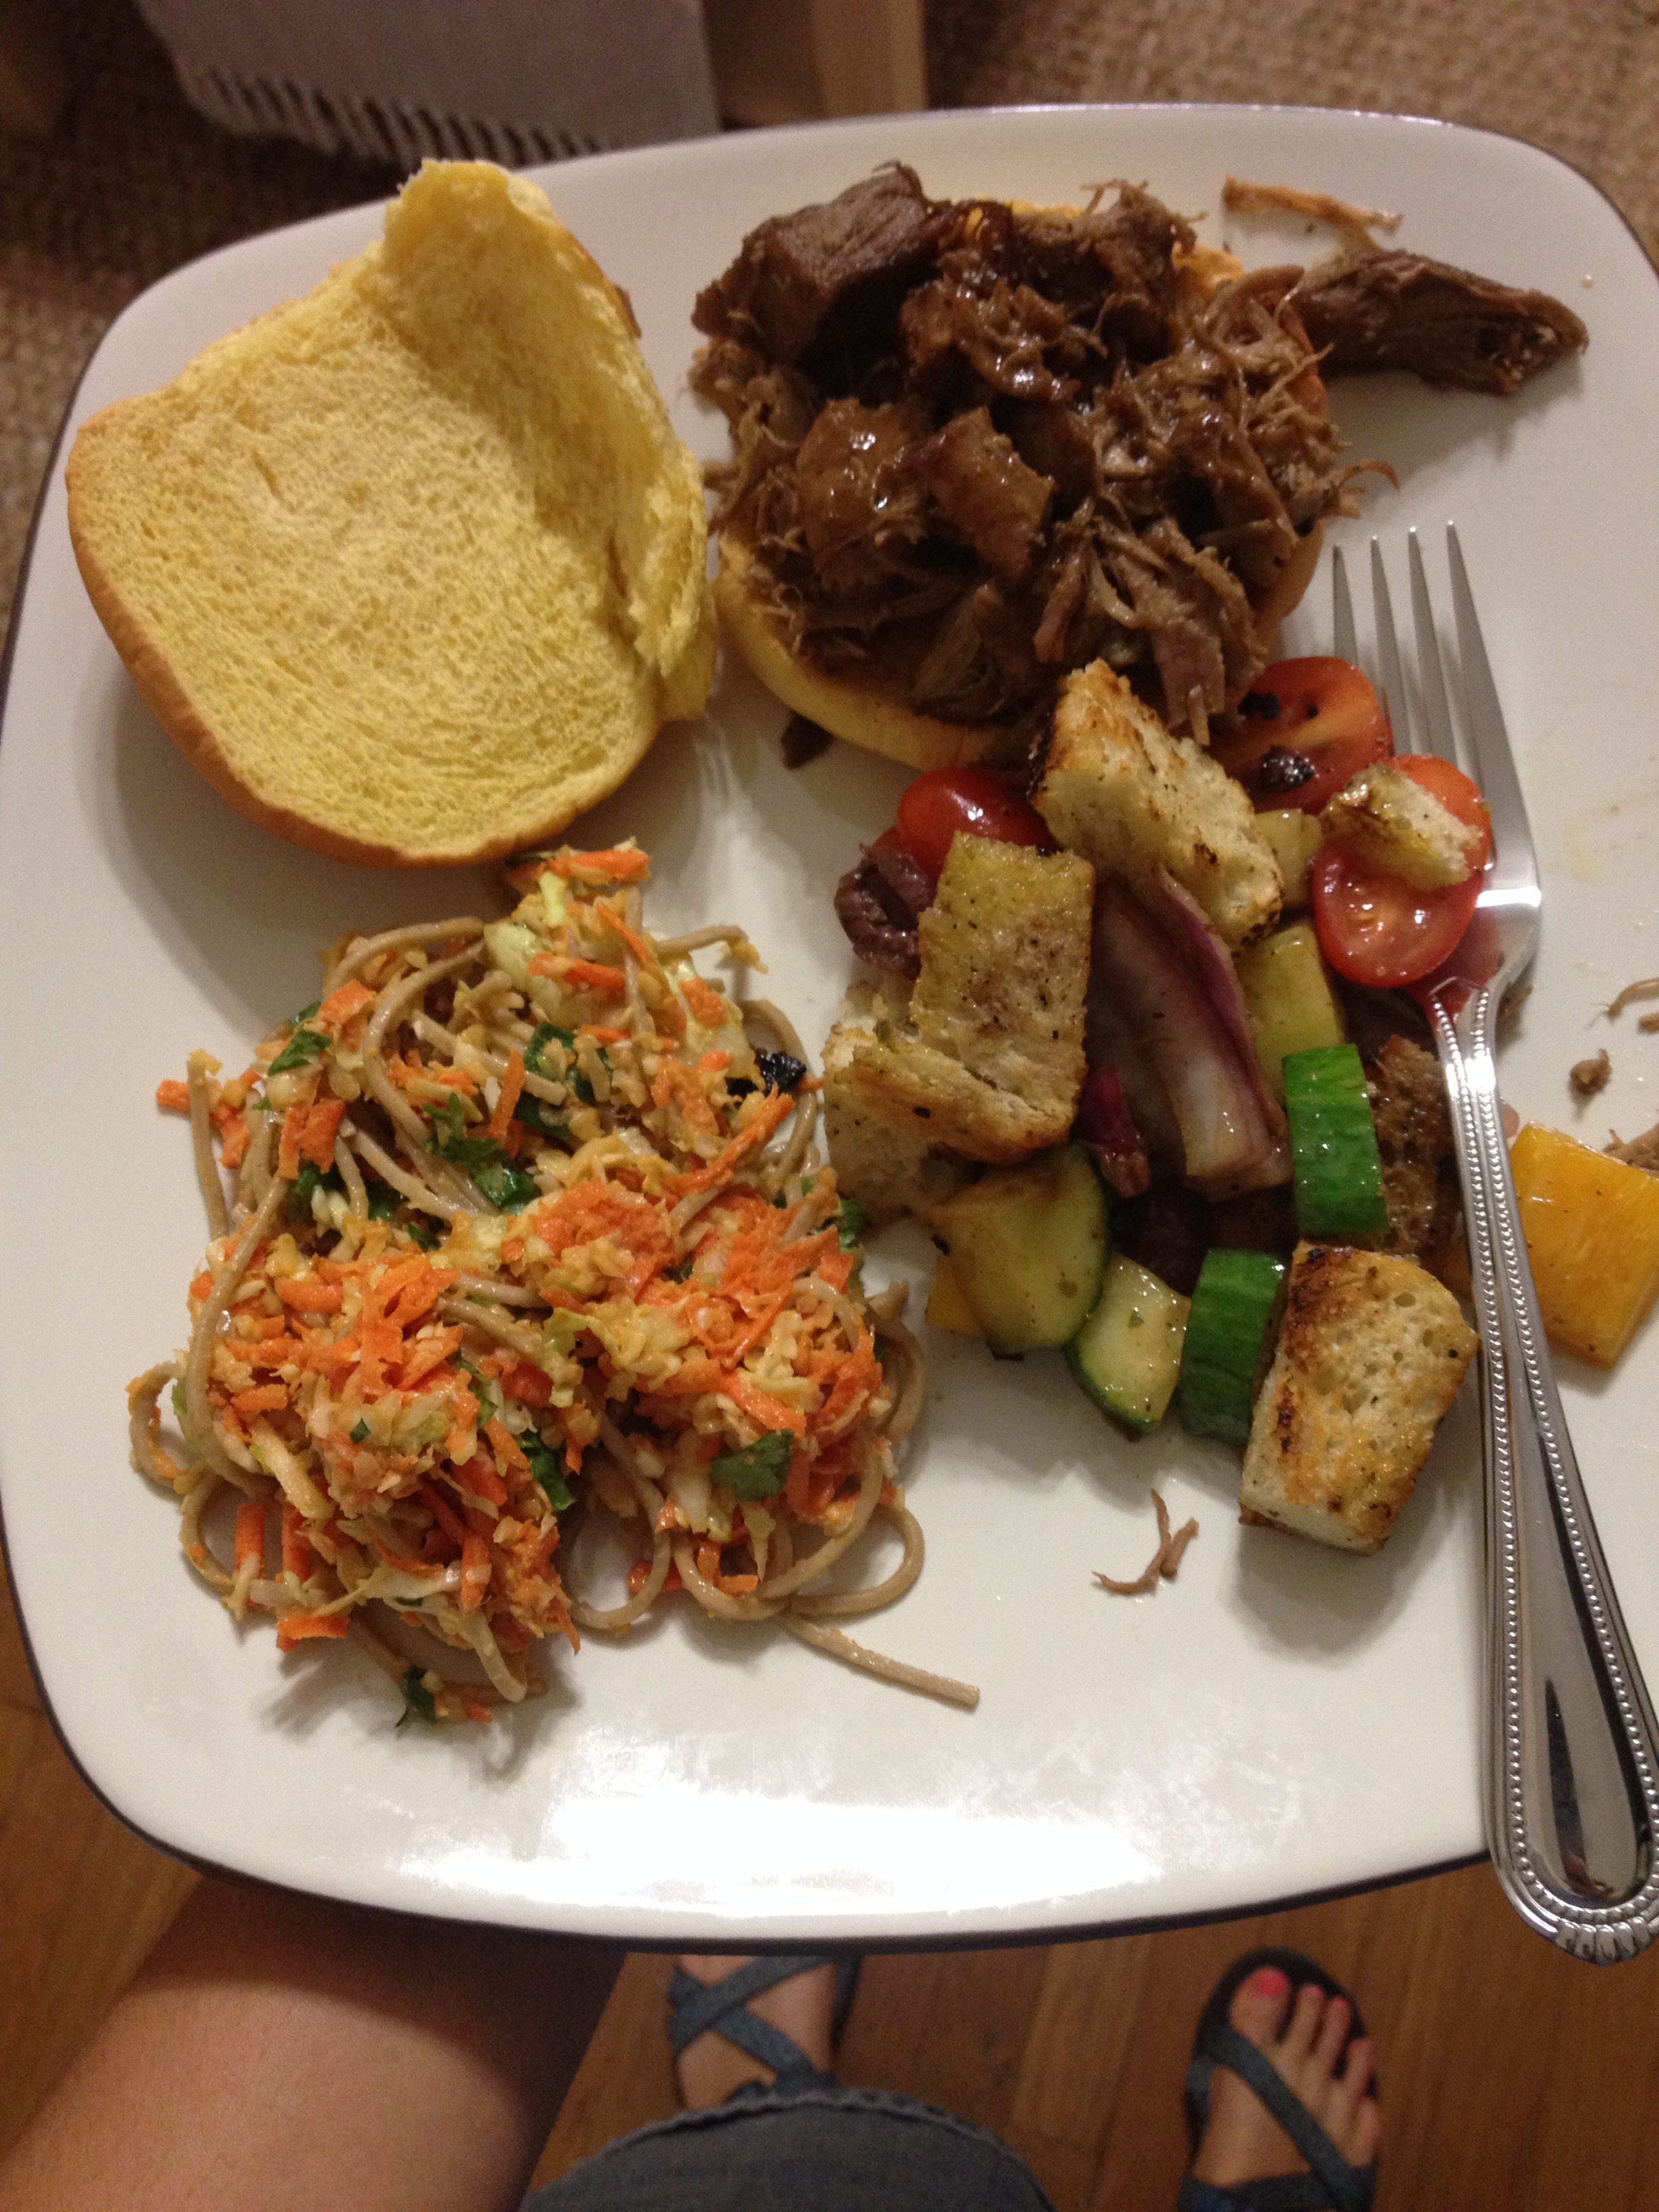
It’s all about engaging whomever is around. With this lemongrass chicken dish, I wanted to get my friends involved in what is one of my FAVORITE dishes as of late. At most Vietnamese places, people are always about the pho. I’m really not a huge soup person, so I always go for the lemongrass pork or chicken if they have it. I love the fact that you get this really moist, flavorful cut of meat with a scoop of rice and a mound of raw veggies and fresh herbs. The combination of the fresh herbs with the hot chicken is to die for.

A few months ago, my friend Julia and I frequented a pho place post-karaoke with two of our other friends and I had a very delicious version of this dish. Since then, I’ve been thinking about recreating it and finally got to it about a month ago.

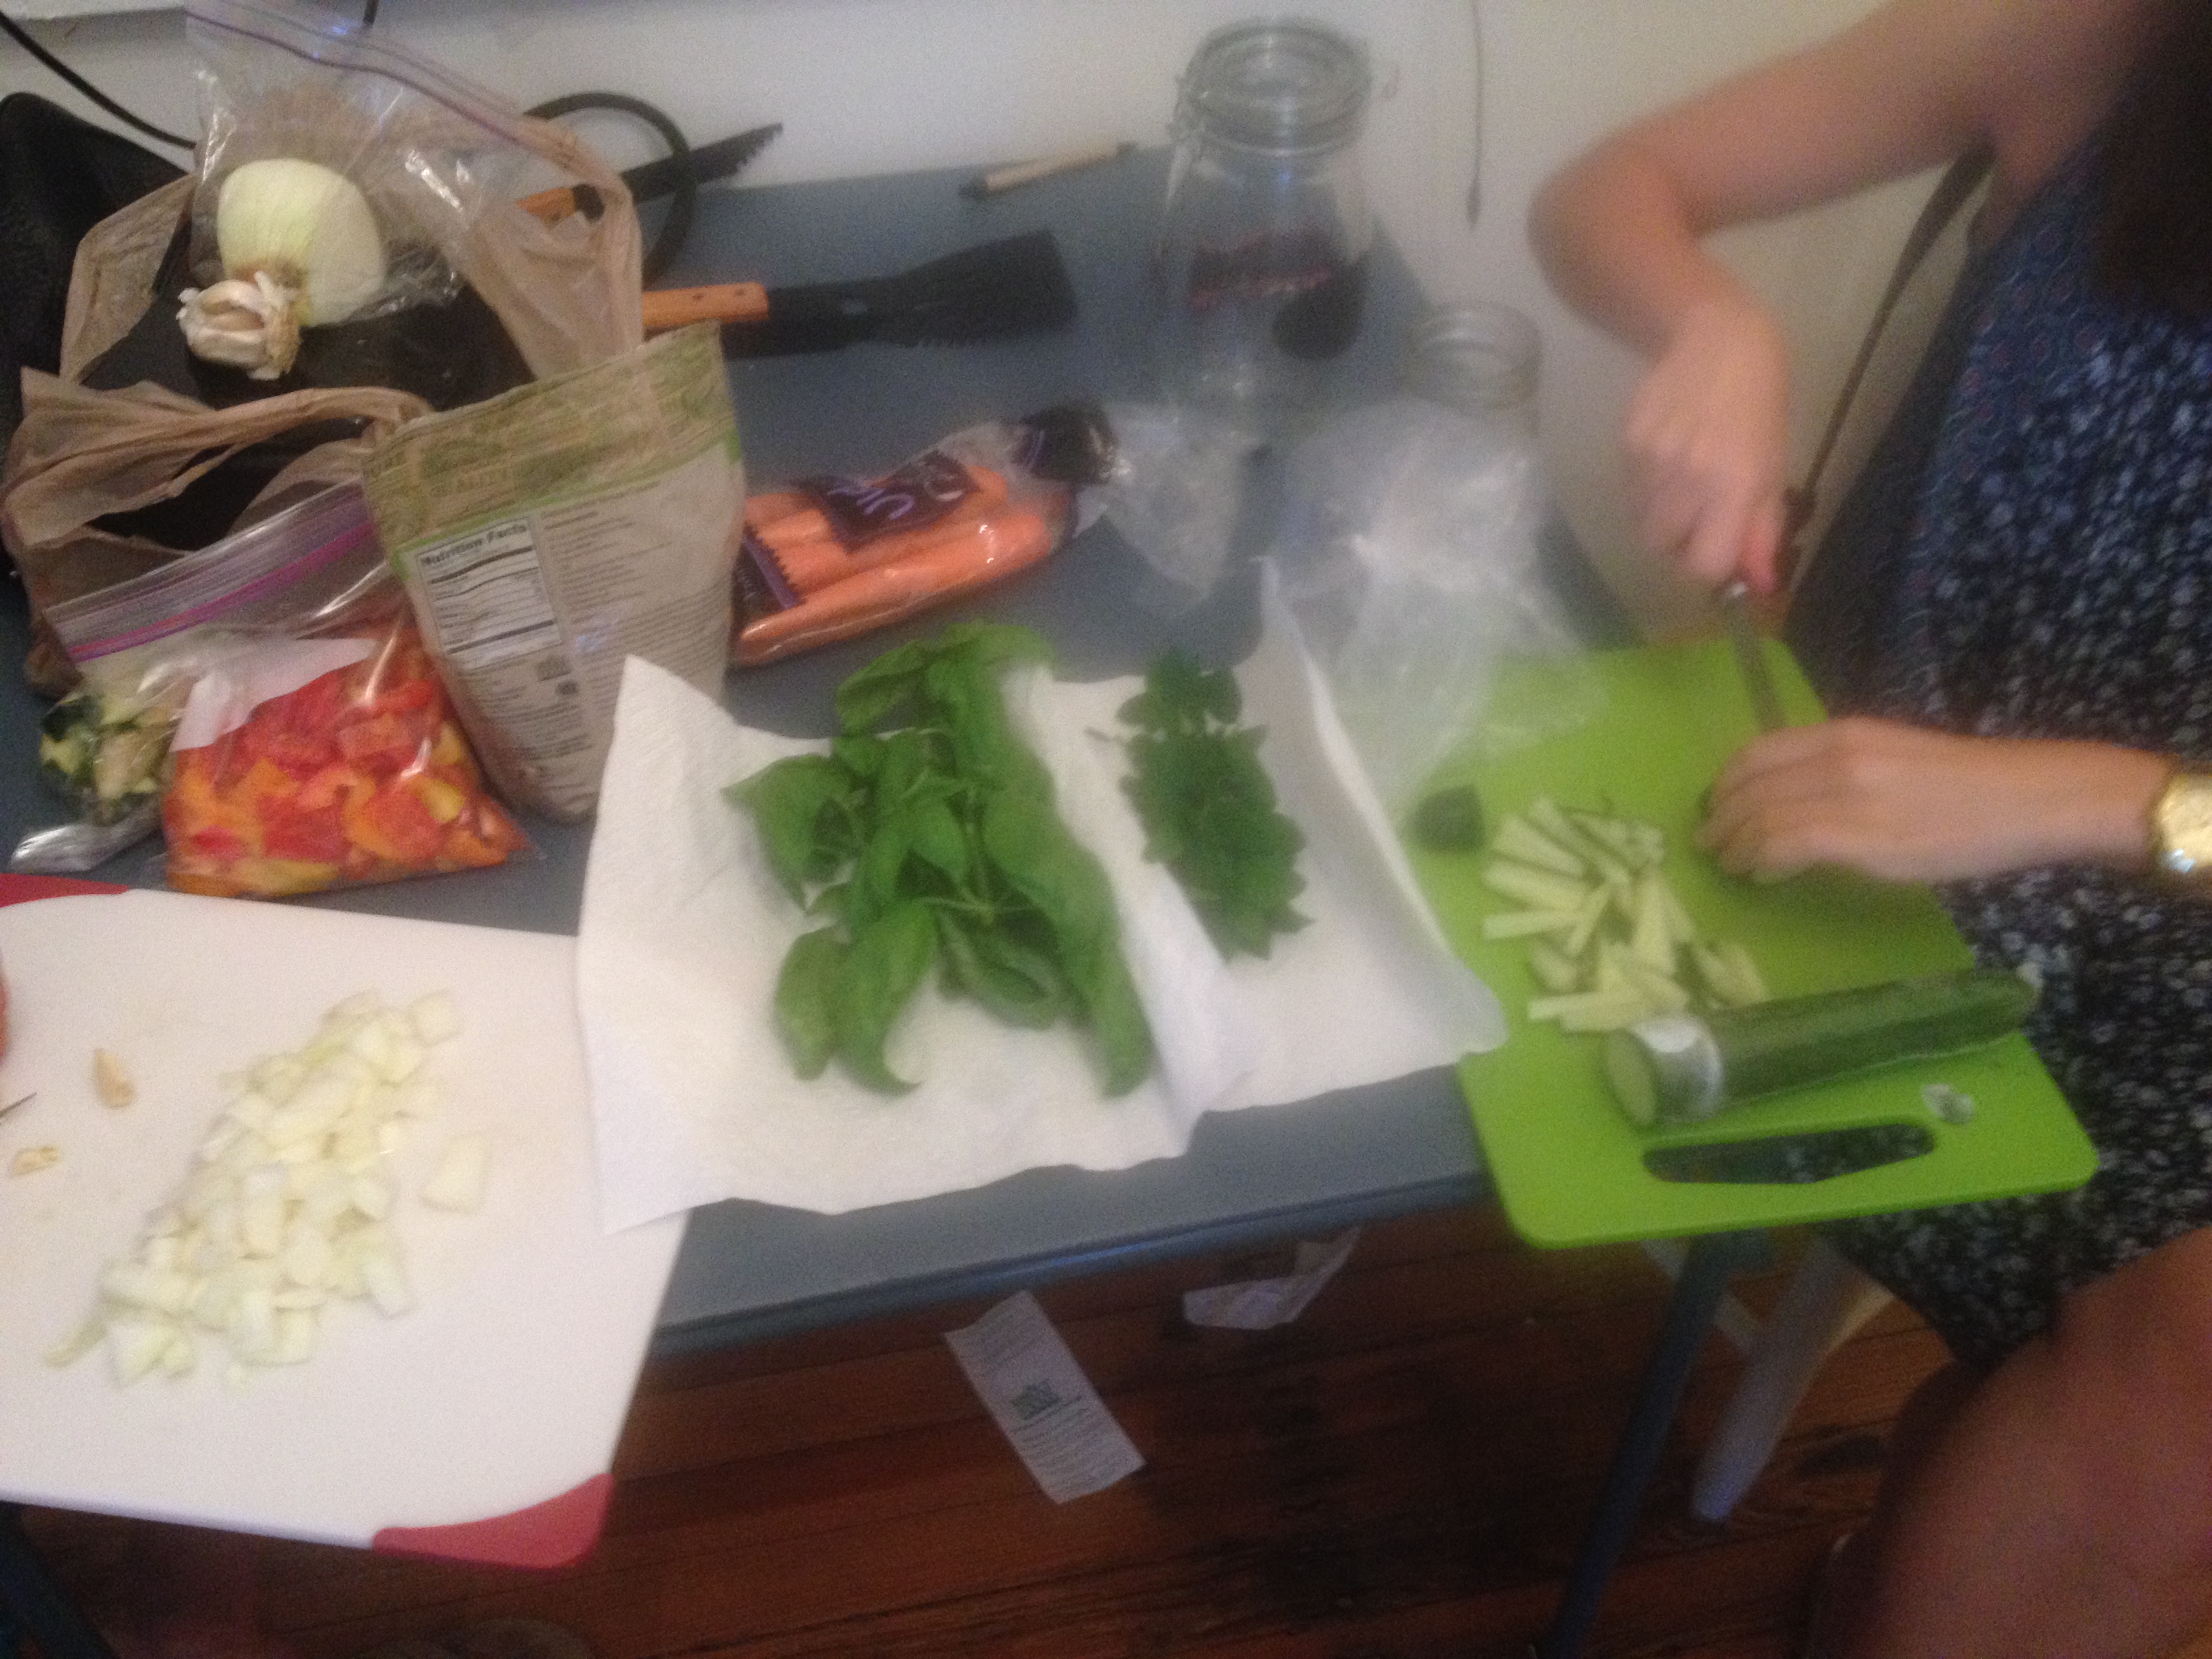
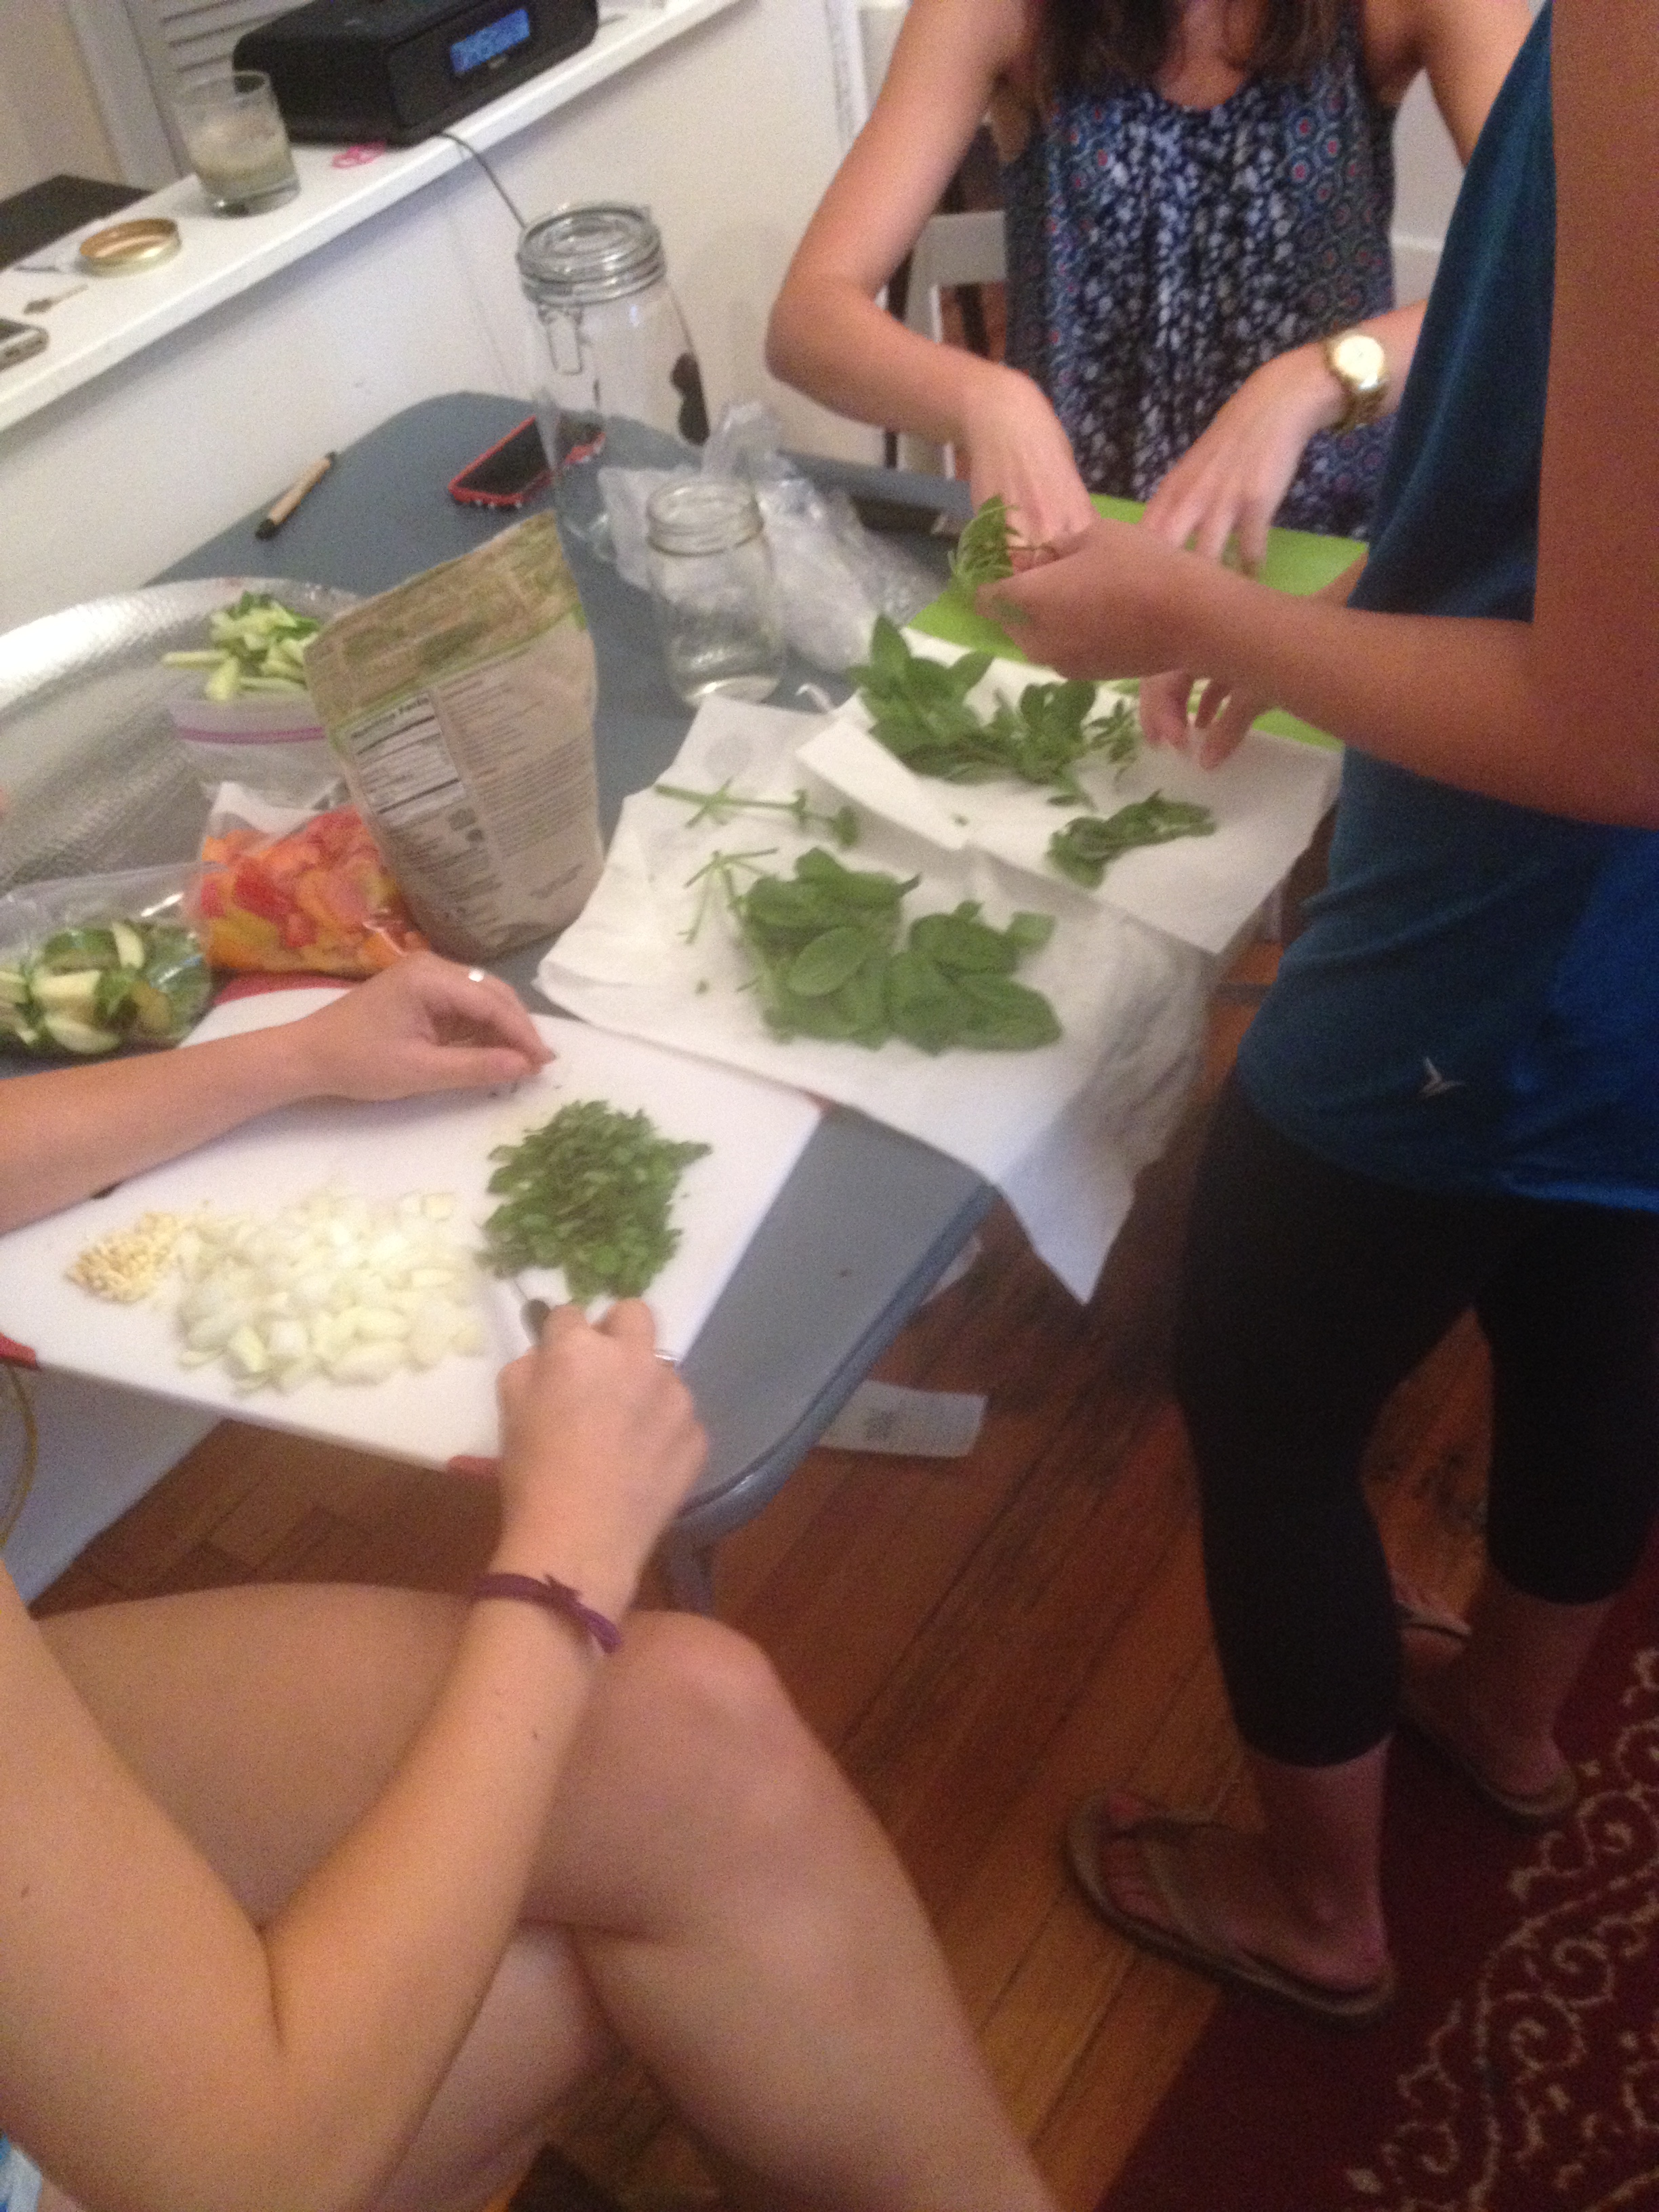
I say I wanted to get everyone engaged because it’s a dish that involves a lot of chopping but little precision. For a group dinner, you want everyone to feel included and like they have “a job.” I’ve found this to be very important with a group of close girls as it makes it so much easier to continue the endless gabbing when there aren’t stressful time constraints or intense skills required to make the dish!!!

One person can cook the meat (or two who can switch off) while the others can chop and make rice. At the end, we ended up just making a big platter of some cooked veggies, some raw veggies, herbs, and the delicioso chicken. I took this recipe from one meant for pork and adjusted it for chicken thighs.

I am VERY confident you can make this and serve to your favorite gals and guys. It’s a great way to experiment with other cuisines and learn about new veggies/herbs. I’ve never cooked with lemongrass before and found it easy to figure out! (considering I looked up a video on youtube for how to cut it :))

2015-06-28 20.13.59

Lemongrass chicken with fresh veggies, herbs, and rice

adapted slightly from this Userealbutter recipe, serves 4 or 5 comfortably (you will NOT have leftovers :))

1.5 lbs boneless, skinless chicken thighs
1 1/2 tbsps light brown sugar
1 tbsp garlic, chopped
1 tbsp shallots, chopped
3 tbsps lemongrass, chopped
1/4 tsp black pepper
1 1/2 tsp dark soy sauce (or thick soy sauce) – I just used regular light soy sauce from TJs…
1 1/2 tbsps fish sauce
1 tbsp flavorless vegetable oil

1 cup rice

An assortment of cucumbers, carrots, fresh basil, fresh mint, zucchinis, and bell peppers of all colors

1. At least 2 hours before you want to start cooking, marinate the chicken. You could also do this up to 24 hours in advance. I think this is a really important step as you want the chicken to be as flavorful as possible! In the bowl of a large food processor or blender if you don’t have one, puree the lemongrass, shallots, garlic, and brown sugar. As recommended in the original recipe, if you dont have any of these tools, you could totally just chop it up really finely.

2. Add black pepper, fish sauce, soy sauce, and vegetable oil and puree until smooth. Place the chicken thighs in a large freezer bag and pour marinade over top. Swish around the marinade, ensuring all pieces of chicken are evenly coated. Refrigerate for at least 2 and up to 24 hours – taking the chicken out about 30 minutes before you want to cook it.

3. When ready to cook, take your chicken out of the refrigerator to bring to room temp. Meanwhile, bring 2 cups of water to boil with a pinch of salt. Once boiling, add rice and bring temp down so the rice is simmering. Cover and let simmer for about 30 minutes or until done.

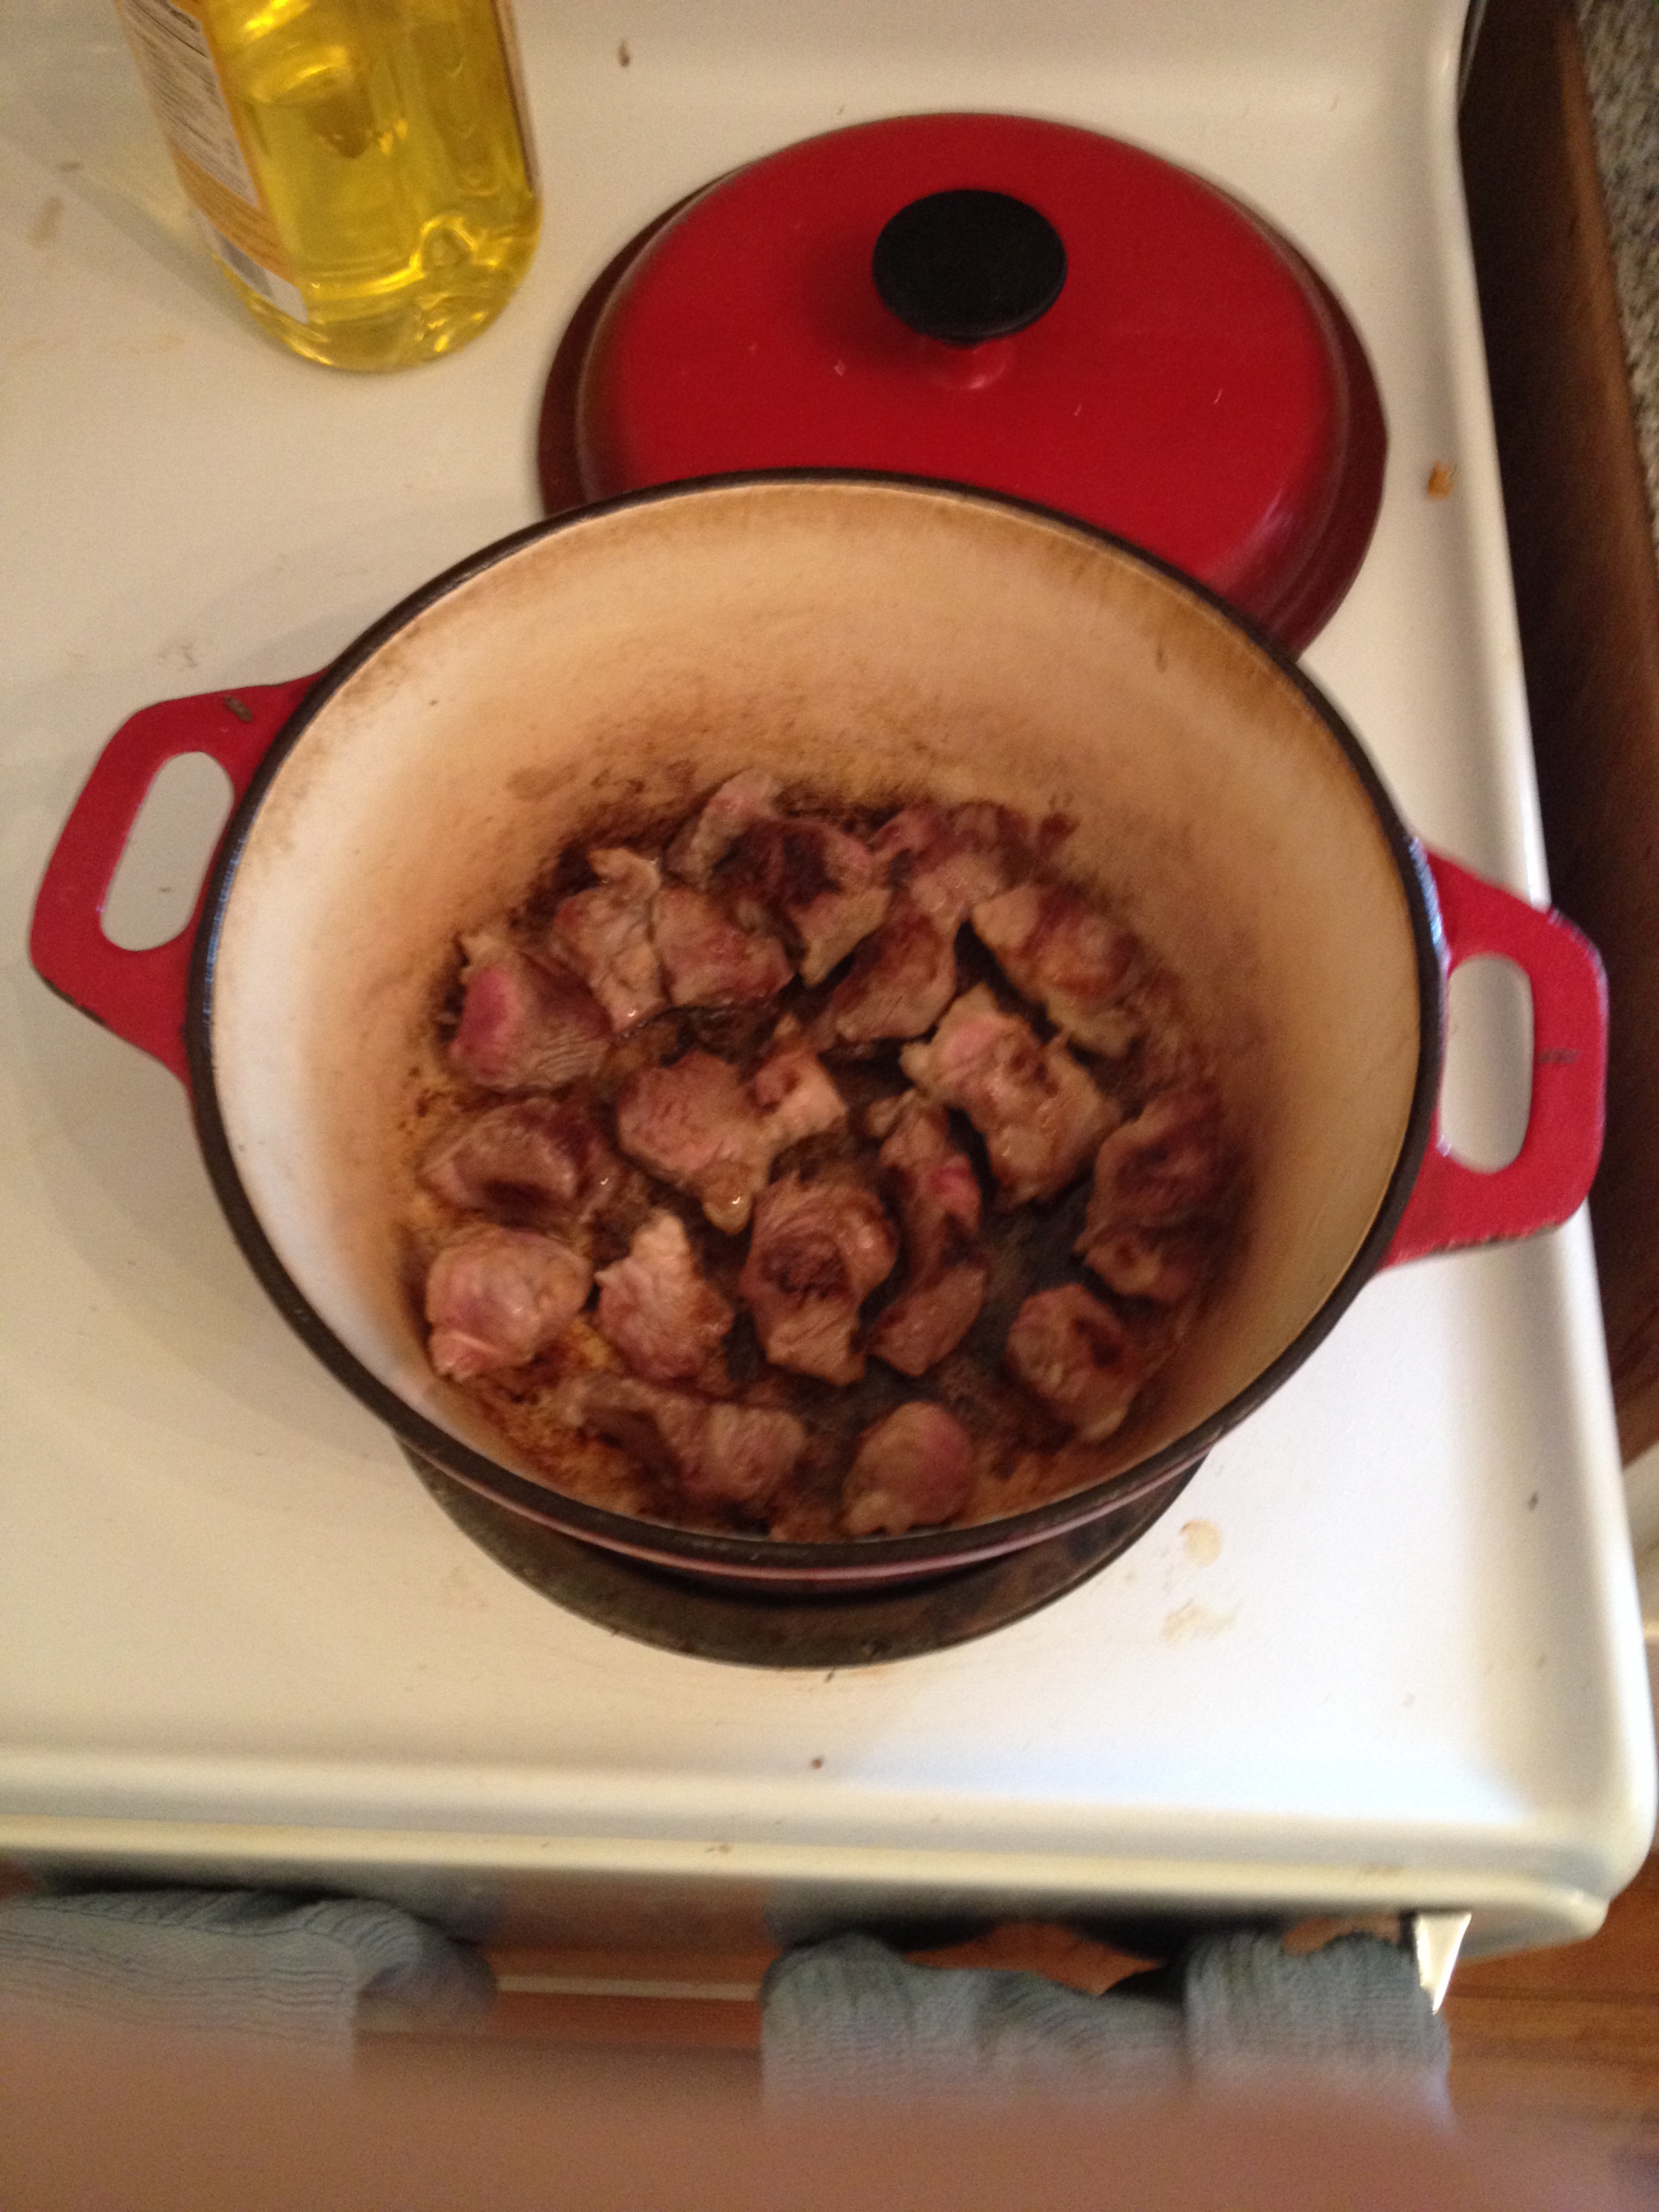
4. After you’ve poured everyone a glass of wine (yes, Arianna, Kate and Julia, I will admit mine is the smallest), get to work chopping. Rice is a-cooking and chicken is ready for the stove. Ask your friend who is least afraid of raw meat to help you cut up the chicken into strips for sauteeing. You could also grill the thighs whole and chop them up afterwards. Sautee the chicken in batches for about 5-8 minutes on each side, until the pieces are no longer pink.

5. While one or two people are cooking the chicken, sautee some zucchini and peppers. For the raw vegetables, I like carrots and cucumbers julienned like they have at the restaurant. And lastly, for the herbs, chop the basil and mint into small dice or thin strips as it’ll be the garnish for the finished product.

2015-06-28 19.22.26

2015-06-28 19.29.59

6. Once the chicken is done, put the veggies, herbs, and chicken on a large platter and let your friends serve from there! I like to start with a bed of rice, topped with chicken and veggies on the side. Make sure to add a generous topping of sriracha in whatever proportion you like. Enjoy! Oh, and don’t forget to offer a piece of candy for your guests on the way out 😉

2015-06-28 20.14.04


2015-06-28 20.16.19


White Chocolate Shortcake with Strawberries, Blueberries and Whipped Cream Frosting

Standard

2015-05-01 12.34.24

I’ve been perusing Etsy lately for new cannisters for my flour and sugar and then I started judging the cannisters based on how much rust they had on them. And then I got really self conscious thinking about the fact that I am searching the interweb for a vintage-y kitschy looking tin can and still considering purchasing it from those South Dakotans (yea that’s how you refer to them) who collect these things even though the can has RUST all over the inside of it. And then I took a deep breath and realized I had too much caffeine.

You know, when did the Container Store fall out of fashion and rusty South Dakota cans make a come-back?

Did you guys also love the Container Store circa 2006? It was absolutely the coolest thing to go and get rando trinkets and your day planner from there during summer break. Instead of buying those sleek Oxo bug-proof jars, I’m trying to find a jar with a print not as creepy as a gnome garden yet not as sleek as an Ikea esque white box. The things I do to procrastinate….

Speaking of flour and sugar….THIS CAKKEEEEE. If I had to describe a cake that would connect a wide variety of people’s sweet palettes, it would be this one. I am one to enjoy the most decadent of sweets, with cake layers full of butter and buttermilk topped with headache inducing frostings (and if you’re really lucky, two types of frosting and some kind of caramel brittley thing in the middle). On the other hand, there are those people born without a soul who like the “lighter” side of desserts.

Yes I am speaking to you, tart frozen yogurt lovers, sorbet-orderers, MERINGUE fans, and the worst – those who JUST SAY NO to dessert. This cake will woo even you!!

It’s a cake that is light enough to be dubbed a shortcake, yet dense and moist enough to satisfy the decadent sweets lovers like (hand-raised) me! There’s even some white chocolate chips snuck in there. The white chocolate gives the cake just enough sweetness that you don’t even notice that this frosting isn’t even really frosting at all. It’s whipped cream!

I made this for my office May cookout a few weeks ago with the help of my baking aficionado friend Tim. While I insisted it probably wasn’t the best idea to break into this cake before bringing it to the office, we made a mini version with the overflowing bowl of batter and made sure the recipe was legit. Here are my tips for assembling cakes after my cake-toppling incident a few years back:

Bake your cake layers the night before if you are gonna make this. Then wrap each one in plastic wrap and cover overnight. In the morning, transport the layers and frosting separately if you’re gonna have limited fridge space because this frosting isn’t the greatest for sitting out. Assemble the cake with the frosting and fruit right before eating!

For all of you who want the recipe – buy JoytheBaker’s Homemade Decadence book!!!

Creaming some butter and sugar (view the sweet potato blondies I also made below)

2015-04-30 19.45.272015-04-30 19.45.582015-04-30 21.19.02sawiinngg batta batta

2015-04-30 21.19.06Here are my tips on getting cake out of the pan. Take your spatula and point it straight down around the edge of the cake. Do this a few times until you know the cake is free from the edges. Then start to go down then under the cake and gently pull up slightly on the cake, but don’t actually try to take the whole thing out. Once you’ve primed the cake, place a plate over the cake and count your self down to a flip (I had Tim help with this). 1-2-3 flip!!! Then tap the bottom of the cake pan which is now facing up as you place the plate down on the counter. This will get any last bit of the cake out. Gently pull the pan up – and there ya go.

If you can feel that the cake didn’t in fact come out of the pan (gasp), just flip it over, look both ways to make sure no one saw you, and give it a few more minutes 🙂

2015-04-30 20.23.47

2015-04-30 20.32.03You know, just use a big pot to make your whipped cream when all your mixing bowls are taken….

2015-04-30 20.32.262015-04-30 20.32.47Watching this progression above, this is what happens when you don’t let your mini cake cool and just drop dollops of whipped cream on top :/

2015-05-01 08.48.07

I buckled it in shortly after. This is my recommended safety position for your cake.
2015-05-01 12.06.22Oh just assembling my cake at the office

2015-05-01 12.22.55Shoutout to my coworker Michael who helped put this together!!!

2015-05-01 12.34.29

ohhhhh yeaaaaaa

Chinese Pulled Pork and Goodbye to summer

Standard

2014-09-13 20.13.46

What are you happy about today? I am happy for my family’s health, the existence of music (good and bad included I guess), and this barbeque I had on Saturday. My roommate put it perfectly: this is one of those times where Katie wants to make something, so she asks people to come over and try it. It’s less that I’m good at entertaining and more that when people smell food, they flock like sheep. Is that a phrase?

I was so excited to eat real food after a week of recovering from wisdom teeth surgery. While I didn’t let it stop me from nomming hard, it did stink not being able to chew. Poor me, I got to try Zesto milkshakes for the first time and had a banana pudding milkshake that rocked my world.

I recently visited the Dekalb Farmers Market in Atlanta and had a love affair I think. It was one of those lazy Sundays when I wanted to get lost somewhere and found myself purchasing a 4 pound pork BUTT for no reason in particular. I tried to ask the butcher what people usually get for BBQ and he was all “girl  you’re on your OWN.” After being shuffled through the baking aisle by some intense bakers and drooling over bags of the coolest whole spices you’ve ever seen, I went on my way with my big ole pork butt.

One week later, I found myself declaring “I’m making this pork butt TODAY”. And no, I don’t think I even thought about who’d eat it other than myself, but it was eaten! I started my pulled pork experience with an Asian recipe and found success!

It wasn’t too bad! The reviews from this recipe made it seem very versatile and easy to play around with. The recipe only calls for 2.5 lbs of meat, and I used 4 without changing the proportions too much. The recipe says to cook this pork on the stove, but I ended up doing a combo of stove and crock-pot

With this pork, we served Cookie and Kate’s peanut sesame noodle slaw and had TOO MUCH FUN using our new food processor. Then we sort of strayed away from Asian and served a good-bye summer panzanella salad. We tried to come up with some unique names for the dishes so that they could be dubbed as Katie and Christine’s special recipes, but the only thing suggested was Jamarcus and Chastity’s pulled pork. No good.

I’m smiling now, thinking of my friends hunched around our teeny porch nomming on pulled pork. Love it! My weekend ended with the most beautiful singing from the church choir at this new church I’ve been going to. One of those moments when you get all goosebumpy, don’t you love that?! Put me in a great mood.

Chinese Pulled Pork, adapted slightly from this food52 recipe

4 lb Boston butt, pork butt

2 tbs olive oil

1 small onion, peeled and sliced thin

3 slices of .5 inch thick ginger, peeled

3 cloves garlic, peeled and chopped roughly

1 piece star anise

1/4 cup dried shitake mushrooms (I couldnt find presliced so just broke them up in my hands)

1/2 cup soy sauce

1/3 cup white wine

1 cup low sodium chicken stock

2 tbs rice wine vinegar

1 tsp sesame oil

1. Take a paper towel and make sure your pork is dry before you start cooking it. This’ll help it get a good sear in the pan. Get out a big dutch oven. Cut the pork into large chunks, doesnt have to be fancy bc it’s going to fall apart

2. Heat the oil on medium high heat and start to brown the meat in batches. You don’t want to put too much in all at once bc you really want a good crisp on the outside of the pork. Just brown the pieces on 2 sides, doesn’t have to be the whole cube

2014-09-13 13.22.05 HDR

2014-09-13 13.39.16

3. After each batch is done, set the pork aside on a separate plate. After you finish all the pork, add the onion, garlic, and ginger (pork should be out of the pan) and saute on medium heat until the onions are sweating and the flavors are fragrant, scraping up the brown parts on the bottom of the pan. (says 5-8 minutes mine was closer to 5)

2014-09-13 13.56.20

4. Add the star anise and mushrooms for just a minute to get them sweating. Then add your pork back to the pan and mix with the sauteed onions/garlic/etc. Add in the soy sauce, white wine, stock, rice vinegar, and sesame oil. Bring the mixture to a boil, then reduce to very low heat. If you’re on a high burner, put the pot on the smallest burner. Keep it at a gentle, moderate simmer (I found this hard to keep steady so had to come back and check periodically) for 2 hours.

2014-09-13 13.58.51 HDR

2014-09-13 14.16.32 HDR

5. After two hours, skim the excess fat and shred the pork. Discard the star anise pod and cook the sauce down. At this point I put some of the sauce and the shredded pork in the crockpot and cooked it on low for another 2 hours.

Serve on potato buns with slaw or the reduced sauce! bon appetit!

Peanut Butter Cookie Toasted Oatmeal Ice Cream Sandwiches

Standard

2014-08-09 14.23.31 HDR-1

Is it strange that I absolutely love the good ole staycation? Otherwise known as didn’t choose a place to drive/fly to/ didnt want to pack clothes for more than five days in a carry on/ needed to detox from deep dish pizza and gelato. Well, all of those might be true except the last one. I don’t think making homemade ice cream is detox from gelato.

I was in Chicago exploring for the first time as an adult and had an absolute blast! Let me tell you the wonderful things I ate: Asian tacos, deep-dish pizza at Lou Malnati’s, BLUEBERRY FRENCH TOAST GELATO from Black Dog Gelato, really rich chocolate mousse, an entire SLAB of pork belly on a girl date with my biffle Cessie, and a delicious drink with Pisco, St. Germain, basil, lime and some soda-y thing. It was a wonderful trip!

Immediately after returning home, I sniffed out a good ice cream recipe: toasted oatmeal!!!! Ahhh this was my second ice cream adventure this summer and my first attempt without a mixer. I’ve made a few fruit ice creams for my dad, but when it’s just for me, I want chocolatey/coffee/peanut buttery/banana/caramely flavors. And if you can’t tell, I like breakfast!!

My roommate and I were so curious as to how toasted oatmeal could even have that potent of a flavor. Like, would this turn out to be just a cream base with a few traces of grains floating around?? The flavor is definitely breakfast-y, but I’d like to say it’s sort of like a scoop of butter pecan. The touch of cinnamon and nutmeg is subtle, and I think the toasting of the oatmeal really takes this ice cream to the next level.

So I based this recipe almost exactly off of this one from thefauxmartha. I say almost exactly because I tried to but was so excited, I accidentally switched the proportions for heavy cream and half and half. The cookie recipe was very simple and I tried making the ice cream sandwiches with both a chewy version of this cookie and a crunch version.

Oatmeal
1 tbsp. unsalted butter
3/4 c. old fashioned oats
heavy pinch of salt
dash of cinnamon
3/4 c. liquid (1 part milk/3 parts water)

Ice Cream
2 c. cream
1 1/2 c. whole milk
1 c. half and half
1/2 c. sugar
1/2 c. brown sugar, lightly packed
1 tsp. flaky kosher salt
3 egg yolks

Find the peanut butter cookie recipe here

1. Prepare oatmeal: Melt the butter in a skillet or small saucepan, add oats and toast until it sort of smells like browned butter…aka a bit of a nutty flavor. The recipe says about 4 minutes, took more like 5-6 for me. After toasted, pour out the oats. Sprinkle a pinch of salt, a LARGE dash of cinnamon and a small pinch of nutmeg if you’d like. Add liquid and bring to a simmer. Add in oats and stir quickly to make the mixture evenly mixed. Remove from the heat and set aside for about 8 minutes to let the oats absorb.

2014-08-07 17.12.26

2014-08-07 17.23.55 HDR

2. Make ice cream: Ok, guys. Man your stations, here. You’ve really got to move gracefully through the kitchen during this time. Even when you’re trying to improve your roommate’s parents with your ladylikeness. While hot dairy products are flying all over the kitchen. 

BACK TO BUSINESS sorry….Add your milk, half and half, and cream to a heavy saucepan with the sugar and salt and stir to dissolve sugar. While this is heating, get your egg yolks ready. Whisk the egg yolks until pale yellow and frothy in a small bowl.

2014-08-07 17.33.52 HDR

3. Once the cream mixture is simmering (really a pleasant thing, right? hot milk?), slowly temper your eggs. Do this by ladling about a half cup of the hot mixture slowly into the eggs, whisking quickly to mix the two. Once you’ve quickly whisked together the hot milk into the eggs, add the egg milk mixture into the pot and whisk constantly to temper. The recipe said to just whisk until it thickens, but I couldn’t really tell it was thickened, so I’m going to tell you to whisk for about 6 minutes at a low simmer. Then remove from heat.

4. Add your cooked oats to the cream mixture off the heat and let steep for 30-60 minutes (covered)

5. Get your strainer ready over a big bowl. I used a pasta colander. Use a fine mesh sieve if you have one. After the mixture has finished steeping, strain the mixture, using a spatula to press the mixture through the sieve.

6. Cool the ice cream base in the refrigerator until cool. Then prepare in your ice cream maker according to its instructions.

2014-08-08 12.01.17 HDR-1

2014-08-08 12.04.09

7. Make your cookies!!!! Here’s how we made the sandwiches: Start scraping your ice cream with a spoon into a small ball – then place on the bottom of one cookie. Use the bottom of another cookie to smush the cookie together. Scream at the top of your lungs before eating this because you are so excited. I dunno it just sounds fun.

2014-08-08 18.54.50

2014-08-08 18.55.52

2014-08-08 19.07.10 HDR

Tell me, are you a crunchy or chewy cookie person?!?! Any recommendations on other ice cream sandwich combos?? 

Banana Trail Mix Muffins

Standard

2014-07-20 14.35.04

Have you ever used coconut oil before? This was my first time baking with this lovely substance and it added an AMAZING richness to these muffins. It was a Sunday afternoon, my room was messy, and it was raining. My brain was of course focused on baking. My little teeny kitchen is really not prepared for the amount of mix-ins this recipe calls for, but the mix-ins MAKE the recipe. I’m all about a trail-mix cookie, a blondie with a ton of added crunch, and have been waiting for the day when I make a trail mix sandwich.

The other day our intern at work threw out one of those big Kirkland merchandise bags of trail mix and I thought he was crazy (even after finding out the bag was expired :/). I can guarantee the mix-ins in these pics are NOT expired, for the record. So I was lucky enough to have a taste tester come by to verify that in fact, these WERE good.

I’m a huge fan of cookie+kate and lately have turned to her for more than just recipes. She has some great articles on her site about a whole variety of food topics and lately about cooking tools (I’m totally a drooler over that section). I’ve been wanting to make this recipe for awhile but realized I didn’t have a loaf pan at the last minute! Never fear, the muffin tin always saves the day.

Let me give you some very specific instructions on an appropriate occasion to eat these muffins in case hunger isn’t enough of a good reasons. You need to sit on a very comfy couch with a close friend and catch up on life. You may also need some Norah Jones playing in the background, a rainy backdrop and an open afternoon. On the other hand, they’d make a very appropriate snack for a camping trip. Similar, right?

Let’s bake.

Banana Trail Mix muffins, adapted very very slightly from cookie and kate

3/4 white wheat flour

1/2 cup oats

1 1/2 tsp baking powder

1/4 tsp table salt

1/2 tsp cinnamon

1/8-1/4 tsp nutmeg

3/4 cup unsweetened coconut

1/4 cup dried currants

1/4 cup chopped chocolate (I used a Hershey’s bar with almonds)

1/2 cup almonds and walnuts mixed, chopped

1 cup mashed ripe bananas (this was about 2 bananas for me)

1/2 cup honey

1 large egg, room temperature

1/2 cup melted coconut oil

1. Set the oven to 375 and line your muffin tins with wrappers or grease them.

2. Mix the dry ingredients together in a large bowl: flour, oats, baking powder, salt, cinnamon and nutmeg

3. Then toss in your dried fruit, coconut, choco chips or chopped dark chocolate

4. In a separate bowl, whisk together the honey, melted coconut oil, vanilla, egg, and mashed banana until smooth. Pour the wet mixture into the dry and gently fold them together.

5. Scoop the batter into your muffin tins about 2/3 of the way full. Bake muffins for around 18-25 minutes depending on your oven, until the sides are just browning and the tops look just firm. Test by using a knife or toothpick, inserting it in the center of the muffins. If it comes out dry, they’re ready.


Serve these warm or cold as a sort of trail mix-y mid-day snack. Or five of them make a snack if you are a certain friend of mine who came over to taste test….I am SO excited about this recipe you guys, please make it! These are super moist yet packed with crunch as well. Who has other ideas for fun snacks/desserts turned into muffins??

I’m off to Chicago this weekend friends – any recommendations?

2014-07-20 13.45.50

2014-07-20 13.47.54

2014-07-20 13.51.44 HDR

2014-07-20 13.58.21


2014-07-20 14.06.05 HDR

2014-07-20 14.22.06 HDR